
Probably one of the easiest diy jobs on your 240 is the oil change. This requires obviously a suitable oil (there is much debate about what oil is best which I won’t get involved in) and a filter. I always use Volvo filters as their price has come down to very reasonable levels and it has to be the right one for the job. It is also a good idea to replace the copper sump plug washer at the same time. If there are any signs of oil leaking from the filler cap this is as good a time as any to replace it.
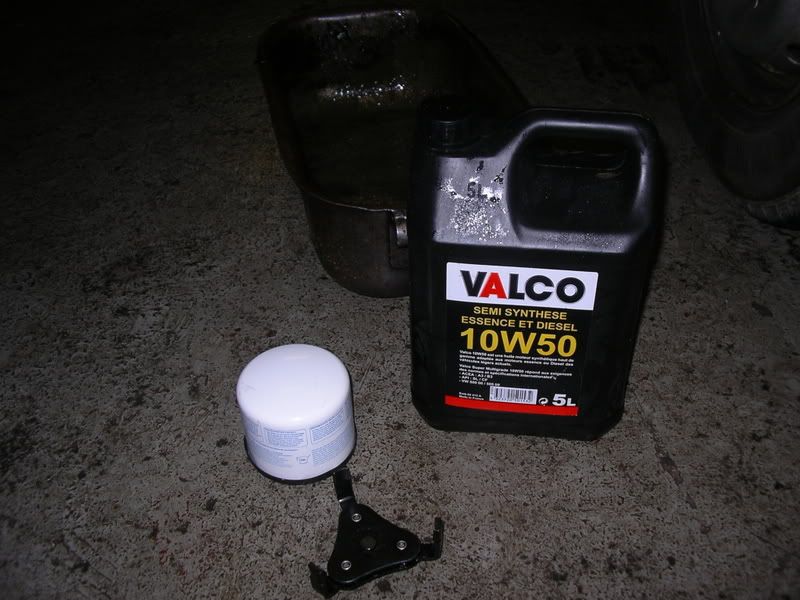
Toolwise you will need a 25mm or 1″AF spanner or socket for the sump nut (hopefully this hasn’t been rounded – if so get a replacement do not refit a damaged one). You will also need an oil filter wrench – I find a three legged one best (Be careful of live wires on back of alternator. You will also need a drain can. This can be an old washing up bowl (don’t burrow SWMBO’s as oil stains) or an old plastic 5 litre can with a hole cut in its side and laid on its side with the hole upwards – keep the cap on it though.
This is a mucky job so some disposable gloves are a good idea. The first step is to place the drain can under the sump plug. Use your socket or spanner to loosen the drain plug
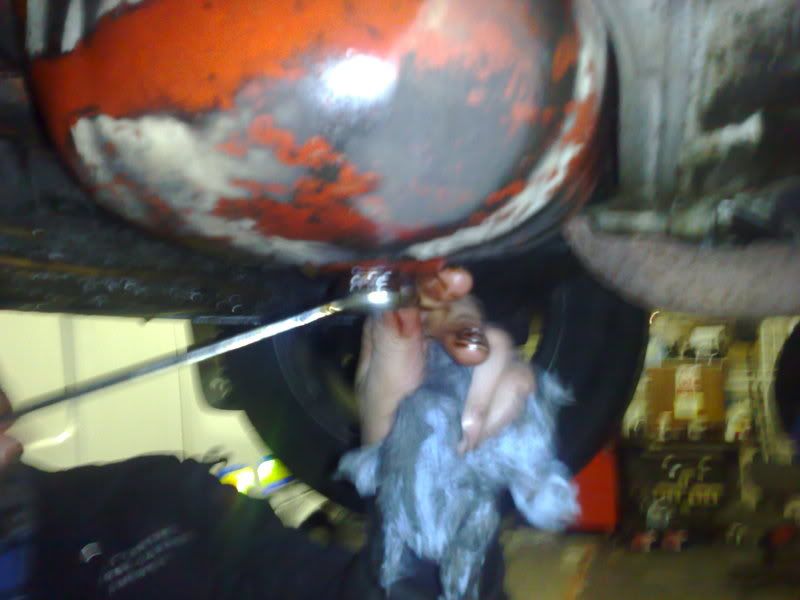
This can then be undone by hand allowing the oil to drain into the can.
This is where you often get oil over your hand so a rag or paper towel should be kept handy. Don’t worry if you drop the sump plug into the drain can it can be retrieved later.
(This was done on a 2 poster ramp so drain can is out of shot)
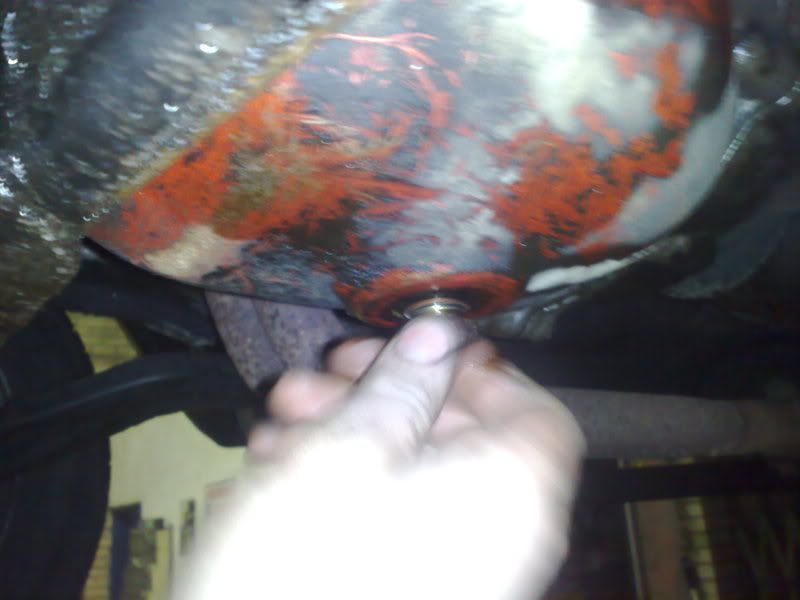
Take the copper washer of the sump plug and fit the new one
Screw the plug back in by hand and then tighten

Now empty the drain can into a suitable container being careful not to spill any on the ground and later dispose of the old oil to an approved waste oil disposal centre.
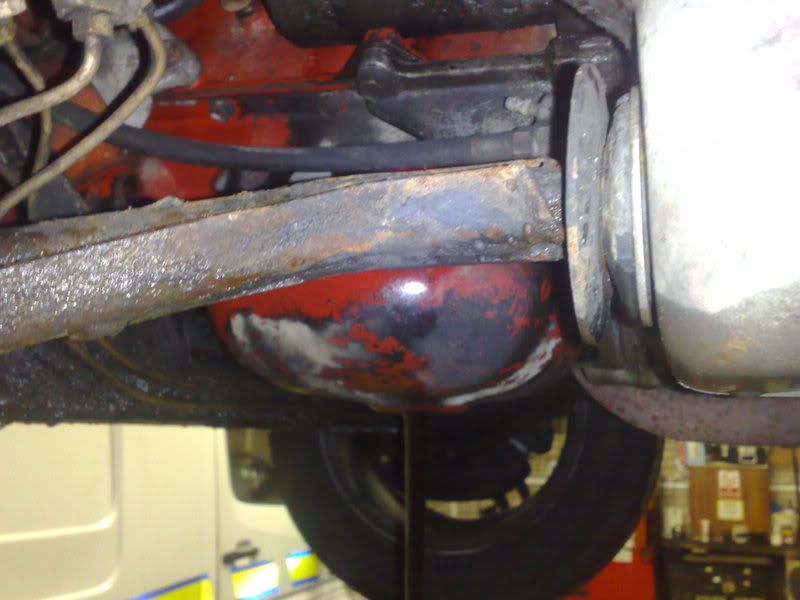
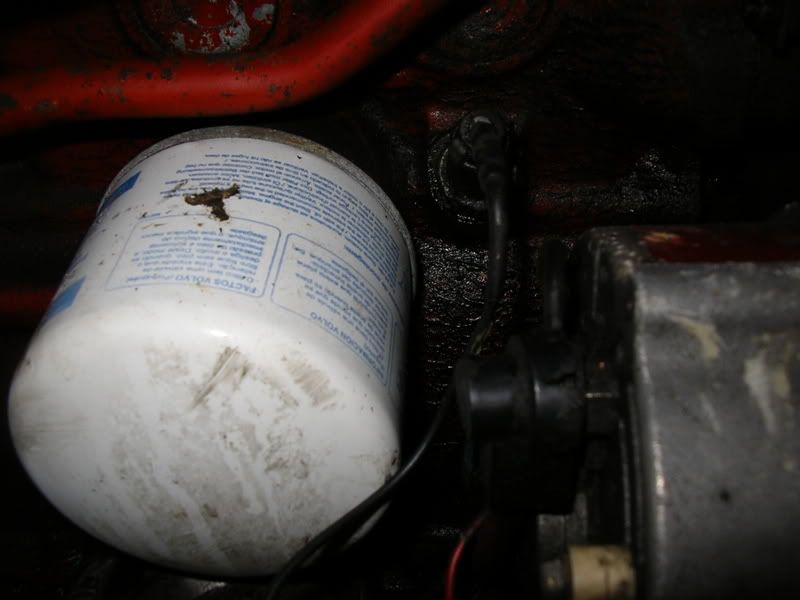
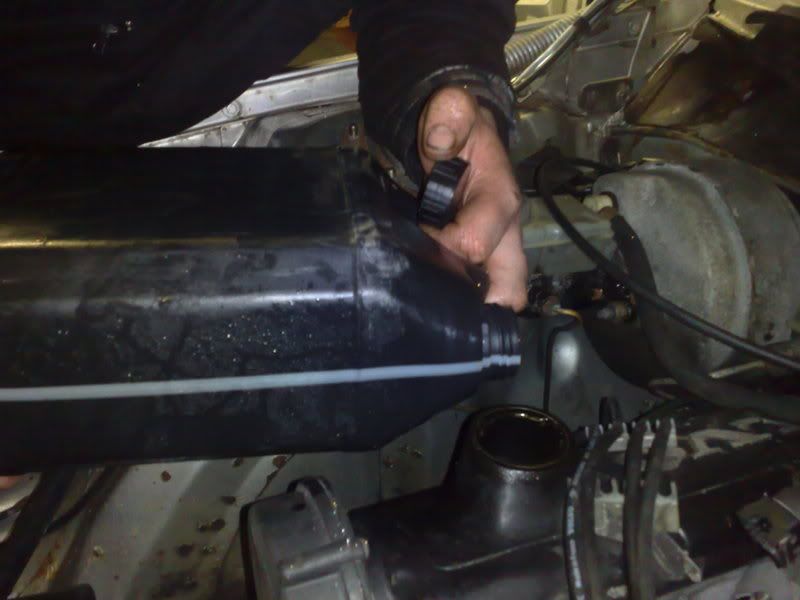
Next you need to look at replacing the filter which is located on the rhs of the engine behind the alternator

As you can see it is close to the contacts on the alternator so disconnecting battery (radio code) can be a good idea.
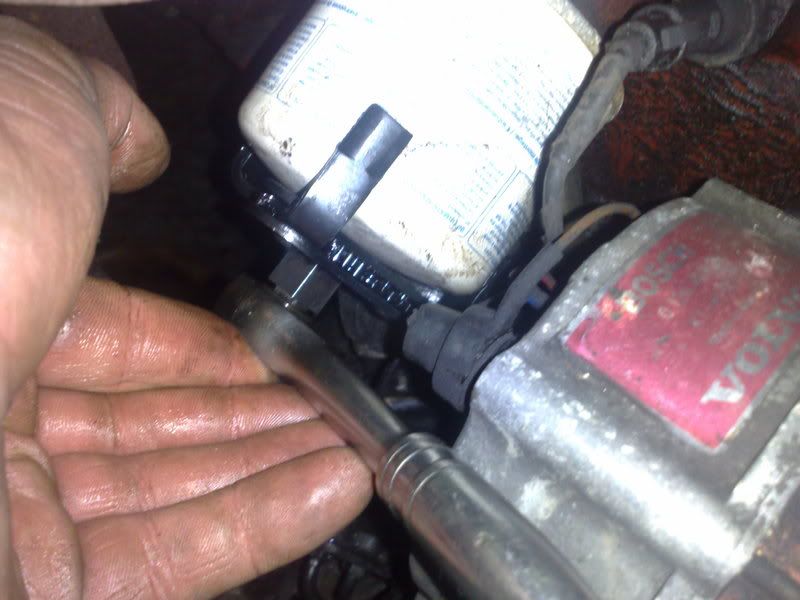
The filter can now be undo using the filter wrench to loosen it
It can then be unscrewed by hand – it should be full of oil so be careful not to spill – dispose of oil and filter in an approved manner.
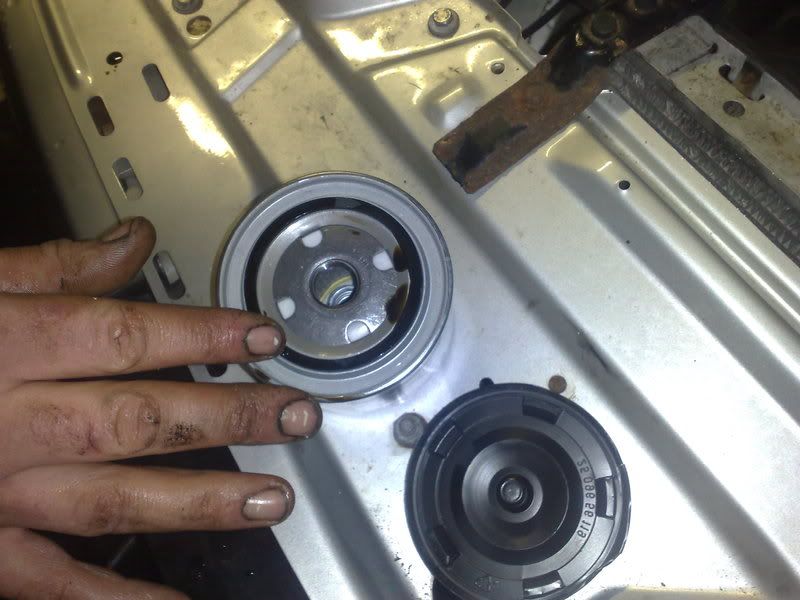
The new filter will need its rubber seal smeared with oil to ensure a good seal.
The filter can then be spun on and should be done up just hand tight do not use wrench to tighten anymore. At hand tight it will not leak.

It is now time to refill with oil. If you are not happy pouring direct from can
use a funnel. Pour in about four litres and check level on dipstick – fill till it reaches fill point.
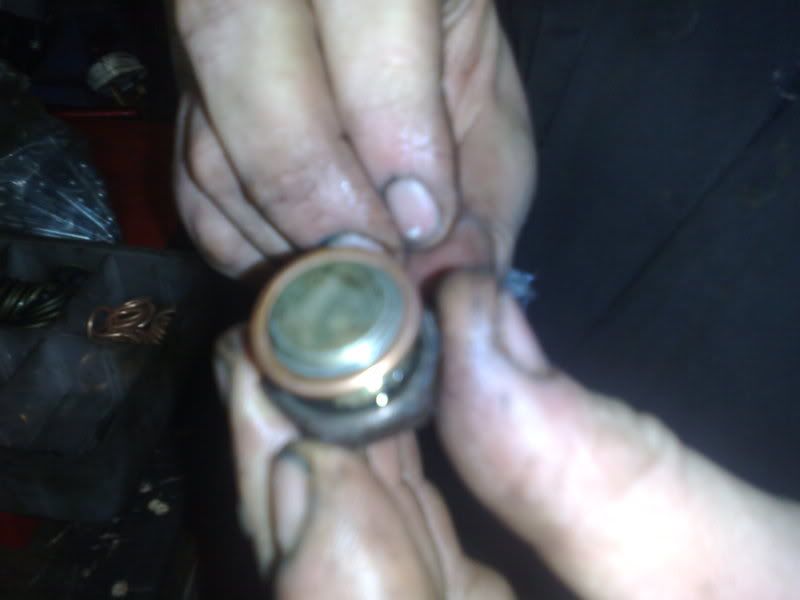
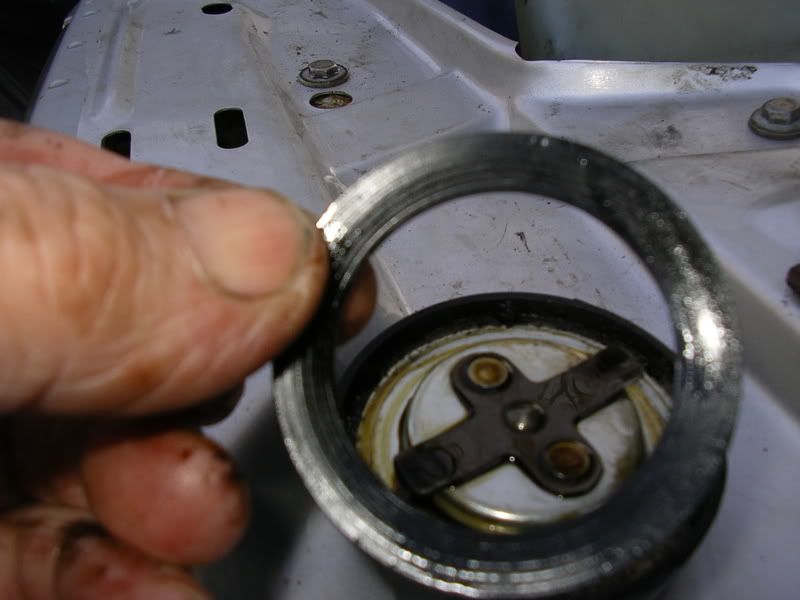
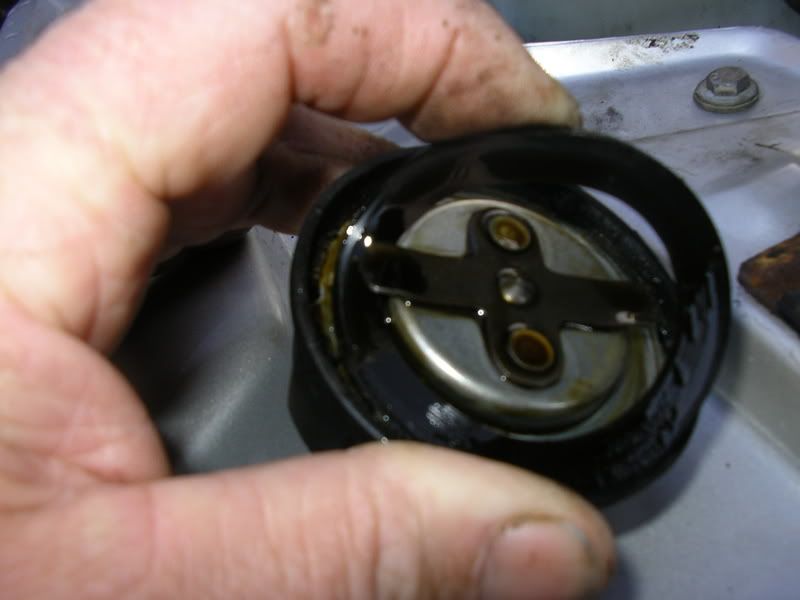
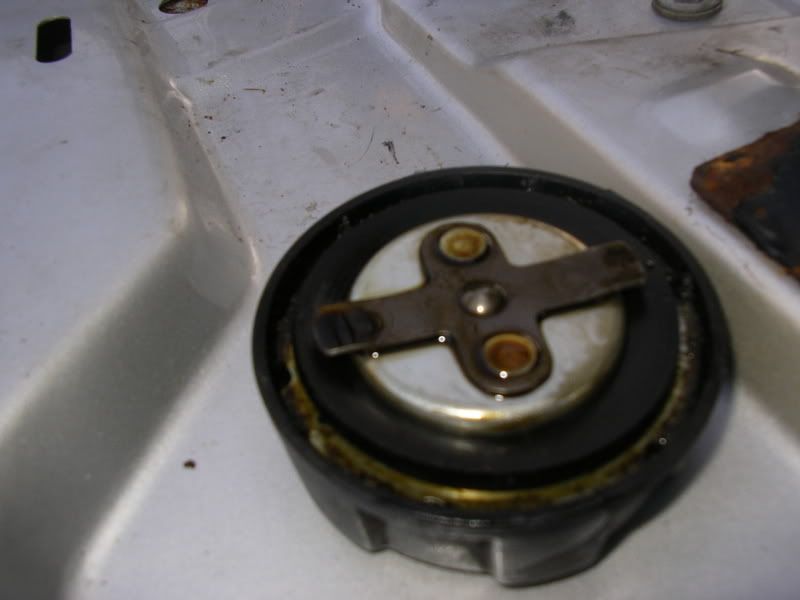
If the filler cap needs the seal replacing it is just a case of removing the old one and fitting a new one (they are under a pound from Volvo)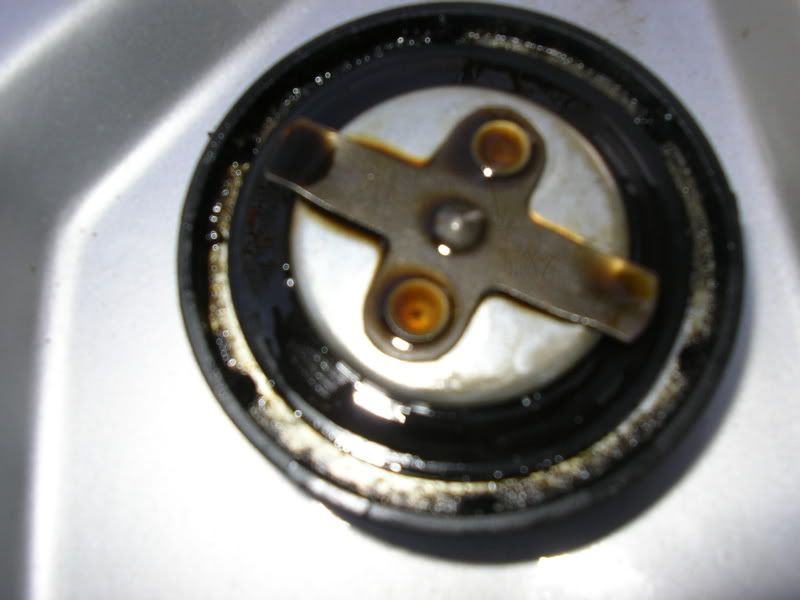
Now its time to reconnect battery (if disconnected) and start the engine. It is best to disconnect a wire of the coil and crank it over a few times to build pressure up as filter is empty. Reconnect coil and start run for 30 seconds and switch off. recheck oil level and top up as necessary. Make sure no leaks from filter or sump plug with engine running.
Clean up and put away – another job done
The instructions in this tutorial will work in the following models / years:
-1974, 1975, 1976, 1977, 1978, 1979, 1980, 1981, 1982, 1983, 1984, 1985, 1986, 1987, 1988, 1989, 1990, 1991, 1992 and 1993 Volvo 240, 242, 244 and 245 with petrol engines