
Changing the cam belt can seem a little daunting and I will admit there is potential for problems but properly prepared and allowing adequate time it should be within the capabilities of the amateur 240 mechanic. Not really one to do as a first job but once you have done some of the other basic servicing it should be one that can be tackled. The most important thing is to know what you need to do – this guide should do that – and make sure you have all you need to do it and allow plenty of time so you are not under time pressures.
This article applies to the black top engines – there will be differences on the silver top ones which are actually easier to do as bottom crankshaft bolt does not have to be removed.
This series of pictures were taken whilst changing the belt on Paul Clark’s 240 over in Brittany – a joint effort one this with both of us doing some of the work. This was a good example as it did throw up the odd problem or two.
The bulk of the job just need your normal tool kit of 10, 12, 13 and 17 mm sockets and spanners. The BIG problem one is the crank bolt at the bottom which needs a 1/2 inch drive 24mm socket and long breaker bar or better still an impact wrench for undoing it.
You will require a cambelt – only use a Volvo one they are cheap enough now and have the markings on them. This is also a good time to replace the other drive belts as they are coming off anyway. Make sure you get a matched pair for the alternator – Volvo supplies these in a boxed matched pair. Also it is a time to consider replacing any of the three front oil seals.
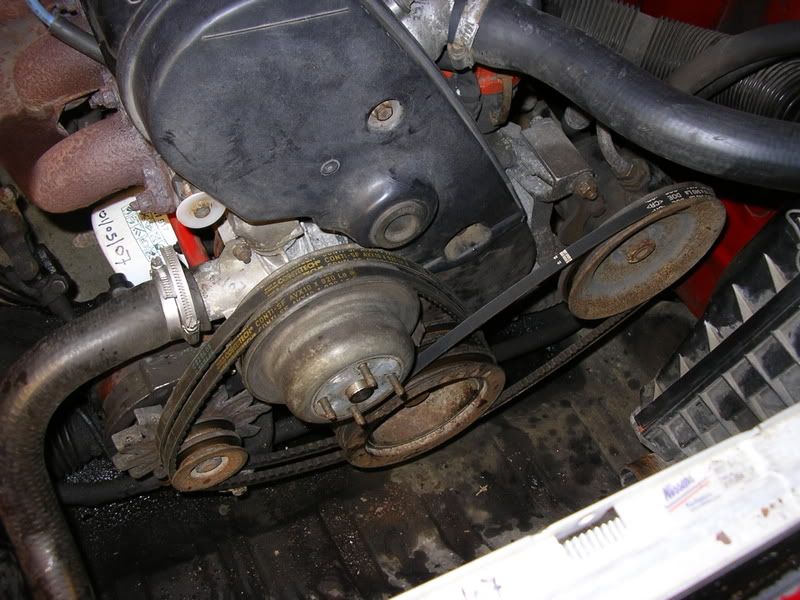
The first job is to remove the drive belts. First slacken the bolt the alternator is locked by:
and then slacken it using the 10mm headed bolt of the tensioner. The belts should now be loose.
Next to the power steering pump Again slacken the bolts it pivots on
Loosen the tensioner

The three drive belts can now be removed
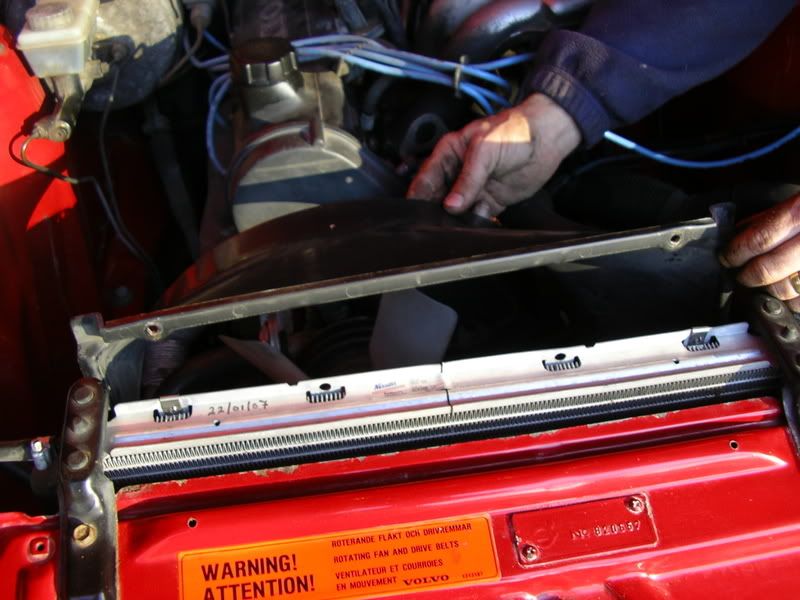
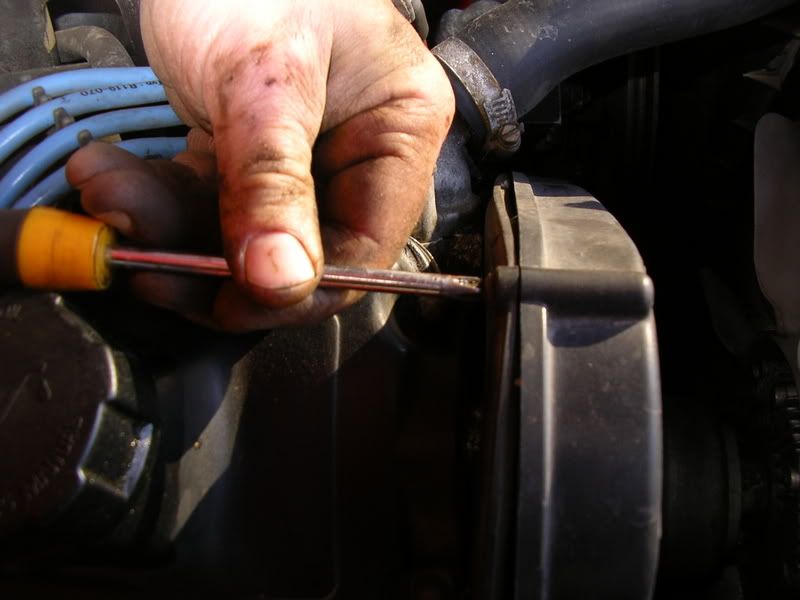
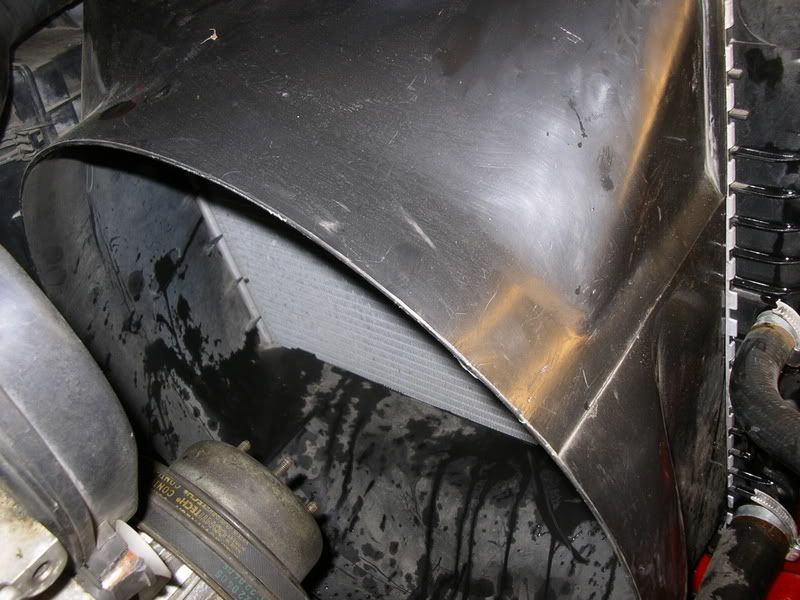
The next job is to remove the radiator shroud. There is a screw either side at the top holding it:
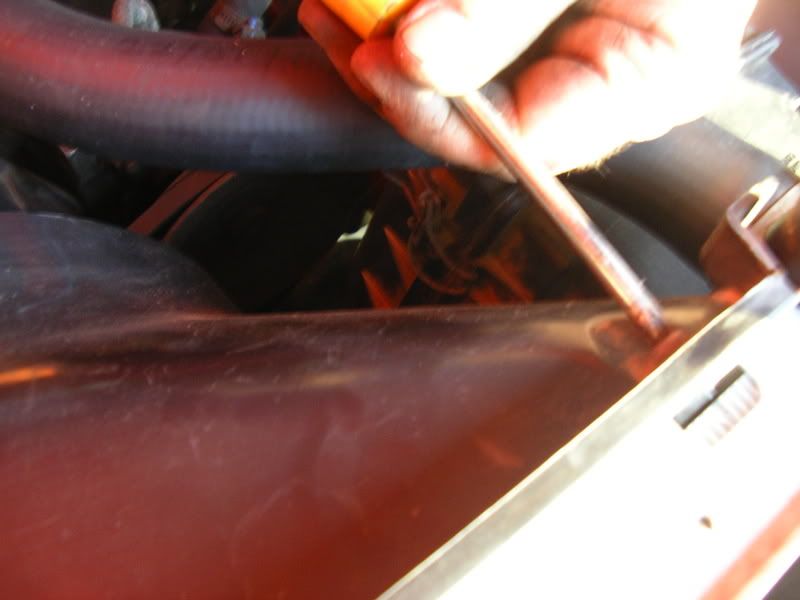
It then lifts upwards to free it from the two locating lugs at the bottom. It can the be carefully wiggled out past the fan being careful not to damage the radiator.
The next thing to be removed is the cam belt cover. This is in two pieces. Starting with the top cover undo the three bolts to the front and the screw to the back as shown in the picture. Make sure you keep all the bolts in order as they are all different!
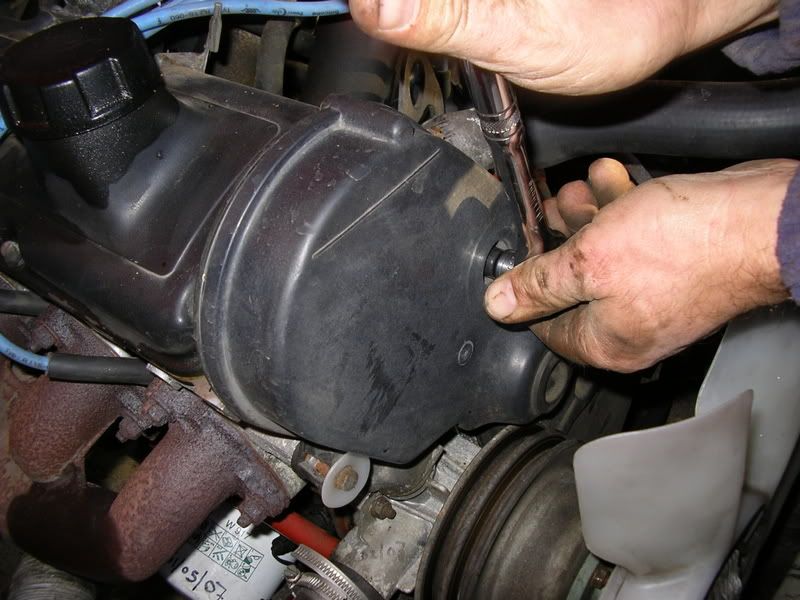
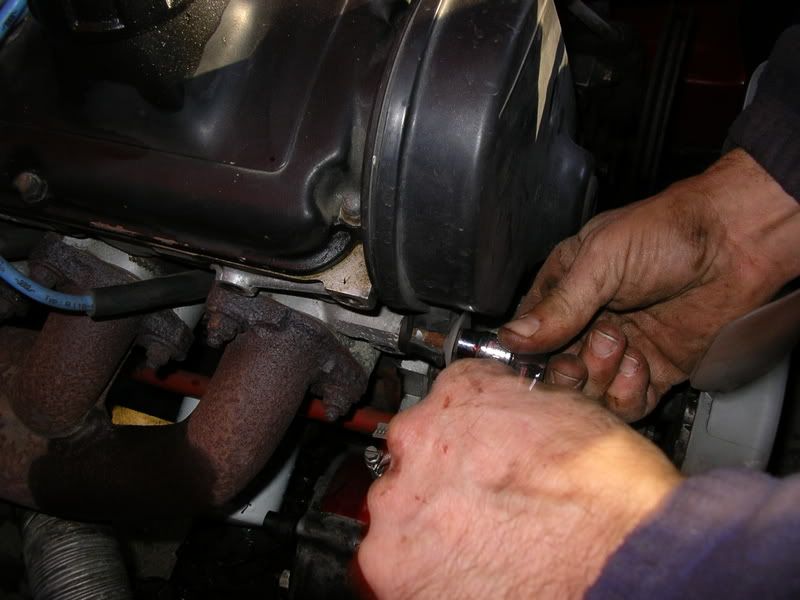
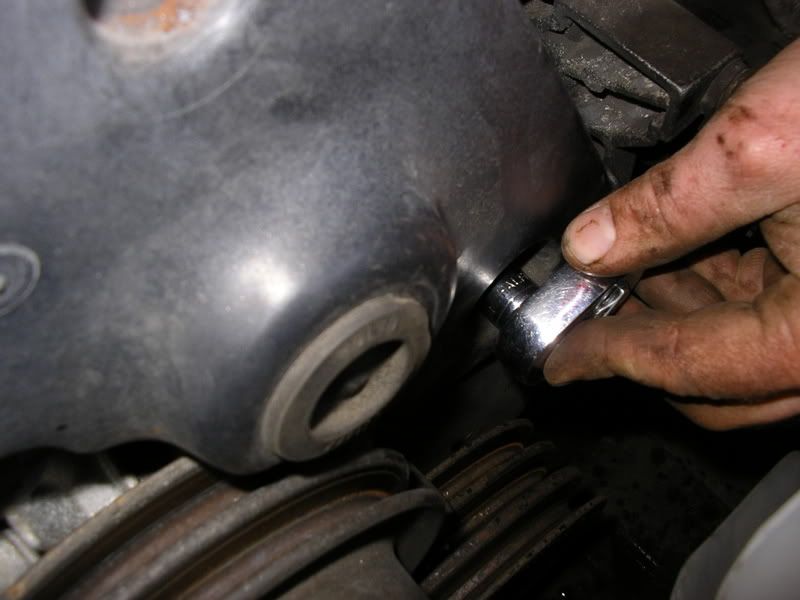
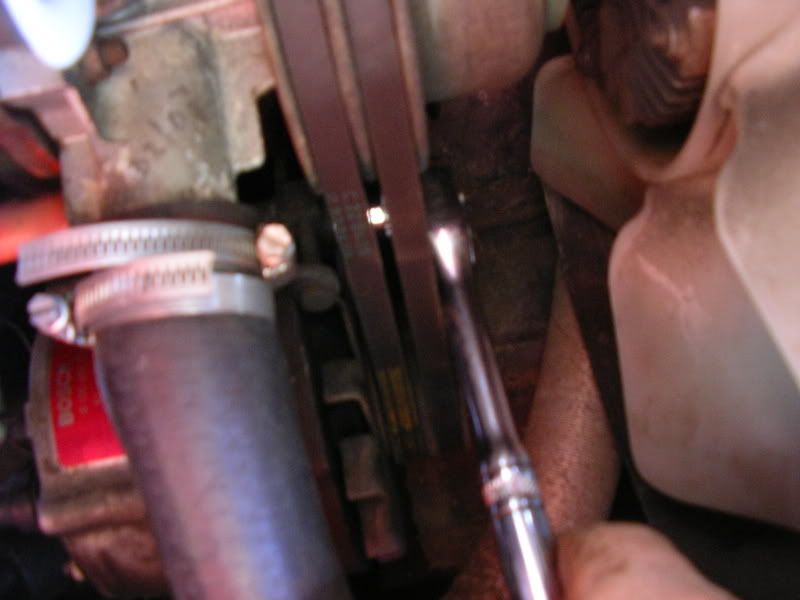
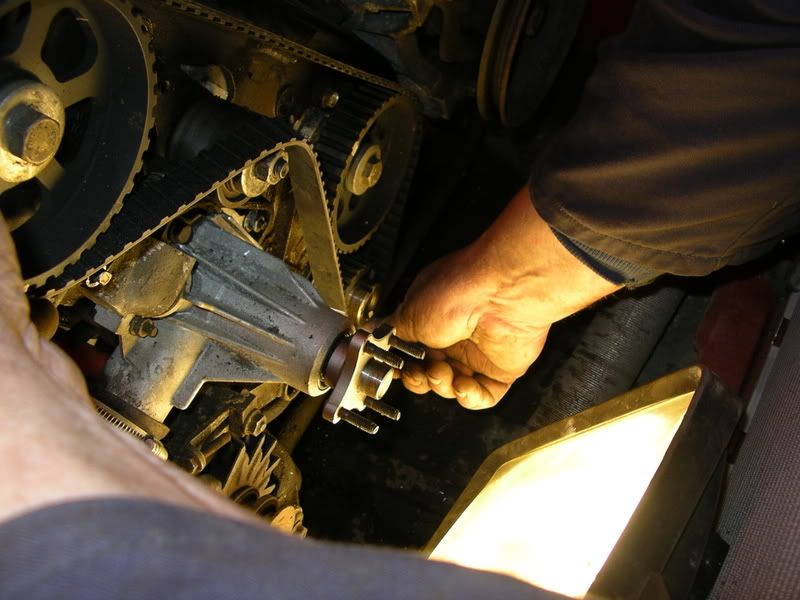
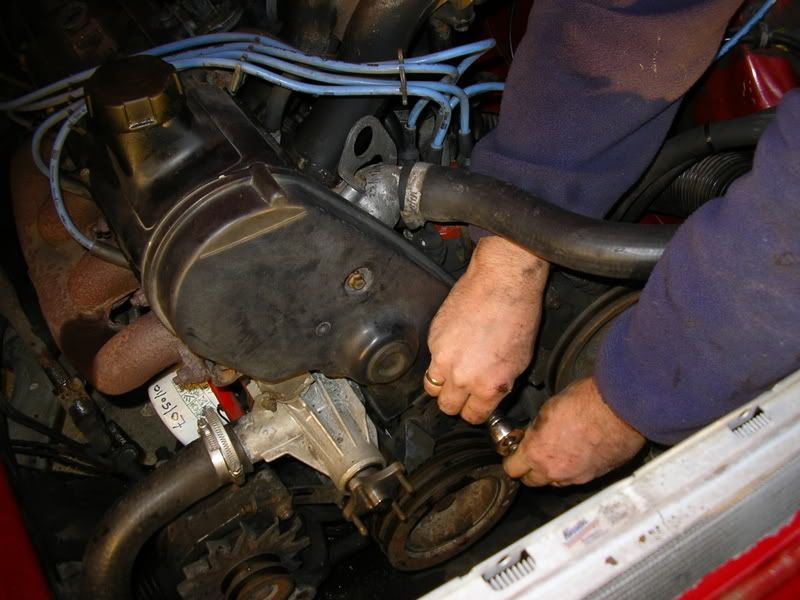
To undo the bottom cover it is necessary to undo the bottom pulley. This is the awkward bit as it is very tight. A long breaker bar should undo it but a lot easier with an impact wrench.
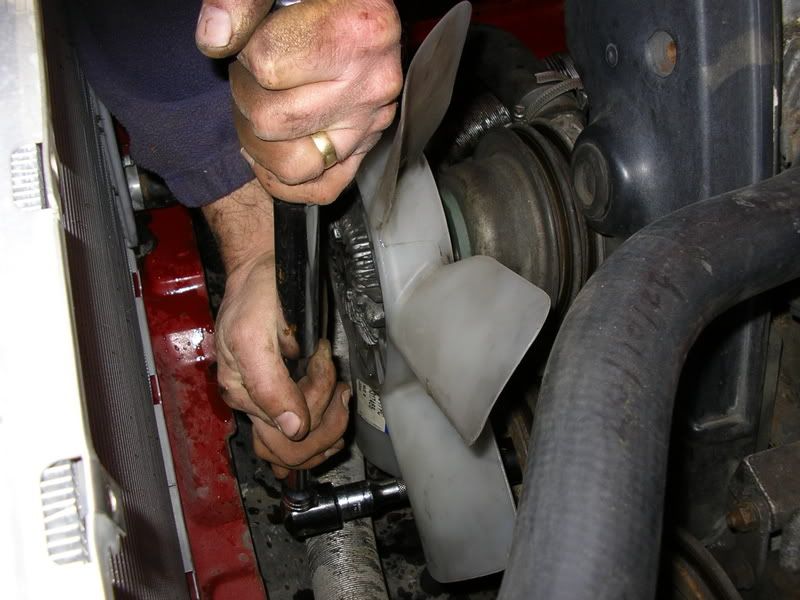
If using the breaker bar it is a case of locking the engine – sometimes putting in gear and firmly applying the footbrake whilst the bar is turned – there will a certain amount of give to overcome. Another way is to remove the and lock the flywheel. The bolt should be fully removed and then the bottom pulley wiggled off – it may be tight!
Next the fan assembly needs to come off. This is held on by four 10mm headed nuts. In our case one of the nuts was rounded and had to be chiselled off.
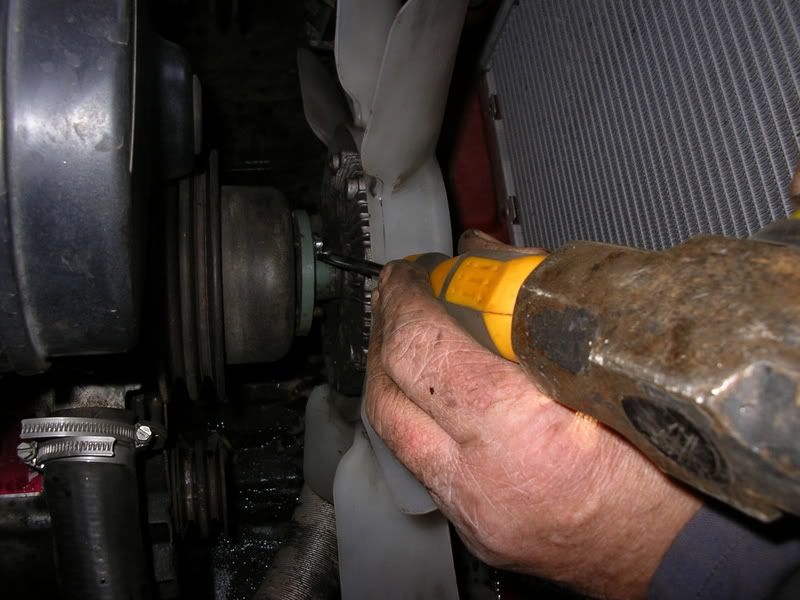
Never refit a damaged nut as it can cause problems next time it has to come off. The fan assembly is lifted off and the pulley removed.
The bottom cover can now be unbolted:
The top cover can now be lifted off
Then it is lift the bottom one forward and off
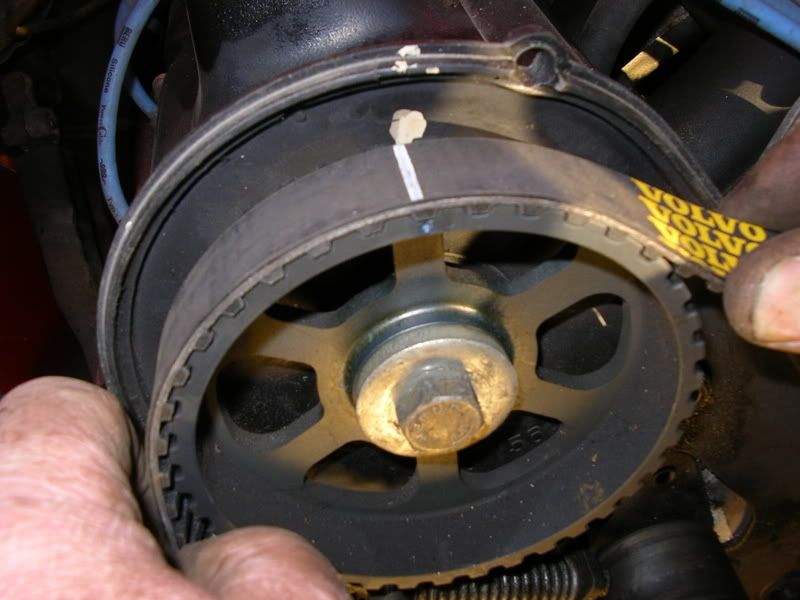
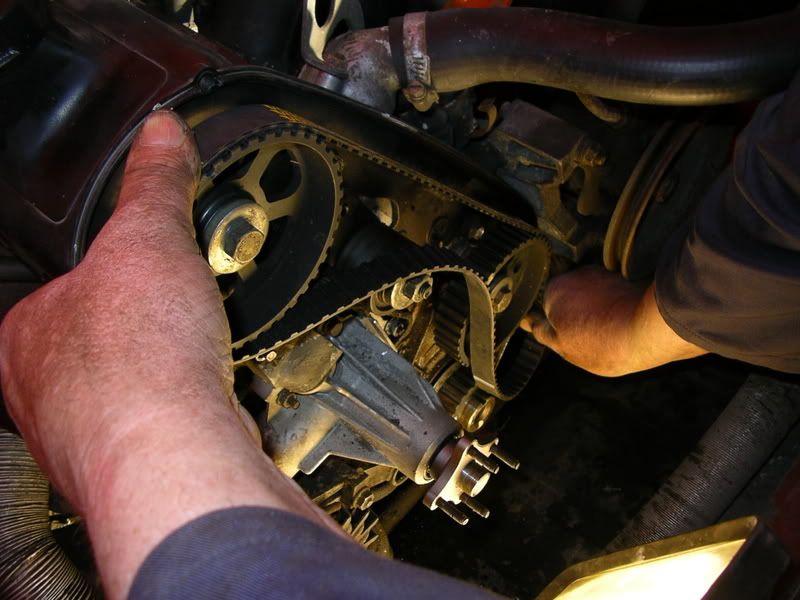
The next job is to set the engine to top dead centre. This can be done by moving the cam markings into position. There is a dot on the pulley which should align with the dot on the plastic casing. In this case there were also various tipex markings put on in incorrect positions (on the cover slightly to the right of the dot.
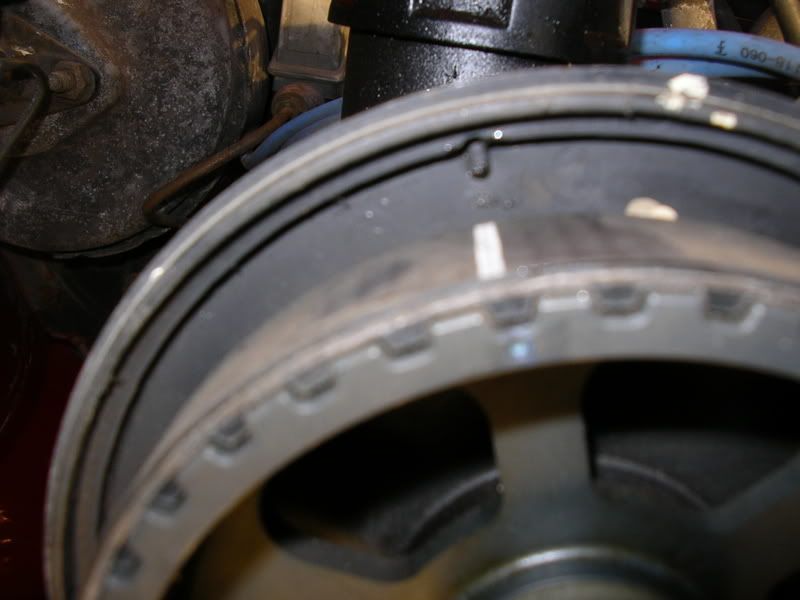
The line on the crankshaft pulley will line up with 0 degree mark on cover (These parts would have to be loose fitted to check which isn’t necessary at this stage)
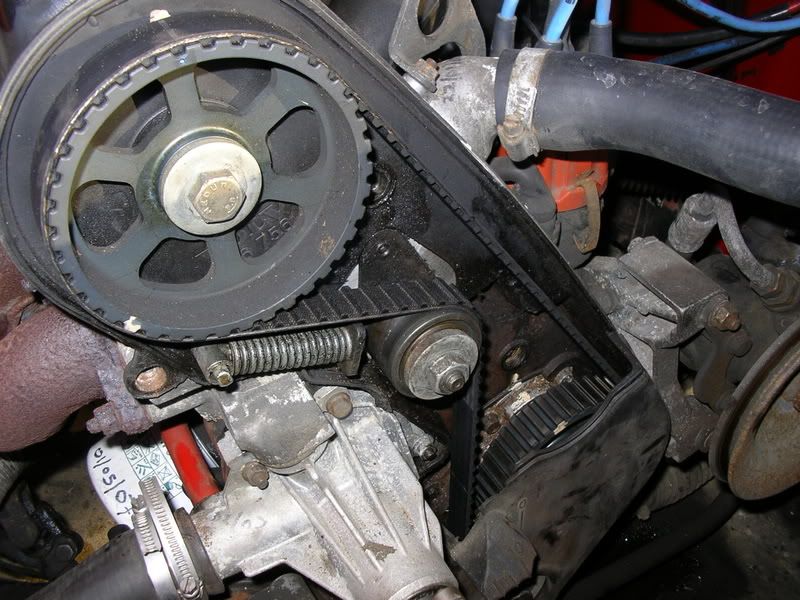
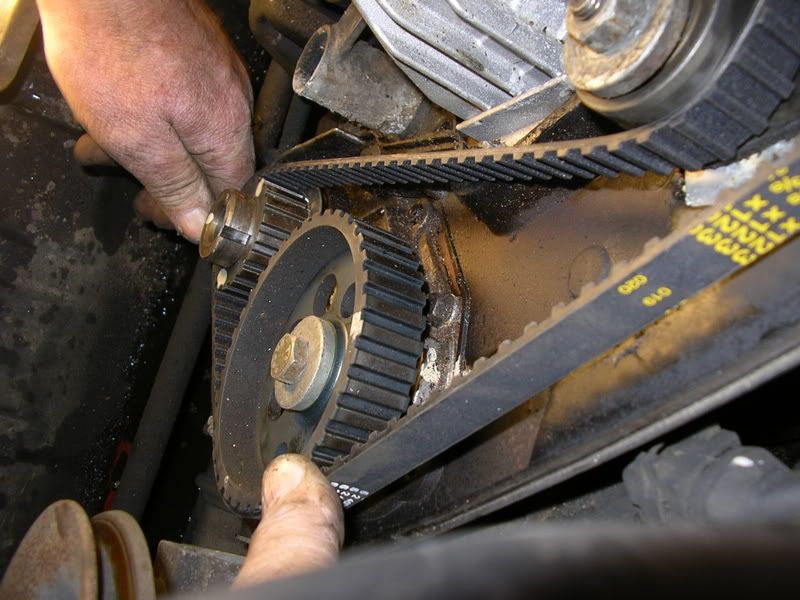
The belt is now ready for removal. The first thing is to slacken the tensioner bolt.
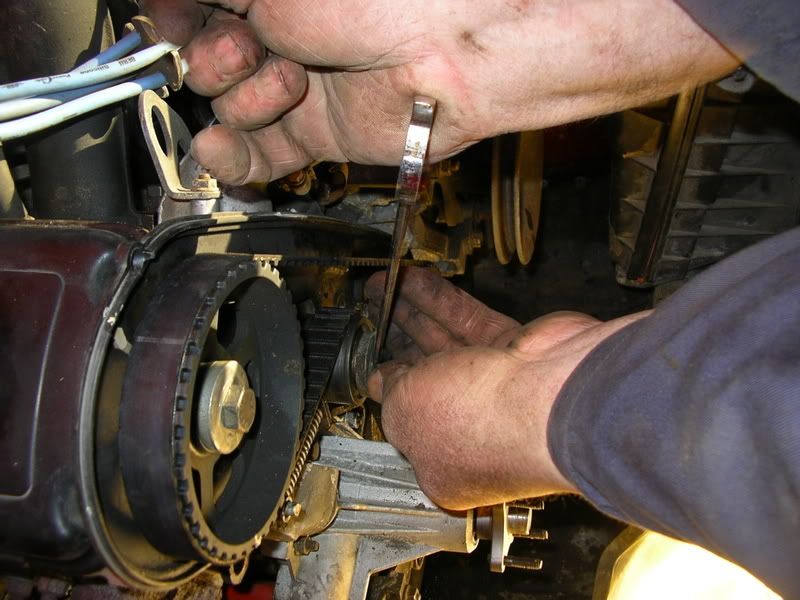
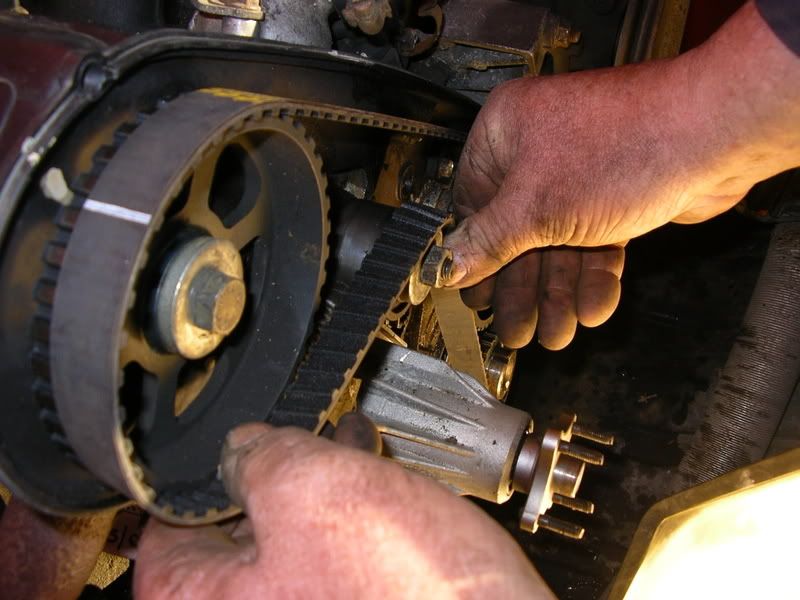
The tension now needs taking off the belt. To do this lever the tensioner back with a pry bar on the water pump and relock the tensioner bolt
The belt can now be eased off ensuring the positions of the pulleys is not altered.
This is also the stage that oil seals would be replaced if needed. I will try to cover this in a separate “how to” in the future.
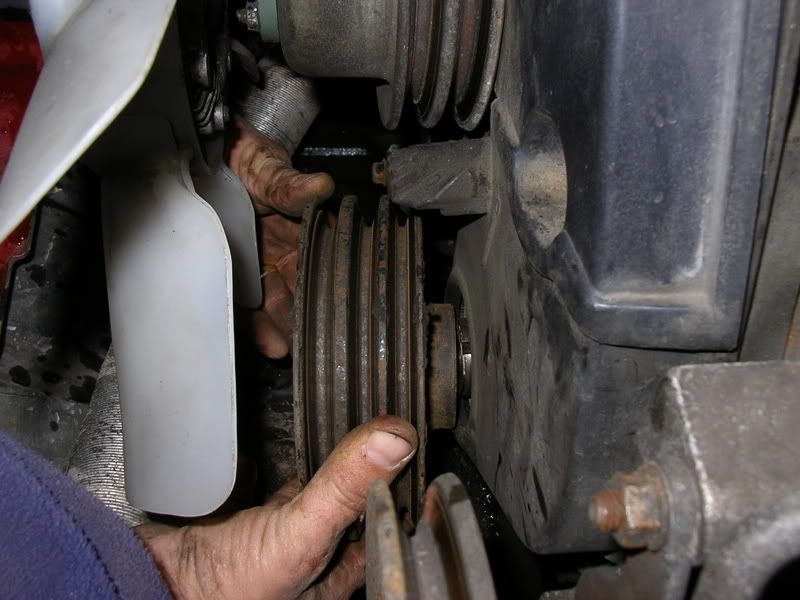
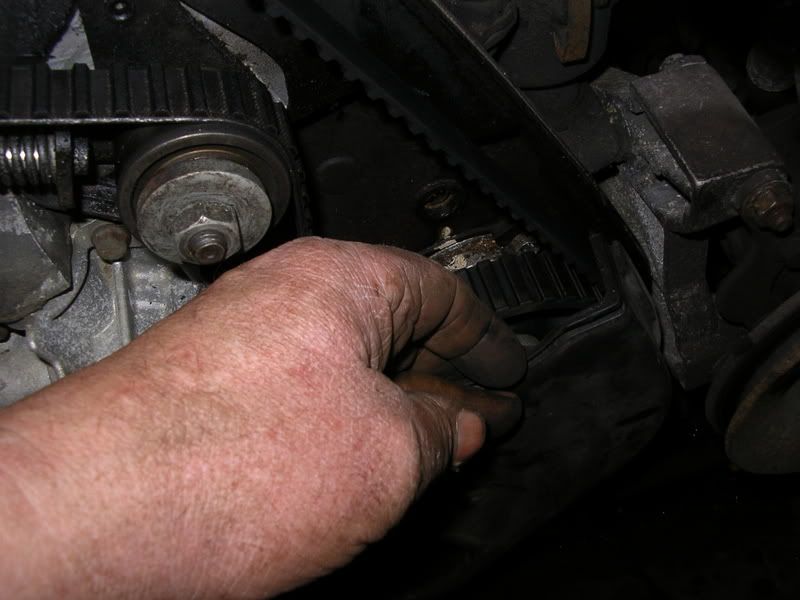
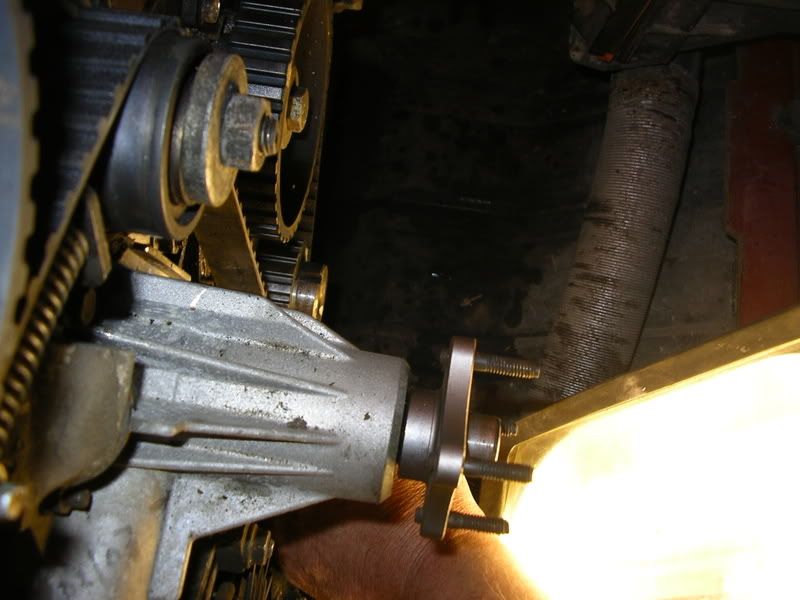
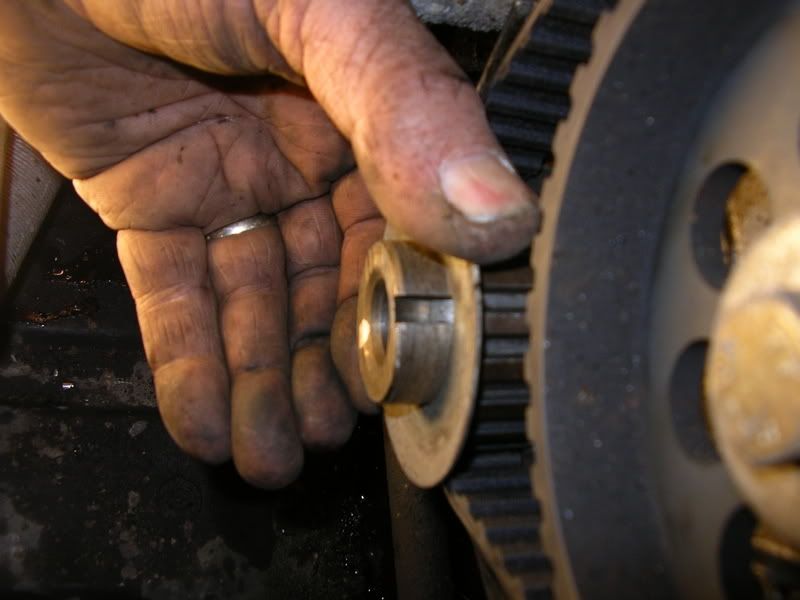
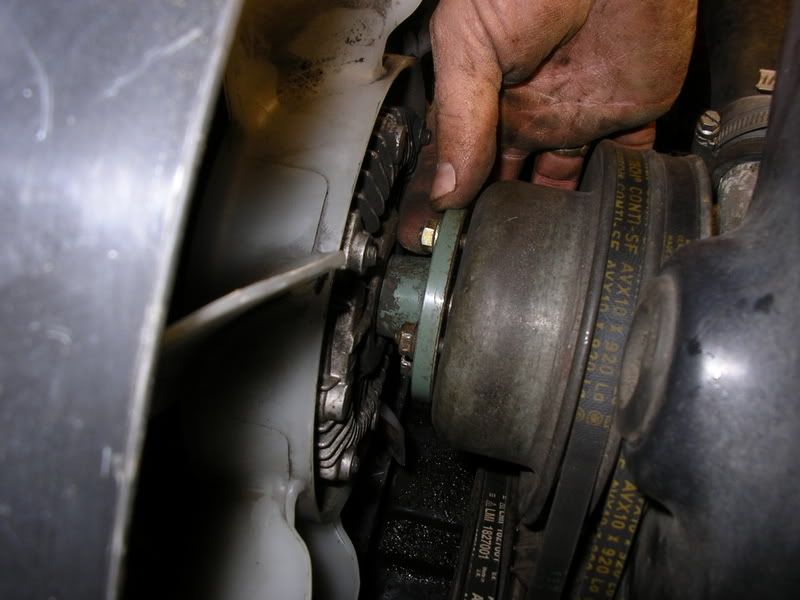
At this stage it is a good idea to take off the bottom cam belt pulley and check the locating lug is not damaged (see photo for good and damaged one)
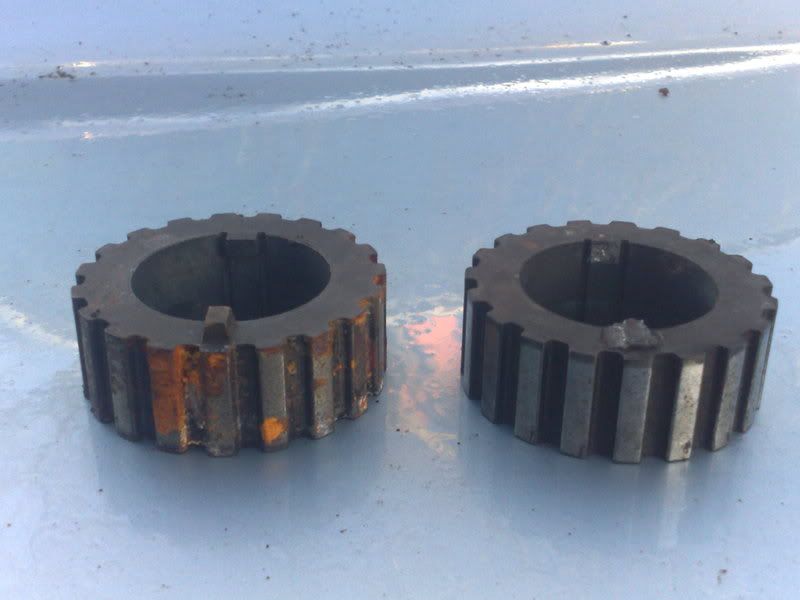
If it is damaged it must be replaced – this only happens very rarely.
Refit this being carefully it is correctly located.
The next job is to start refitting the belt. If you use the genuine Volvo one it has markings on it to line up with the markings on the pulley. With the Volvo name facing you there is a line to the left of it this should align with the dot on the cam pulley
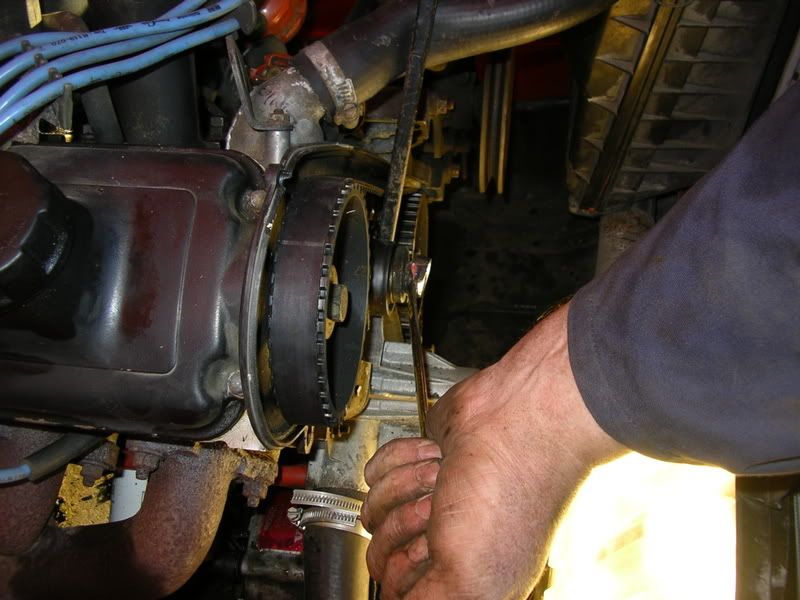
Keeping the belt held down on this pulley ease it under tension over the distributor pulley and the line will again align with that dot
Then ease it over the crank pulley and the tensioner being careful to keep it tight and not move any positions. Again the dot will align with the line on the belt.
Ease it fully over the tensioner
It should now be fully back all the way round:
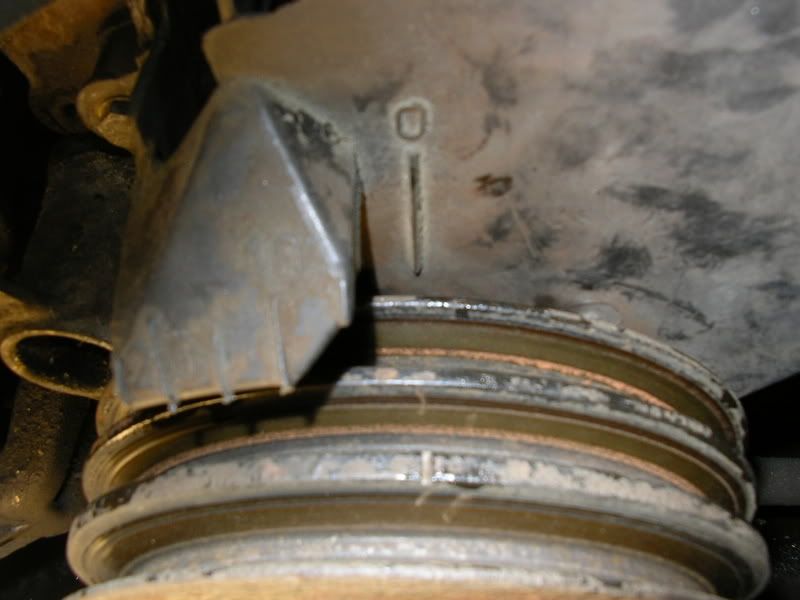
This next picture the screwdriver shows where there is a nick in the cover that aligns with the lump on the belt pulley.
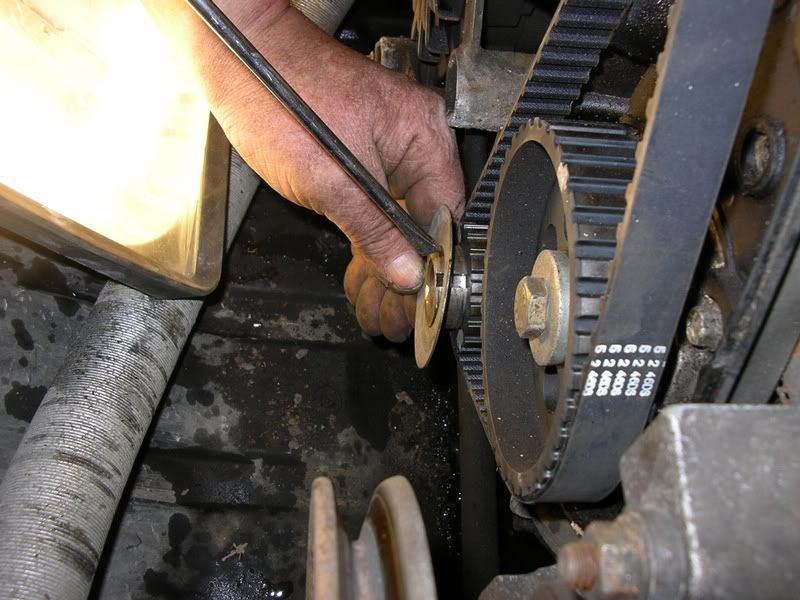
This should allow the plate to sit back properly like this – it is important it does.
Now do a recheck on the belt to dot positions.
If any are out go back and reposition. Now refit the bottom cover and hand tighten the bolt.
Next refit the bottom pulley and use loctite on the bolt and tighten to prescribed torque. This bolt is a stretch bolt and theoretically should be replaced at each belt change. However, unless the vehicle has had a lot of belt changes the use of loctiite should ensures it stays done up ok. Now refit the top cover with the three bolts to hand tight. Now carefully turn the engine slowly over (important if it is an interference engine) by hand to make sure nothing is wrong. If the marks on the belt aligned correctly with the pulley dots there will be no problem but this is a sensible safety precaution. Now just start the engine and run briefly to check all is ok before tightening coverbolts and putting the screw in the back.
Now refit the water pump pulley loosely, refit the alternator and then power steering belts all loosely.
Now refit fan and shroud
Retension the alternator and power steering belts.
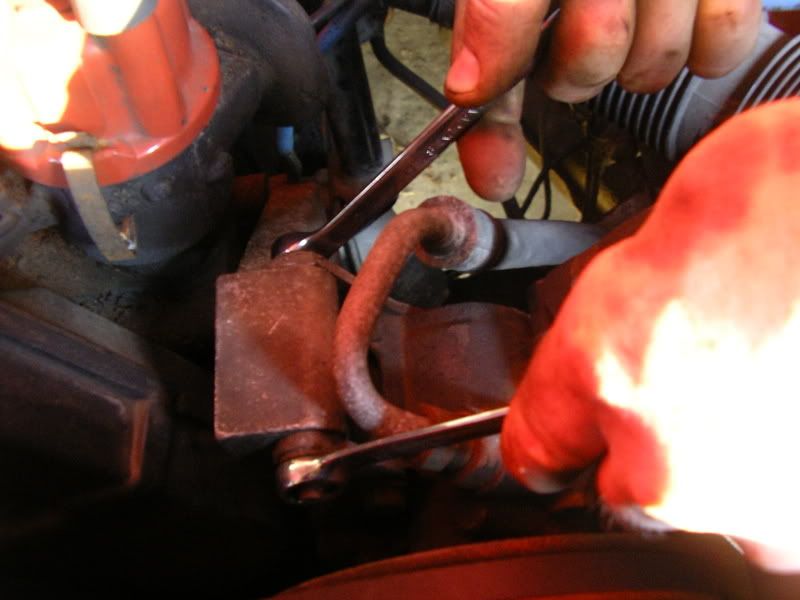
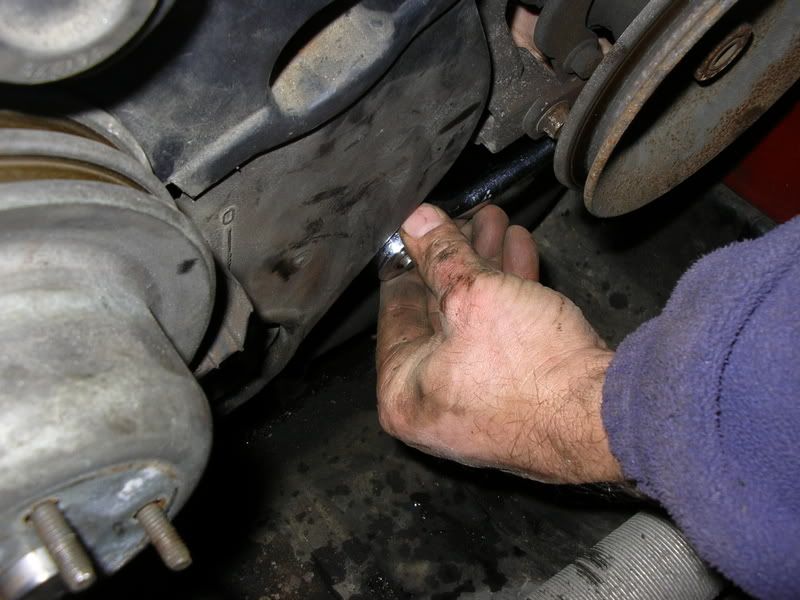
In our case the tensioner for the power steering belt sheared so we reverted to the old fashioned way of using a lever to hold the tension while the bolts were tightened (Note the pry bar being held with the arm as bolts are done up)
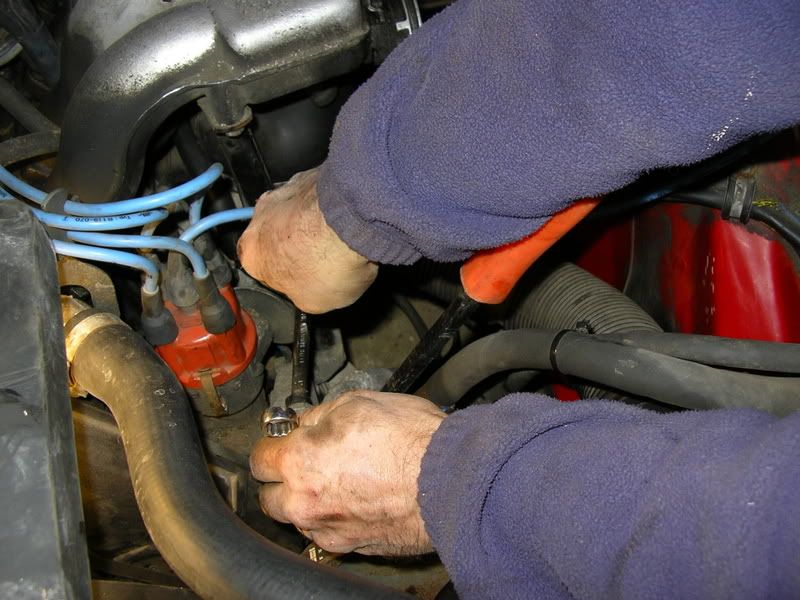
The car should now be ready to go. Just check that it runs smoothly as the belt may be slightly different in length and it may be necessary to slacken the distributor off and move it slightly to get perfect response. Don’t forget to retighten after. Tip mark its position before moving so you can always go back to it. This can all be set accurately if you have access to a strobe light.
The instructions in this tutorial will work in the following models / years:
-1974, 1975, 1976, 1977, 1978, 1979, 1980, 1981, 1982, 1983, 1984, 1985, 1986, 1987, 1988, 1989, 1990, 1991, 1992 and 1993 Volvo 240, 242, 244 and 245 with four cylinder petrol engines