The P1 headlights are quite notorious for being sub-optimal, the P2 offer an upgrade without too much fuss. I believe there are at least two different types (4 pin and 5 pin), this will deal with the more awkward 4 pin version. I was changing mine because I fell victim of the terrible plastic headlight adjusters giving up in my P1 lights.
Step 1
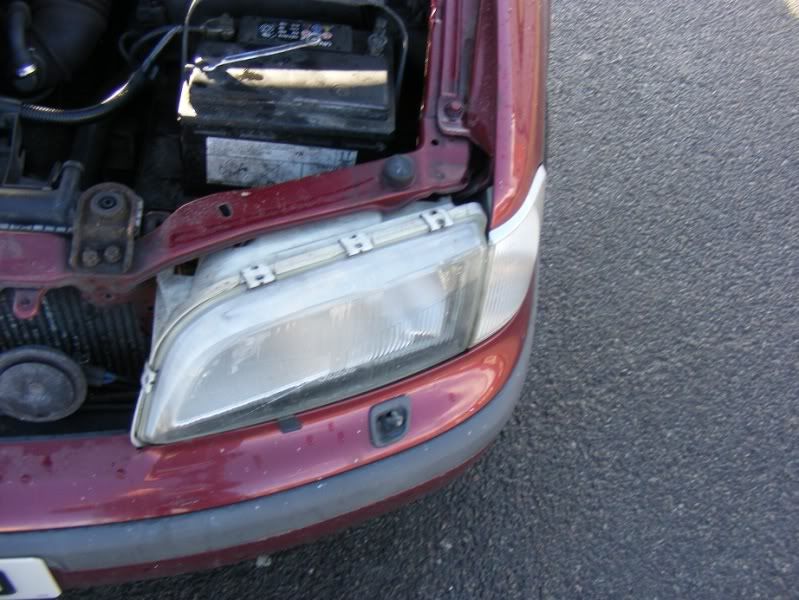
Pop the bonnet and we’ll start work on removal
Step 2
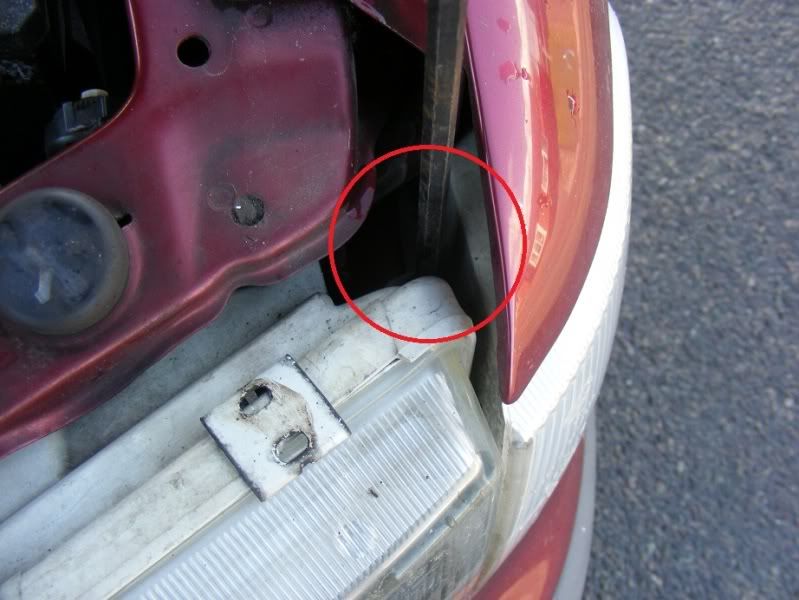
Between the headlight and indicator you will find a posidrive screw, slacken this off (it clamps the indicator in place but only needs to be slackened to let the unit slide out, no need to take the screw out completely)
Step 3
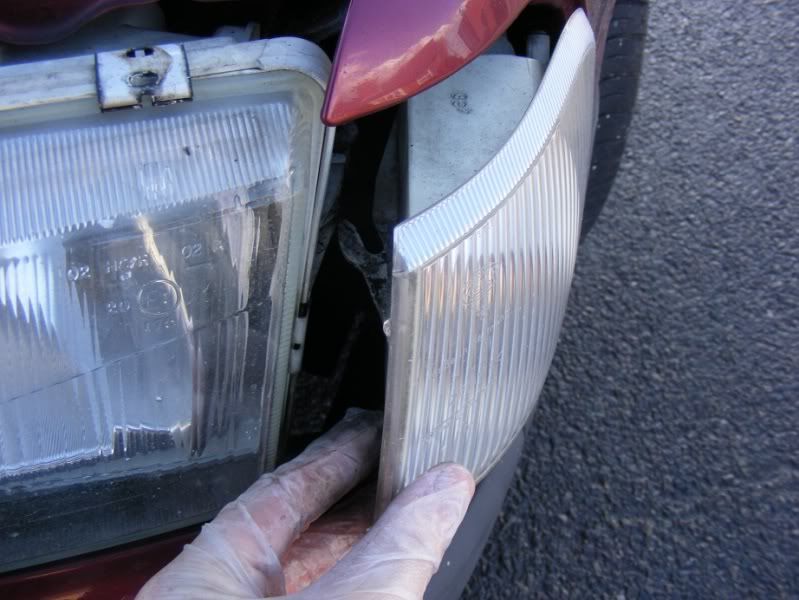
Now simply slide the indicator unit outwards and shown
Step 4
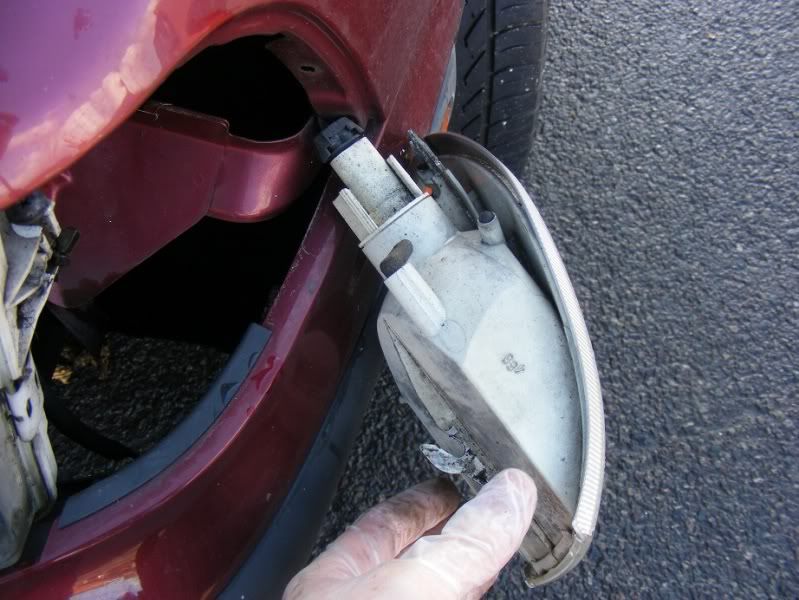
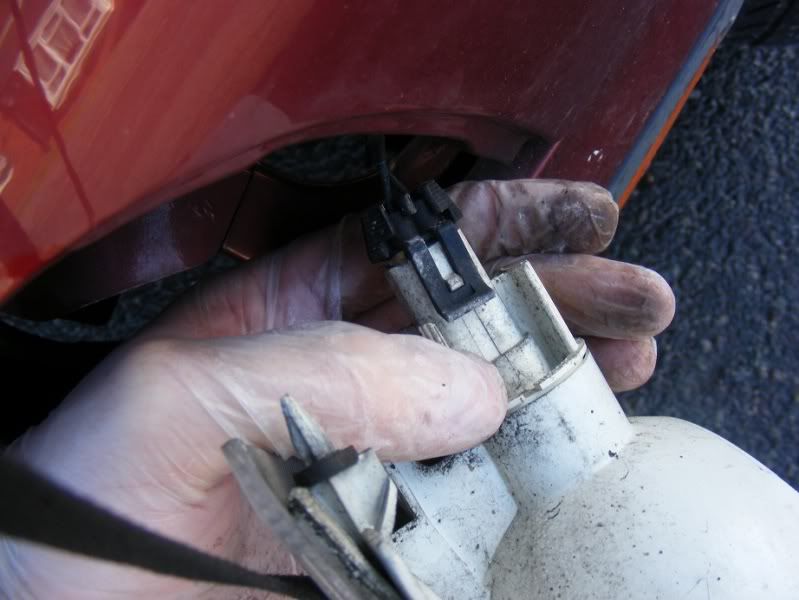
Pull the light (gently) right out and then slide the connector off by lifting the tab, you can’t see it on the first picture as it is on the underside so I took another one to show the tab
Step 5
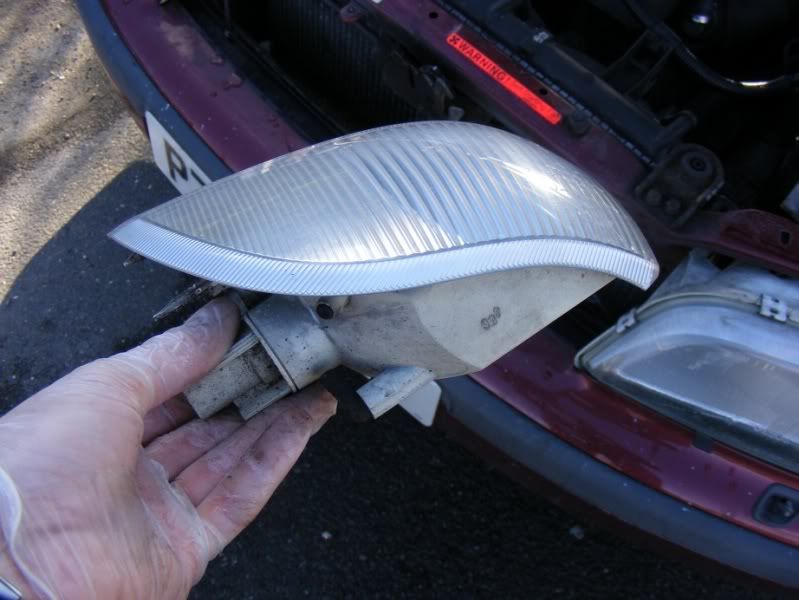
Remove the indicator from the car
Step 6
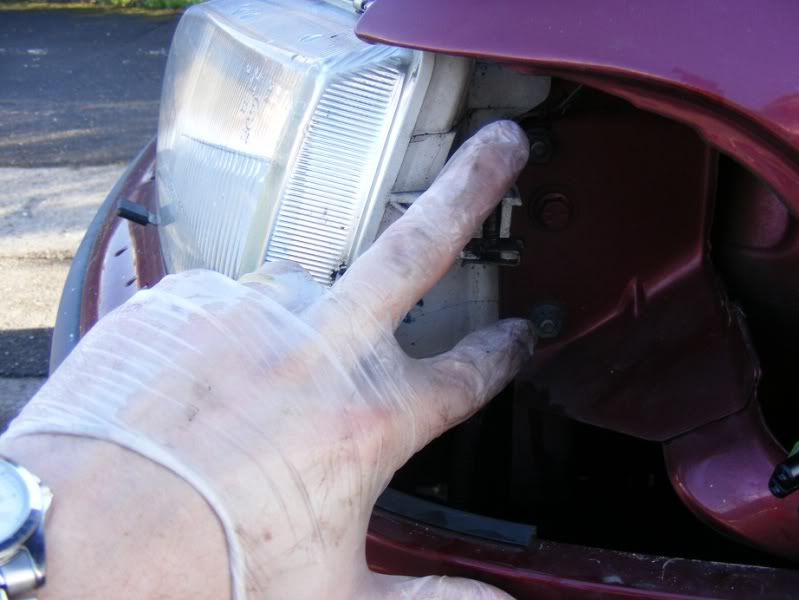
You have now revealed two 10mm nuts that hold the light in, remove these completely
Step 7
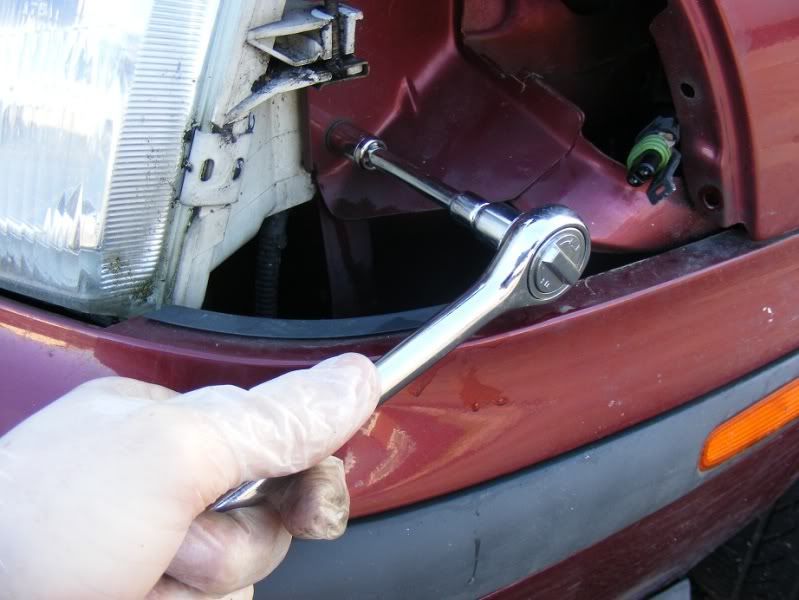
A further two 10mm nuts hold the light in place from behind, these can be accessed already in the engine bay as shown
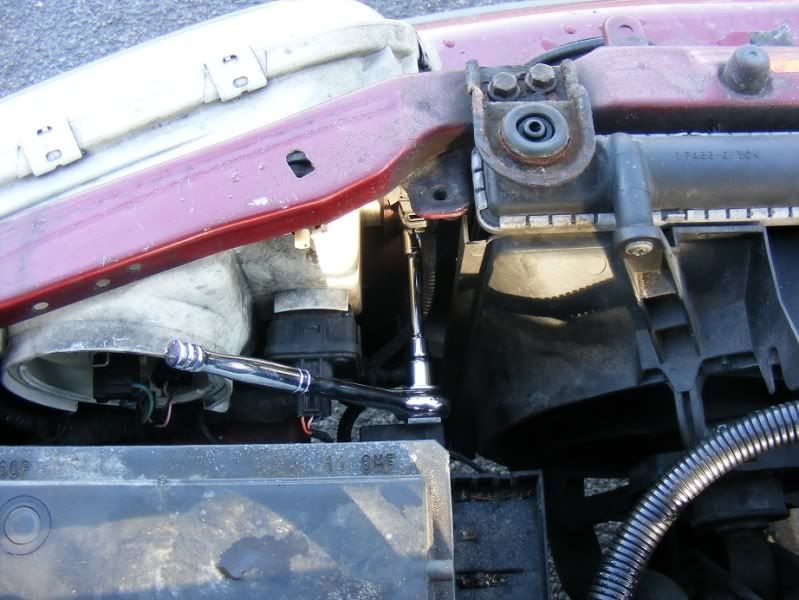
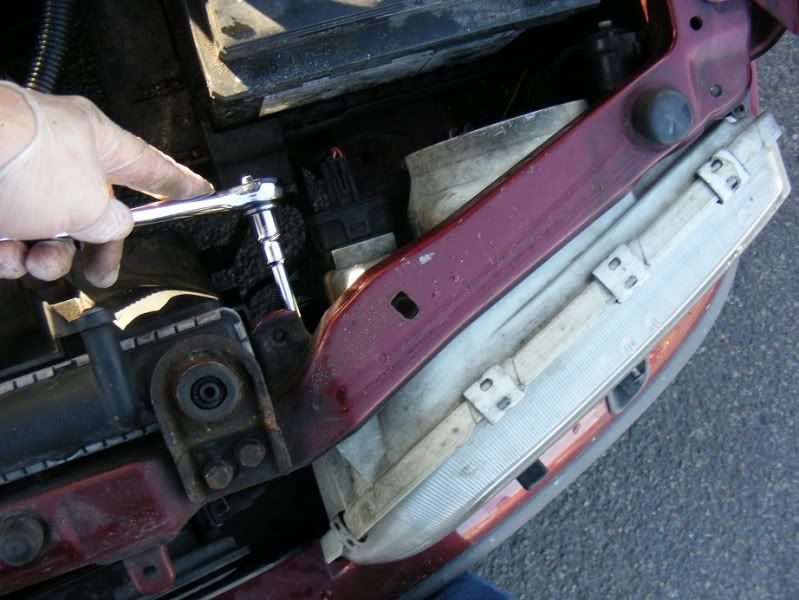
Step 8
Removing the light is a bit awkward, the corner of the lens likes to hit the bumper so you need to force this down at the corner with one hand whilst wriggling the light out. It will come nad is probably easier if you can get two people on it. You need to pull forwards first then slide the unit towards the middle of the car to come off the 4 studs you removed the nuts from in Steps 6 and 7
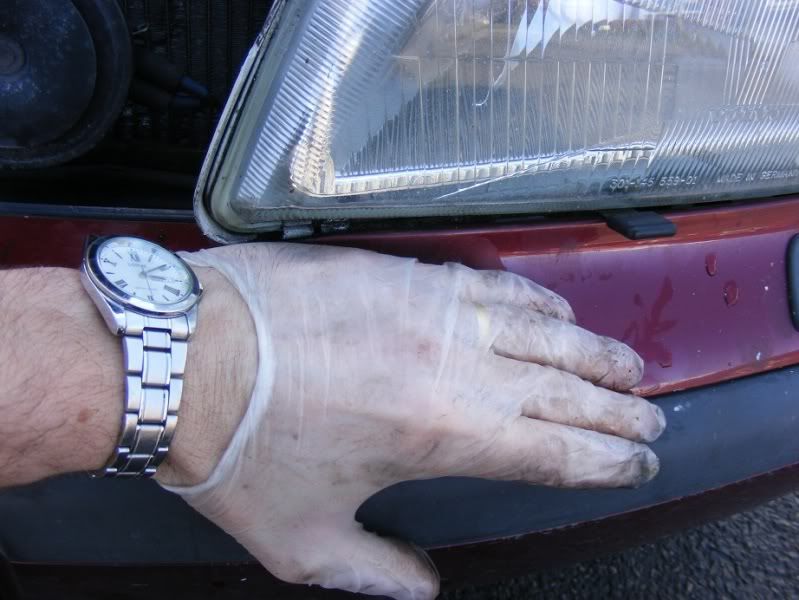
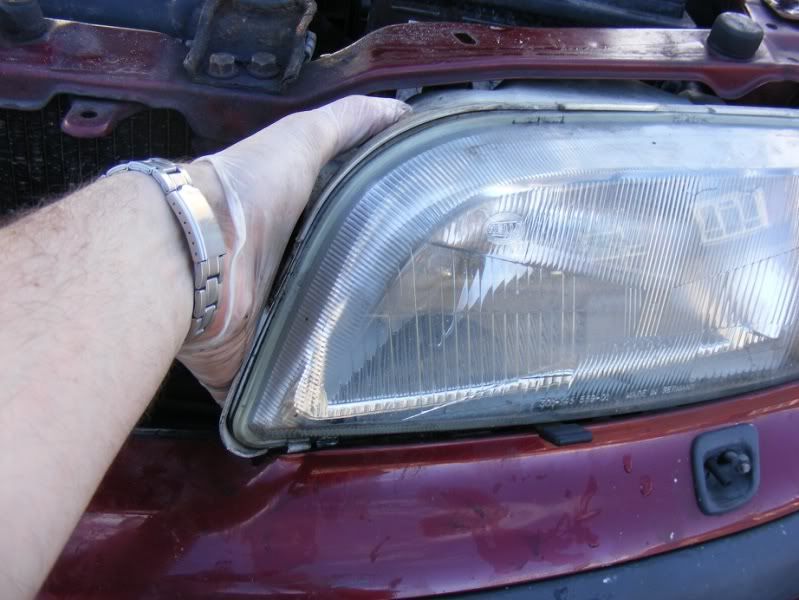
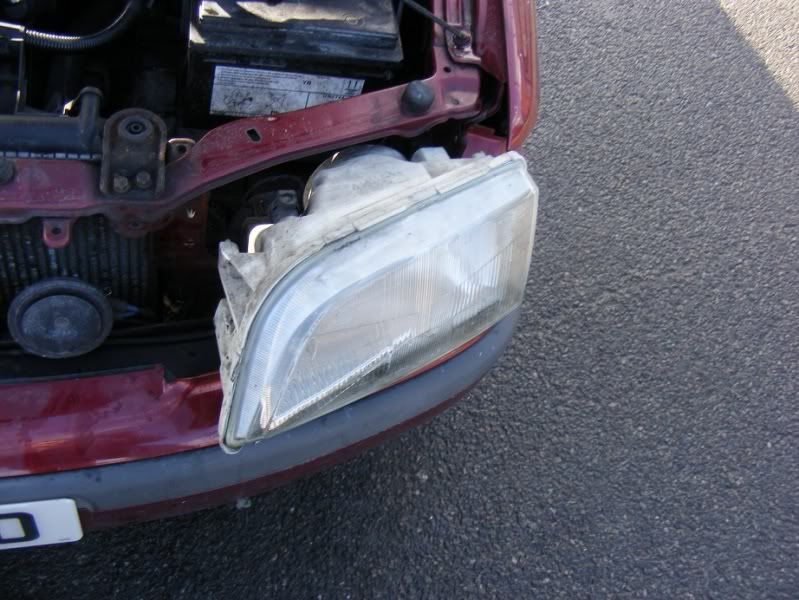
Step 9
Squeeze and remove the 3 pin connector for the headlight level adjuster
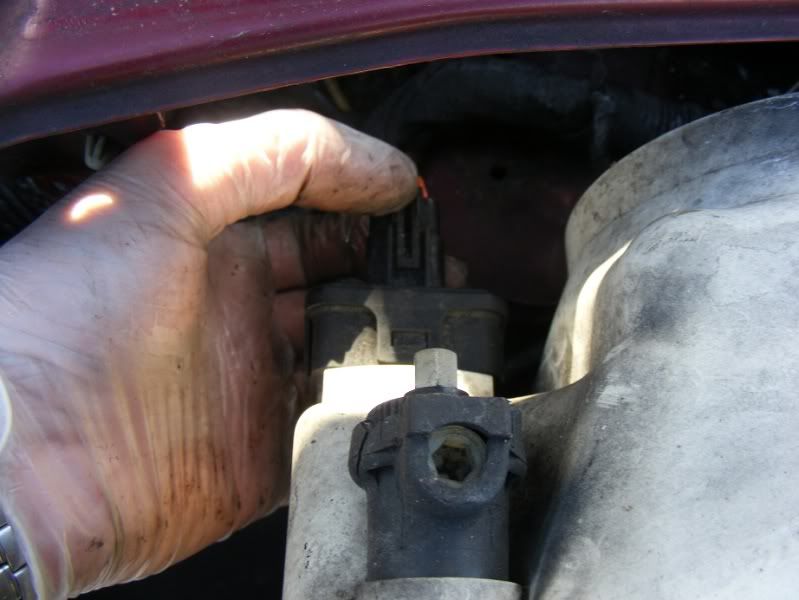
Step 10
Twist and remove the black cap so you can get to the bulbs and then remove the 3 pin multi plug and 2 pin connector for the sidelight
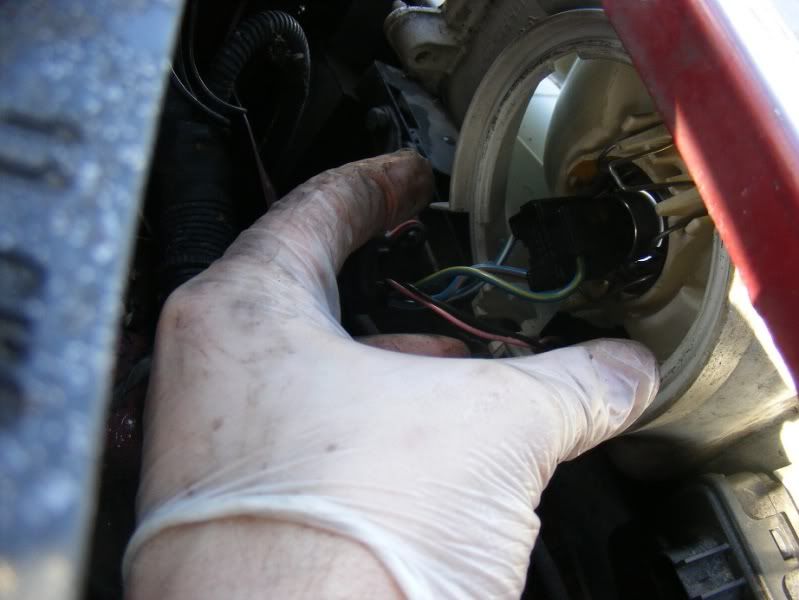
Step 11
You can now remove the old lamp and throw it in the bin

Step 12
If you need to disassemble the unit, simply remove the clips (3 at the top, 3 at the bottom and one either side) as shown with some pliers/a screwdriver. You can then remove the glass (second picture) and set to work on any repairs
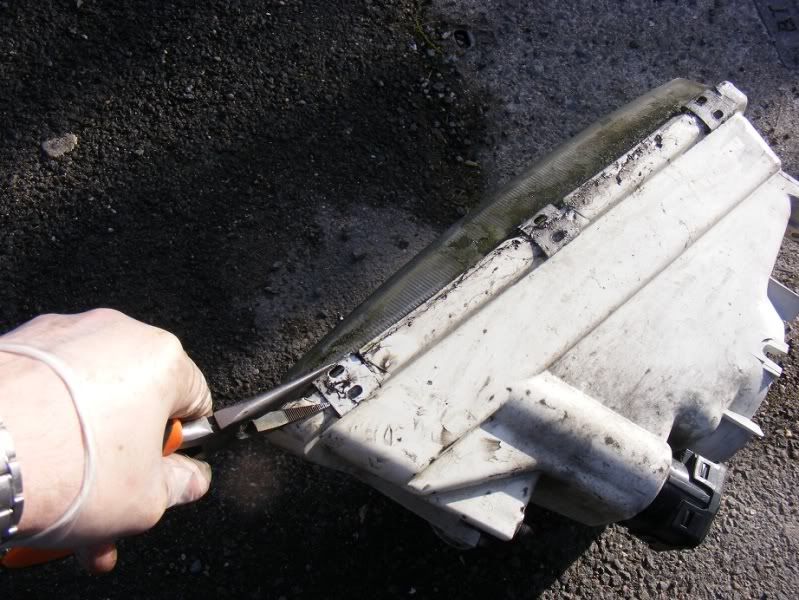
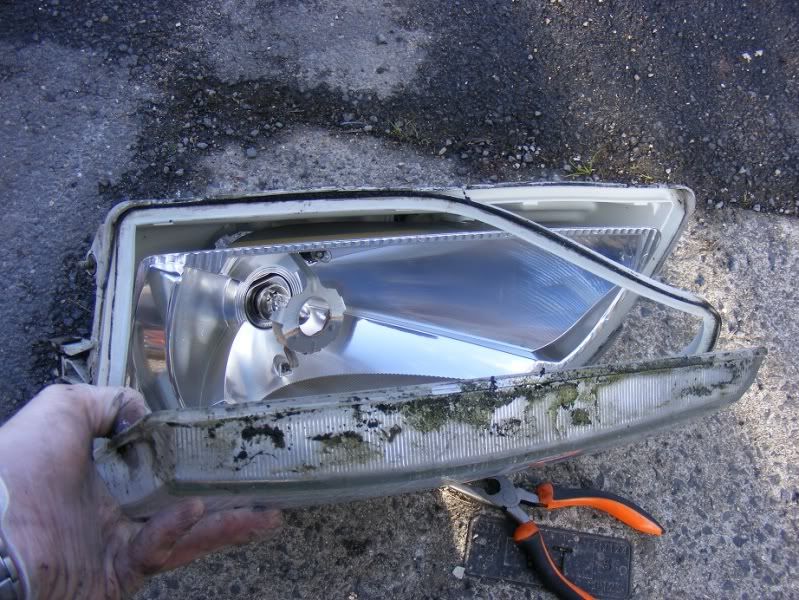
Step 13
Repeat the process on the other side, it is exactly the same
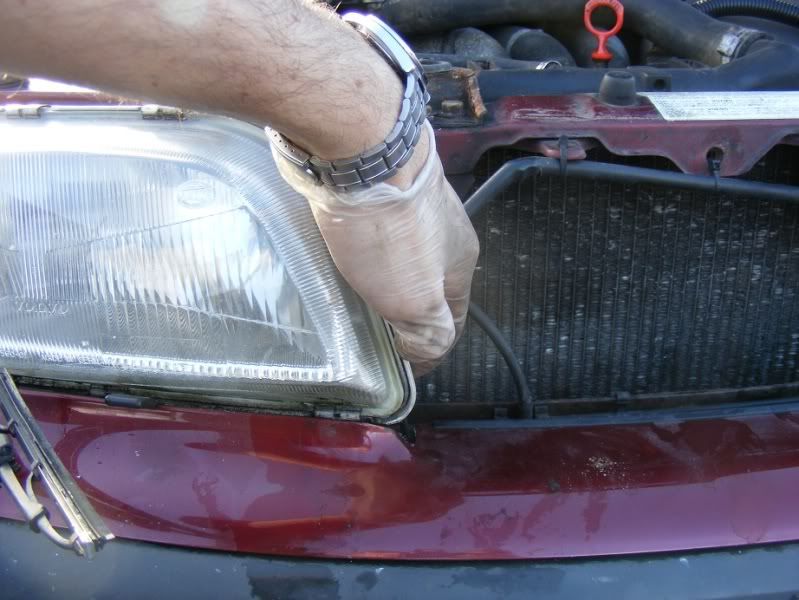
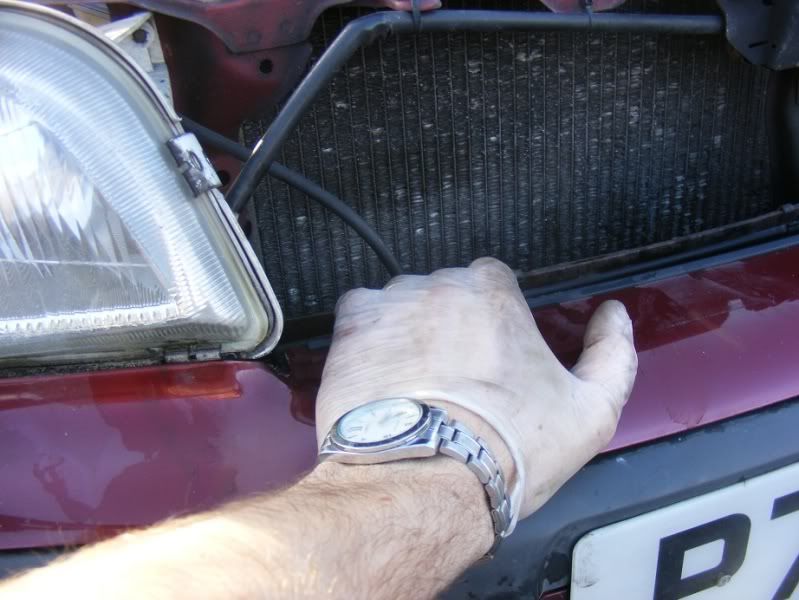
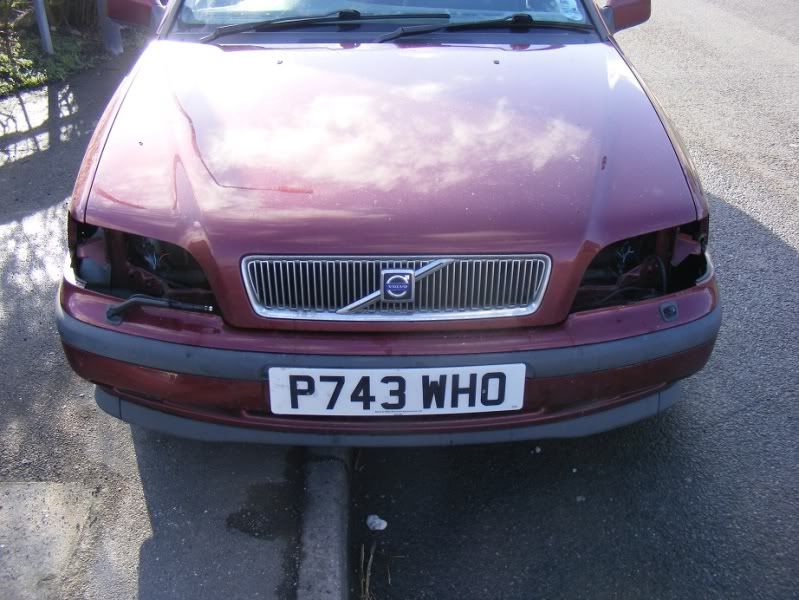
Step 14
Now get yourself some of these pretty things, P2 clear headlights
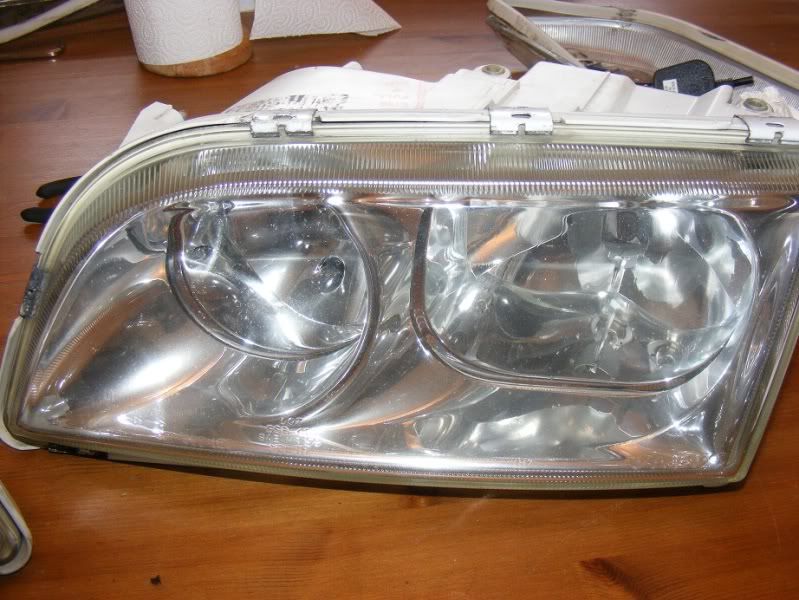
Step 15
This is the 4 pin connector we will be using
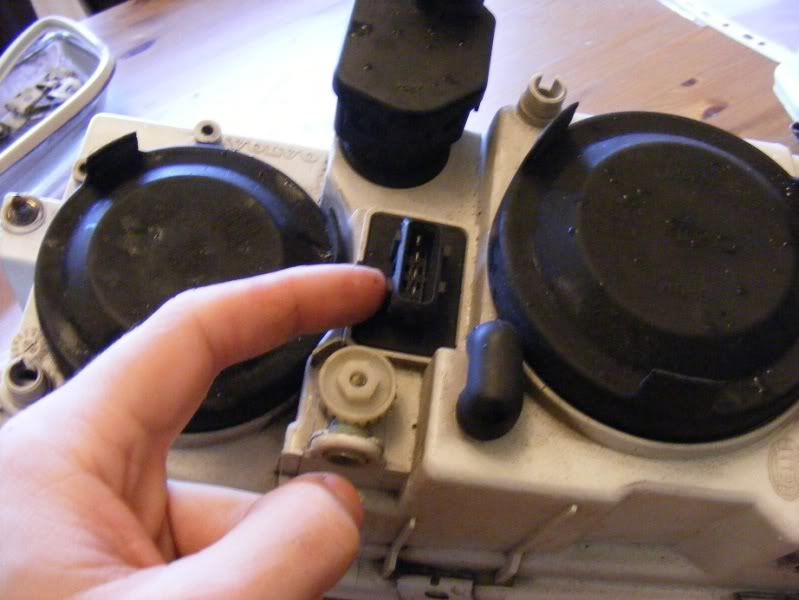
Step 16
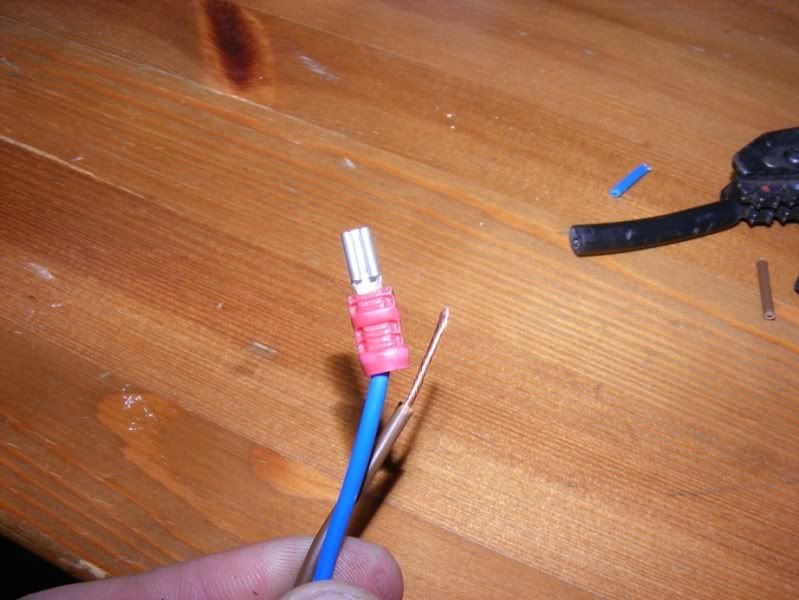
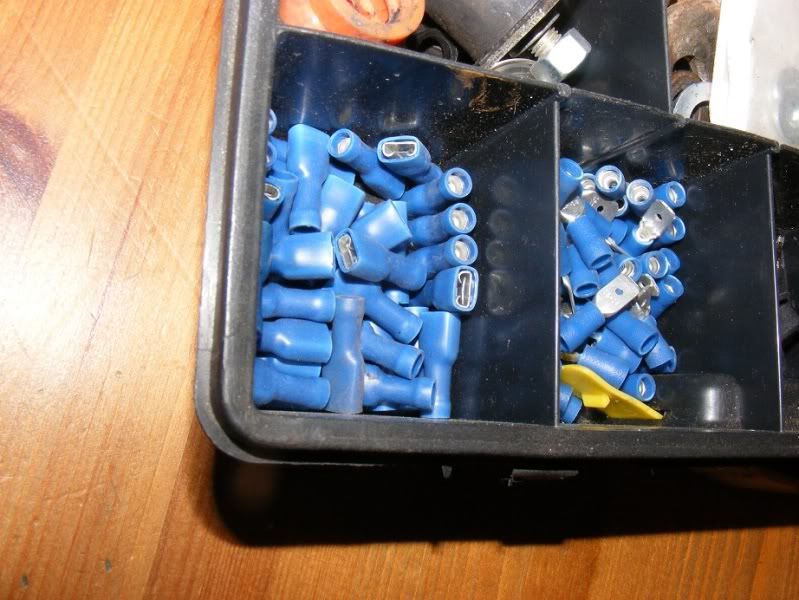
We will start by making some pigtails of wire up, cut to size (~8-12inches) with some scissors/snips (picture 1). Then Strip the ends of the wires (picture 2). Get some small red ferrule spade clips (picture 3) and drimp them onto the wires (picture 4)

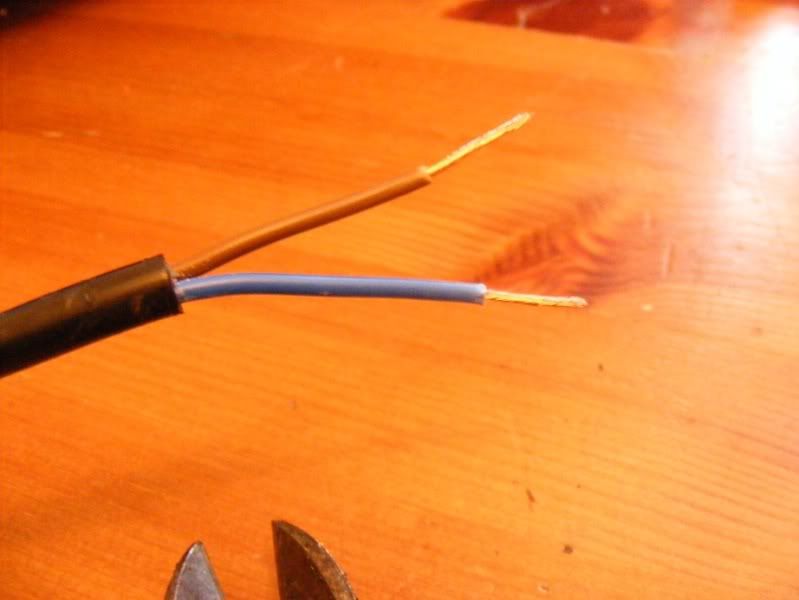
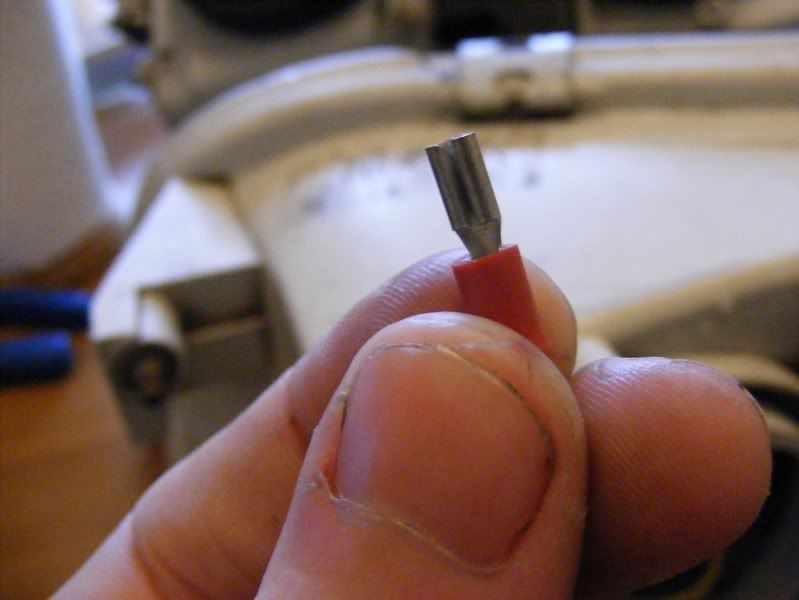
Step 17
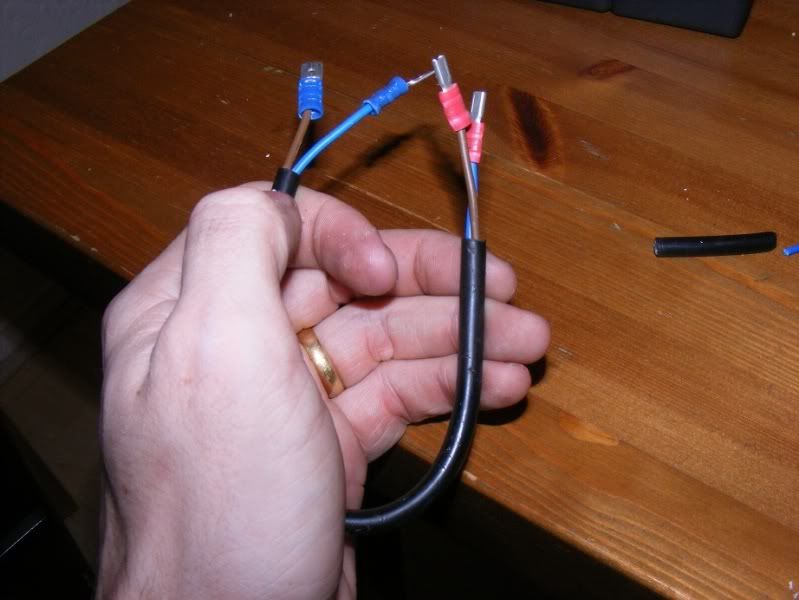
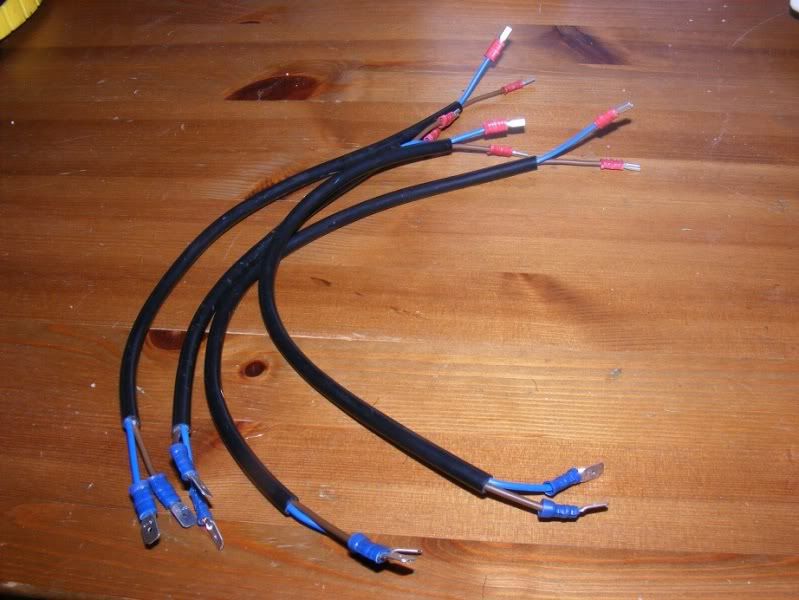
Once you have the small crimps on for the headlight end, fit some larger blue spade clips to go onto the wiring loom and you will end up with this
You will need 3 wires for each headlight, 6 in total
Step 18
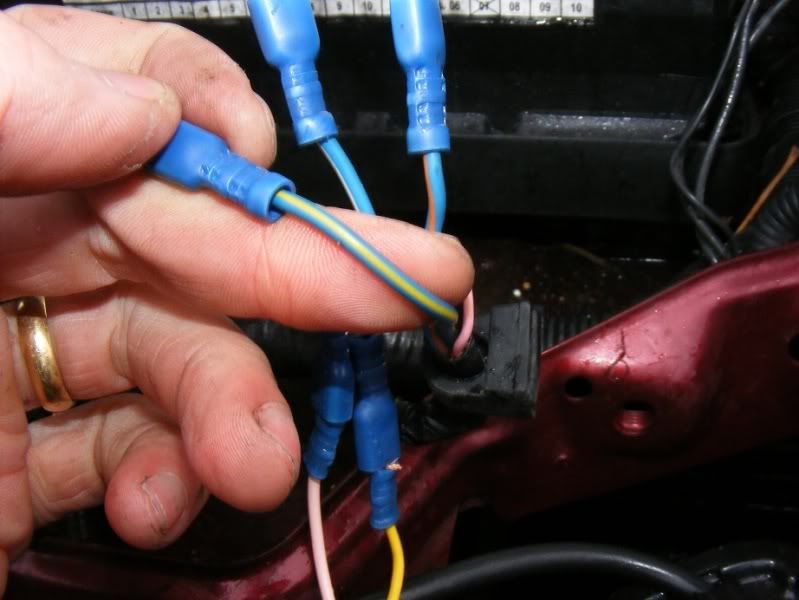
Pop out to the car and grab the two connectors you removed (headlight and side light), cut each of the wires of the connectors in turn and crimp with some spade clips of the opposite gender to those in Step 17
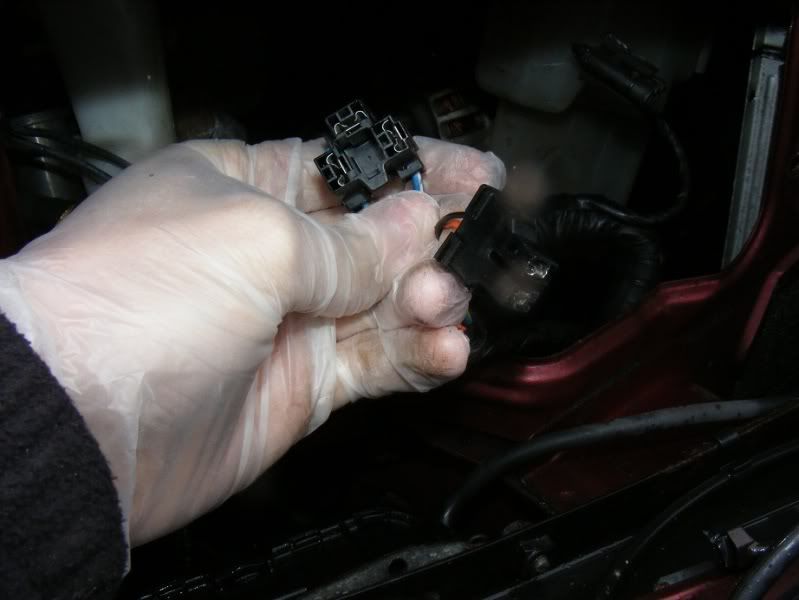

Step 19
On your new headlights, locate the sidelight. You will see a pink (+12V) wire and a yellow (common ground)
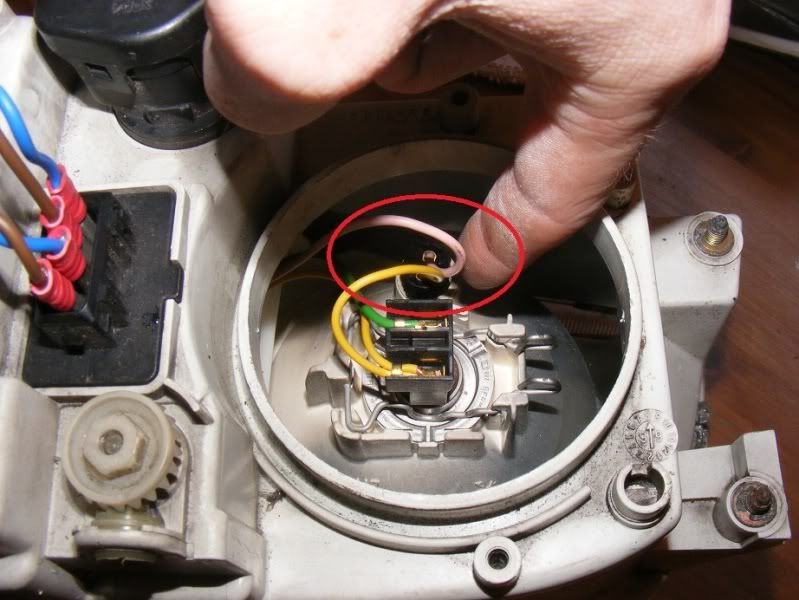
Step 20
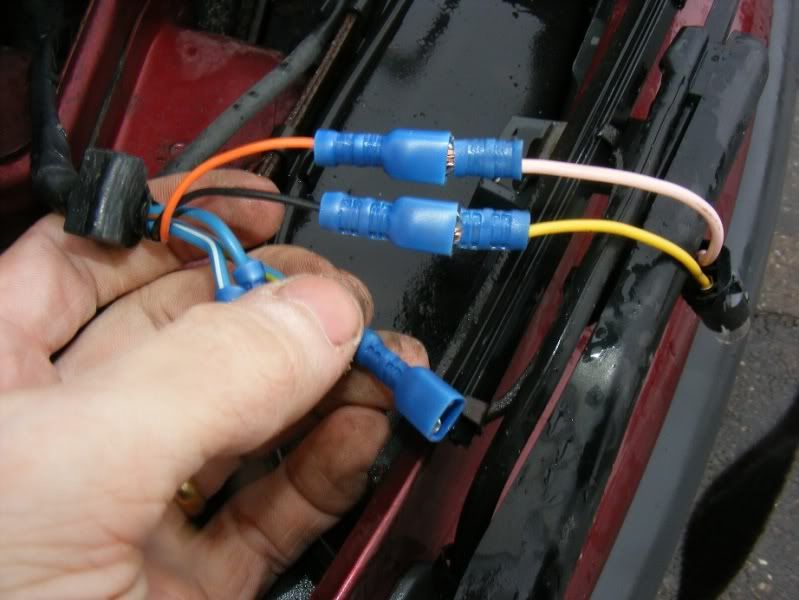
Cut the wires leaving as much slack as you can, then fit spade connectors to them (I used male on the light and female on the car throughout)
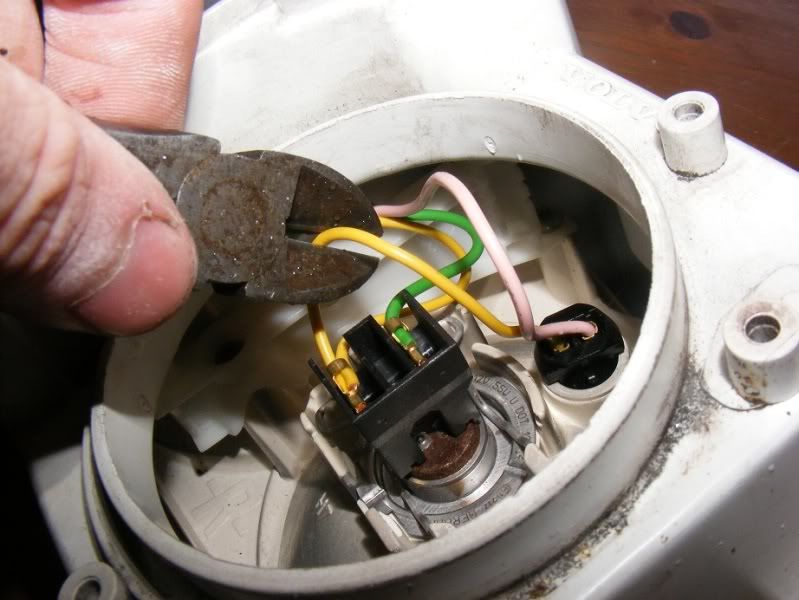
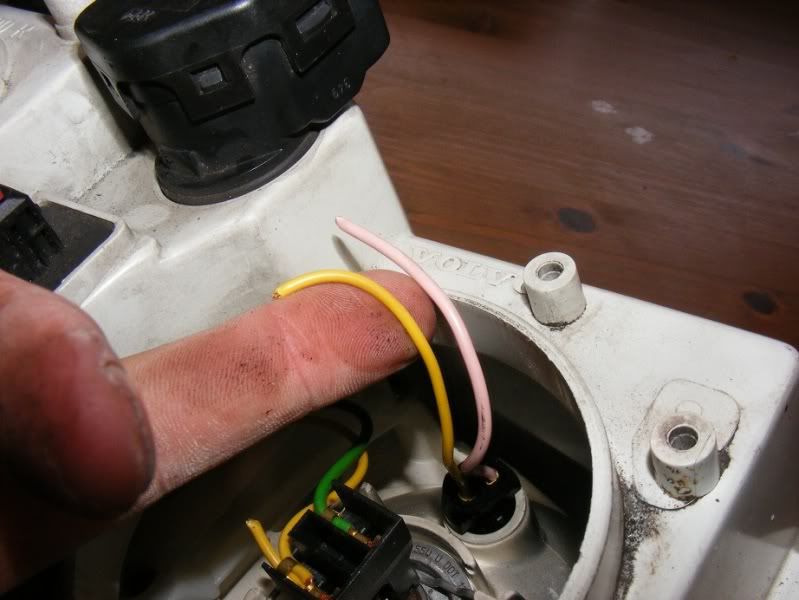
Step 21
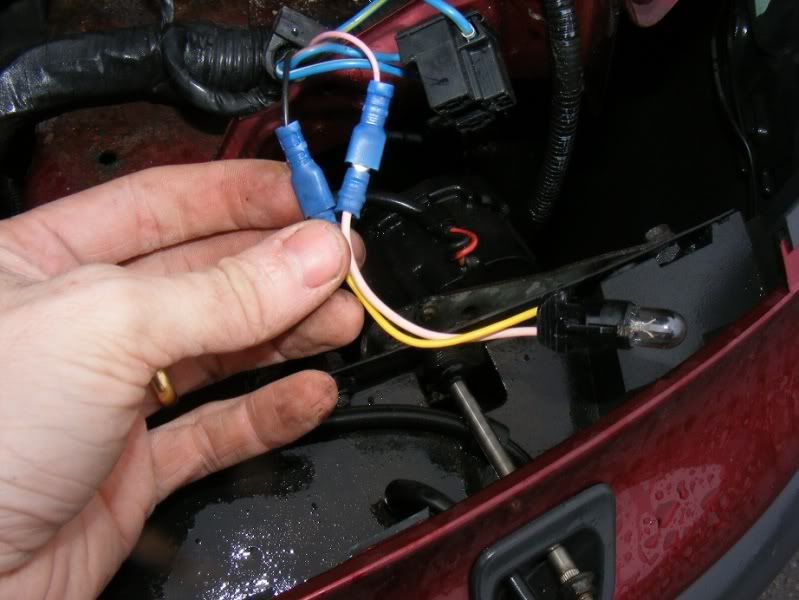
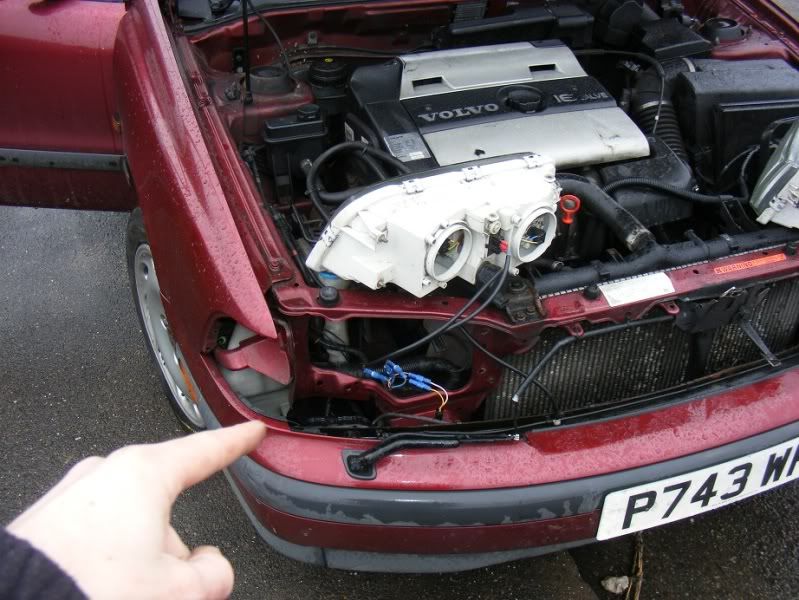
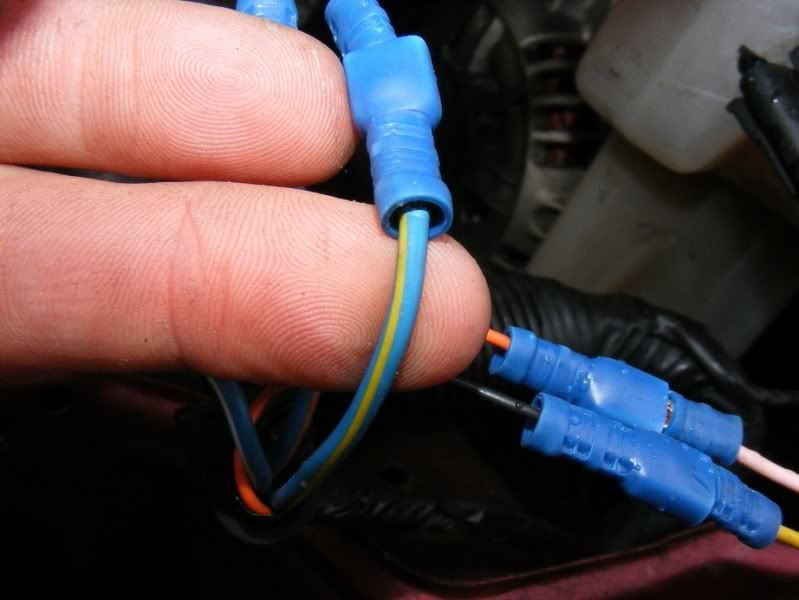
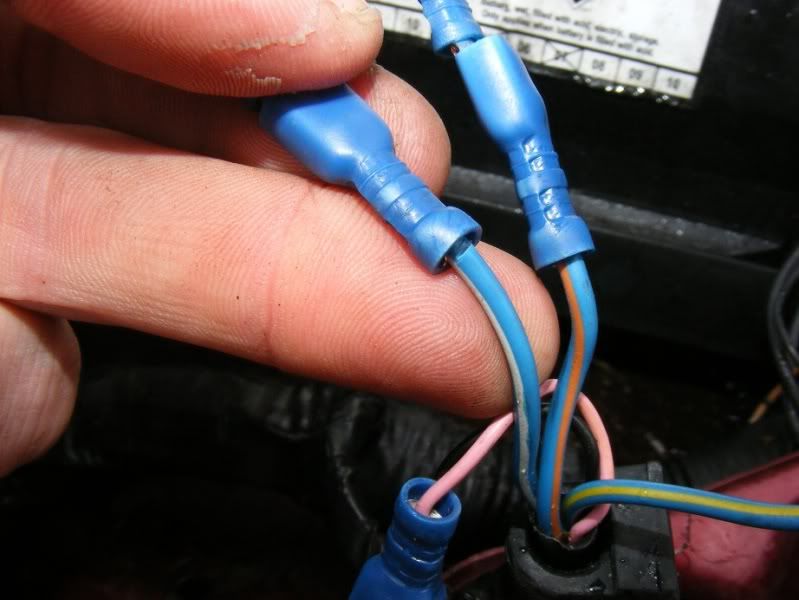
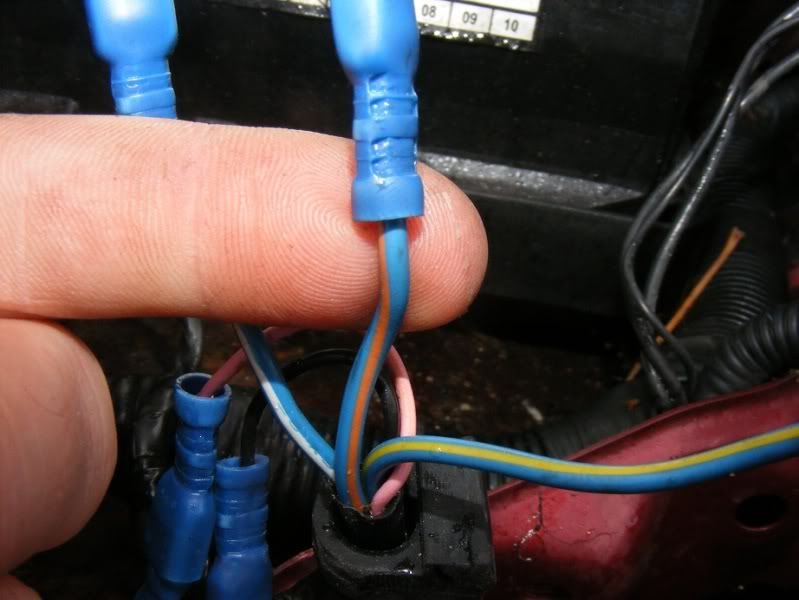
On the car, cut the wires as close to the sidelight connector as possible and put spade connectors on these to match those from Step 20. The orange (+12V) goes to the pink and the black (ground) goes to yellow
Note on the driver’s side (offside), the wires are pink (+12V) and black (ground) as shown in the final picture
Step 22
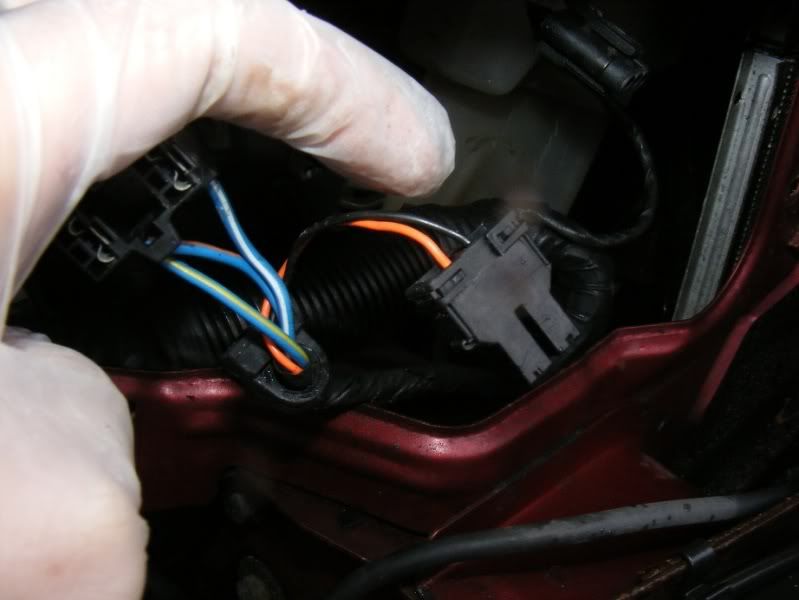
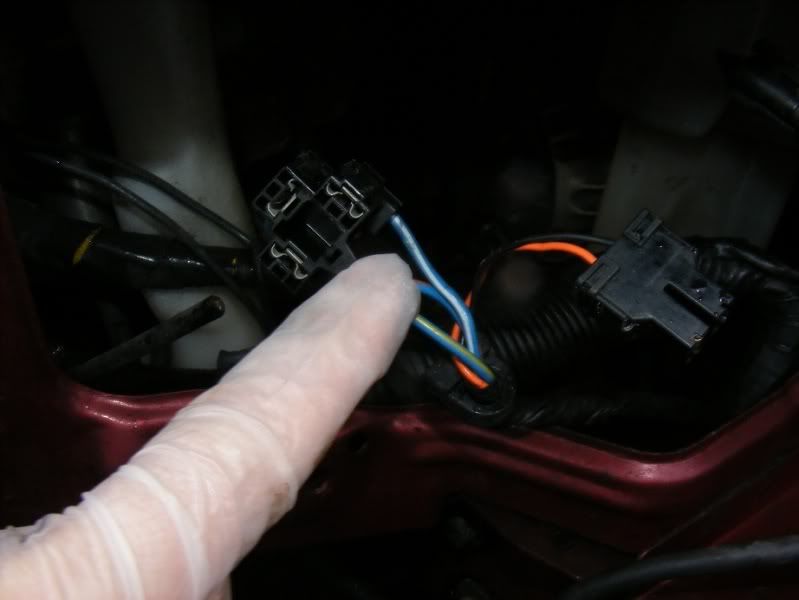
Now onto the standard headlight wiring, cut the 3 pin connector and change each wire to spade connections
Step 23
First we’ll deal with the driver’s side
Step 24
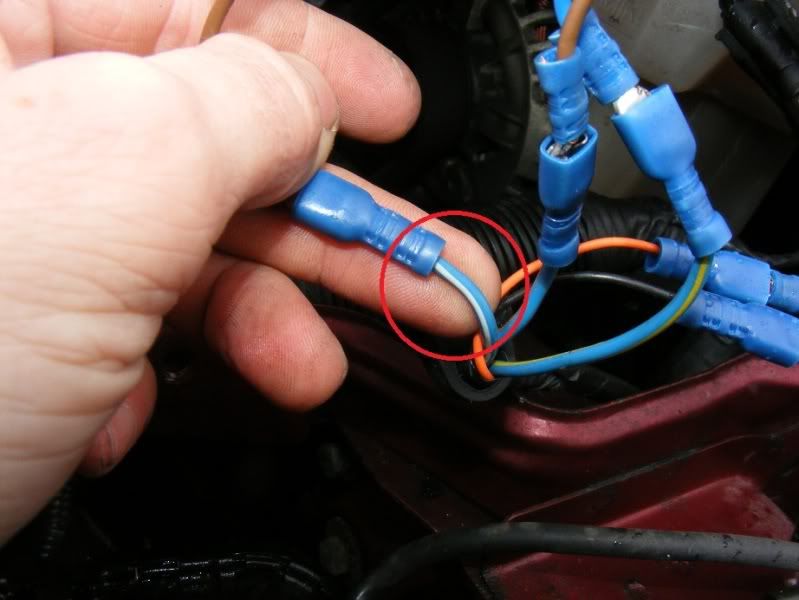
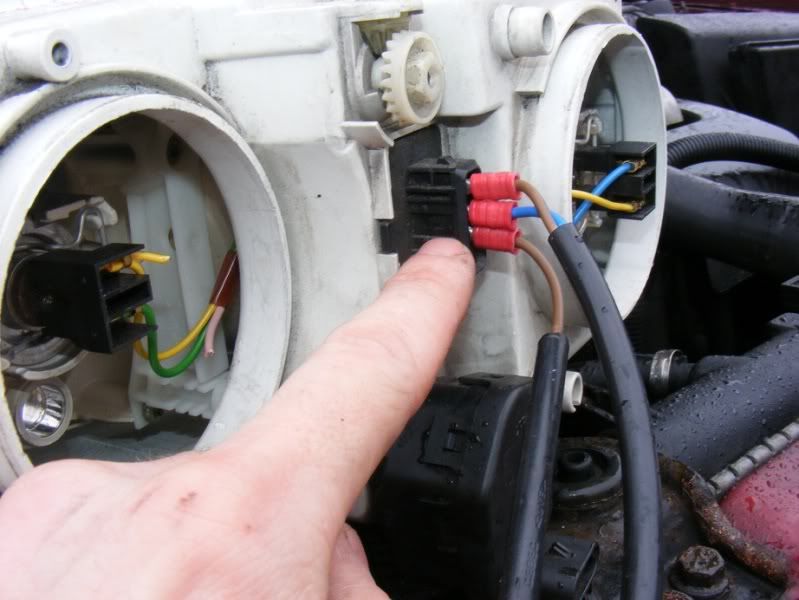
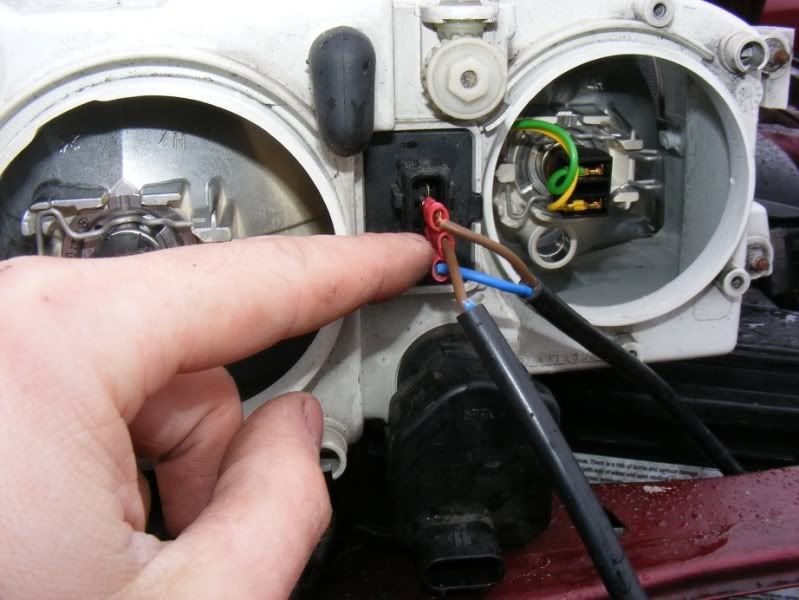
Connect the blue with white stripe (ground) on the car to the third pin down on the light unit (the bottom pin is unused as this was for sidelights)
Step 25
Connect the blue with orange stripe on the car to the top pin on the light connector
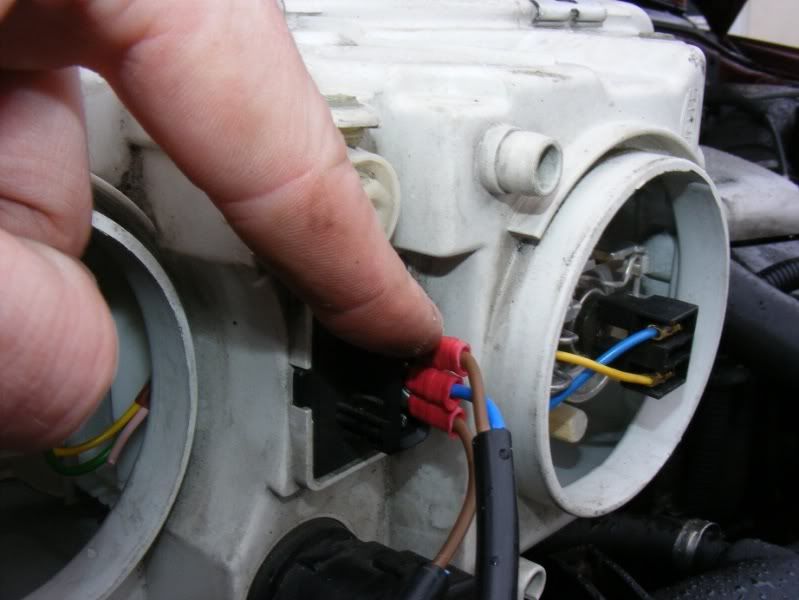
Step 26
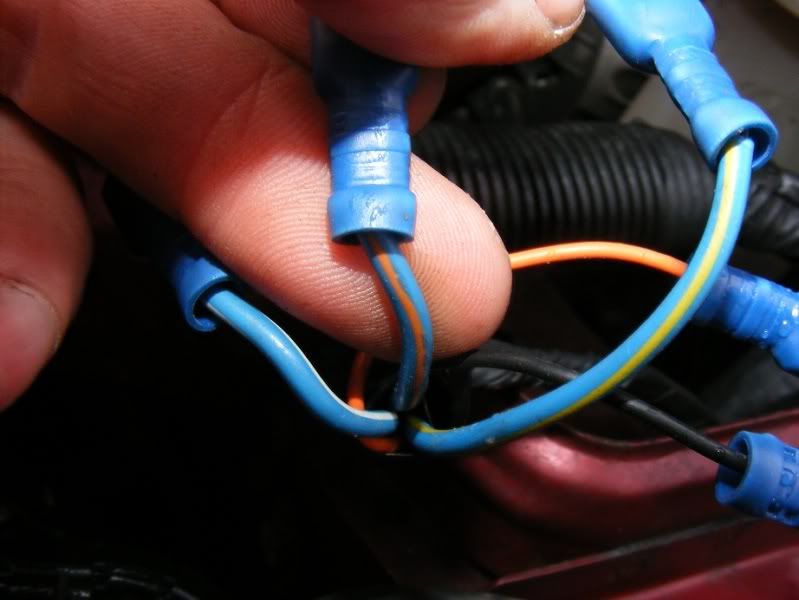
Connect the blue with yellow stripe on the car to the second pin down on the light connector
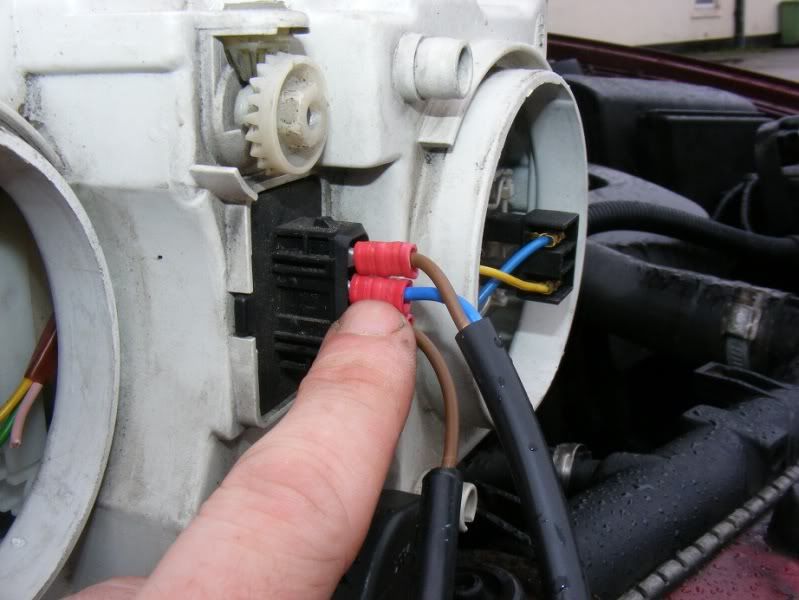
Step 27
Now to the passenger side
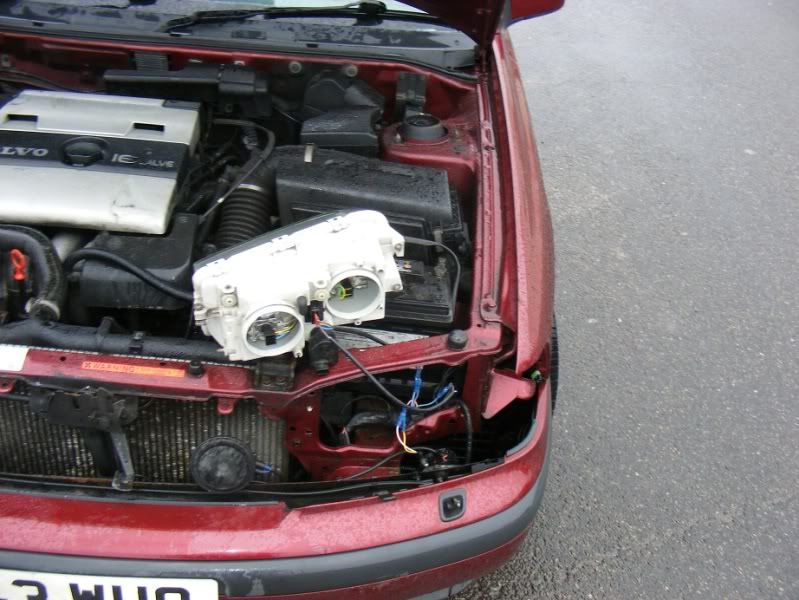
Step 28
Connect the blue with white stripe (ground) on the car to the second pin on the light connector (the top pin is unused, sidelights)
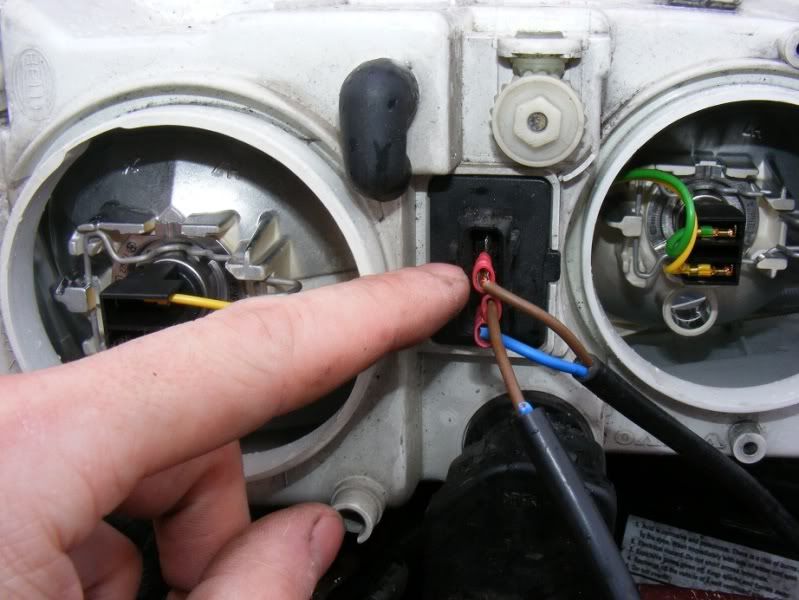
Step 29
Connect the blue with orange stripe on the car to the bottom pin on the light connector
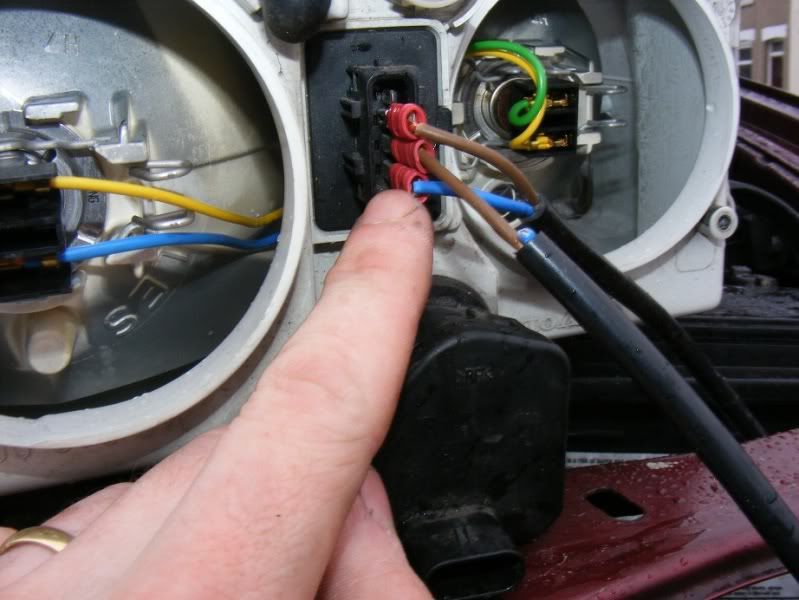
Step 30
Connect the blue with yellow stripe on the car to the third pin down on the light connector
Step 31
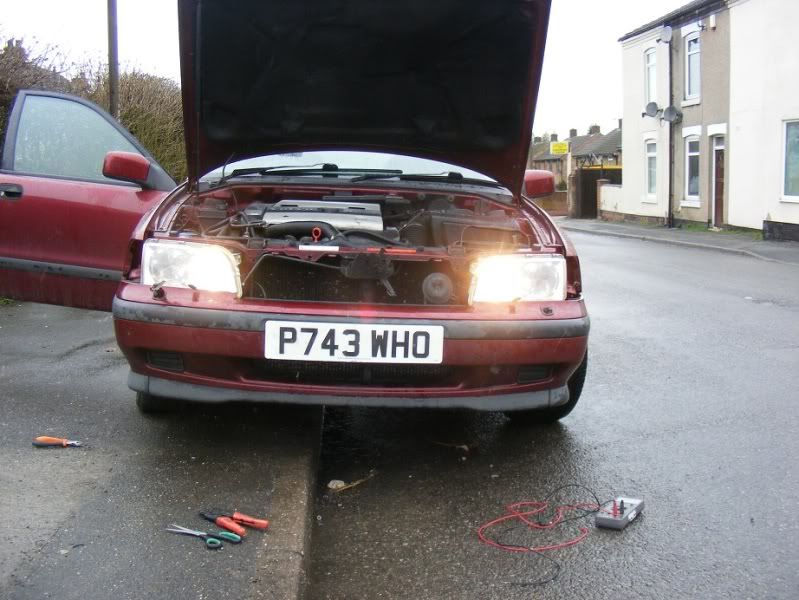
Check your sidelights, dipped headlights and main beam work and then you can put it all back together
Step 32
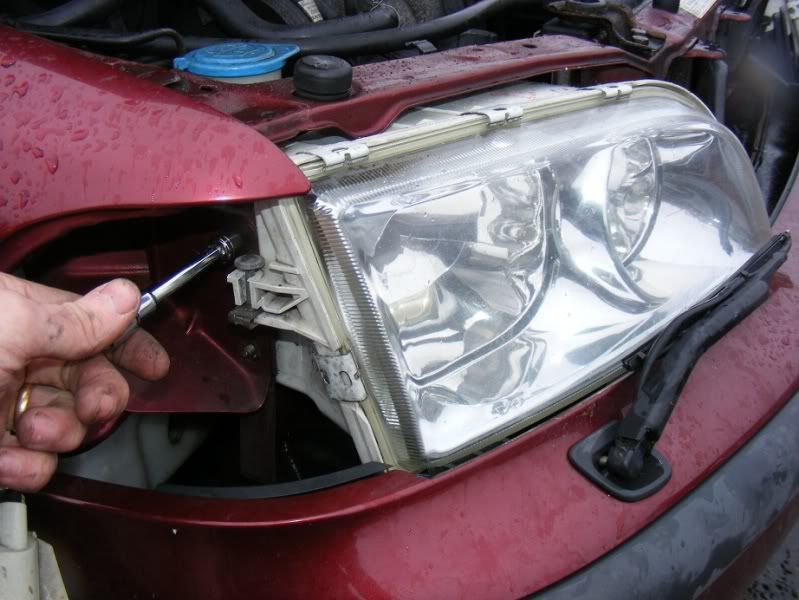
Refit the 4 nuts
Step 33
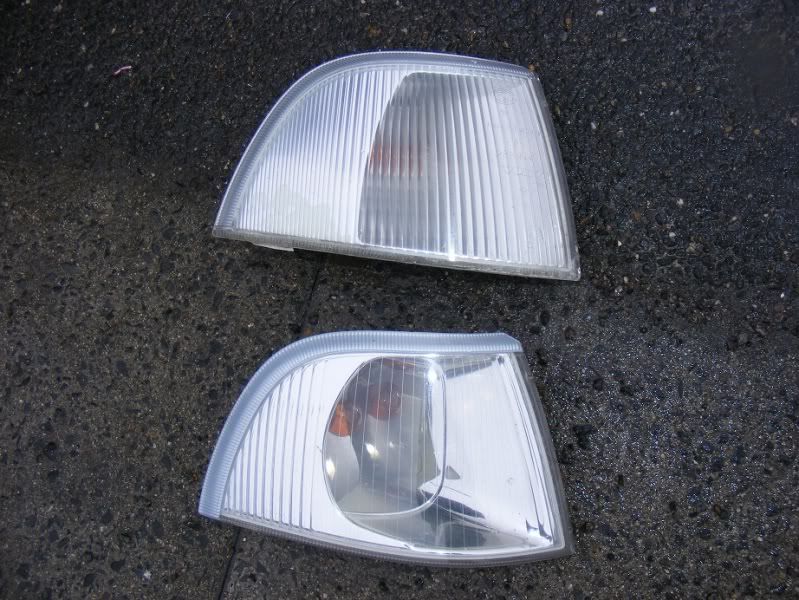
You can use the P2 indicators (below) which are clearer while you are doing this change, up to you
Step 34
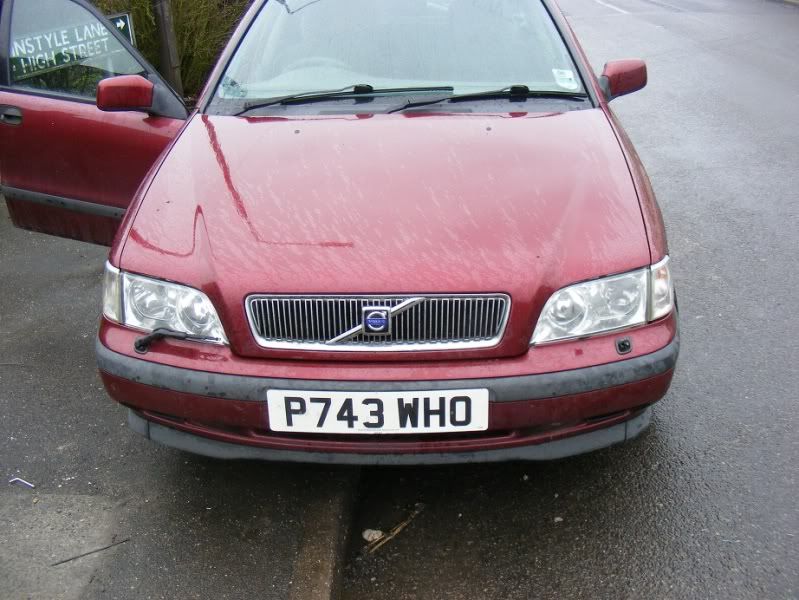
The final article, all back together
Step 35
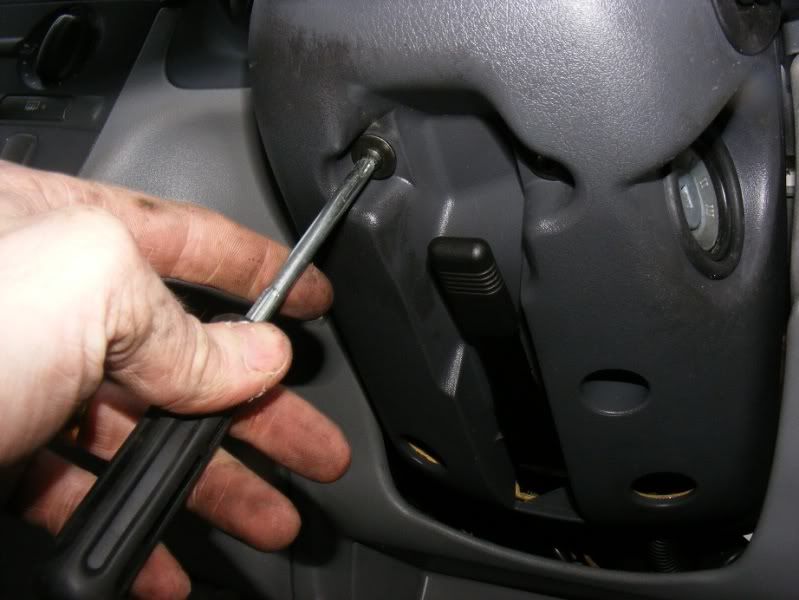
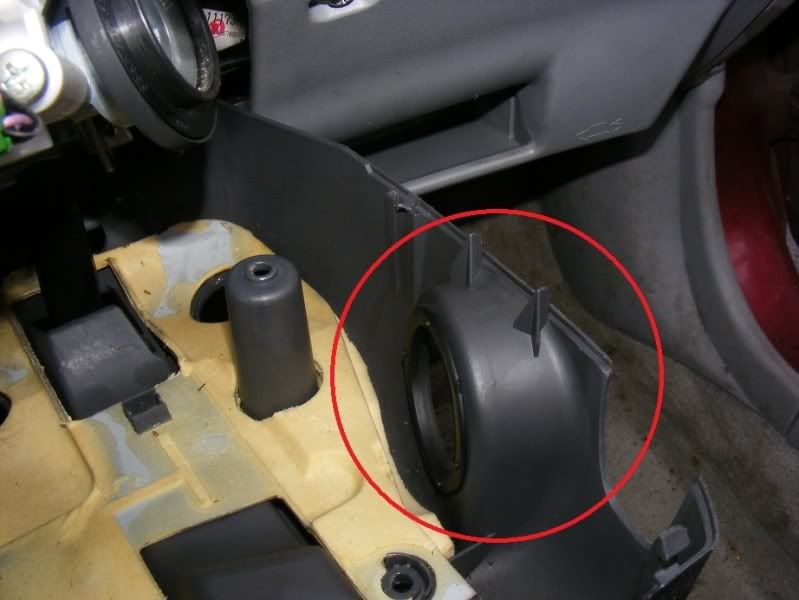
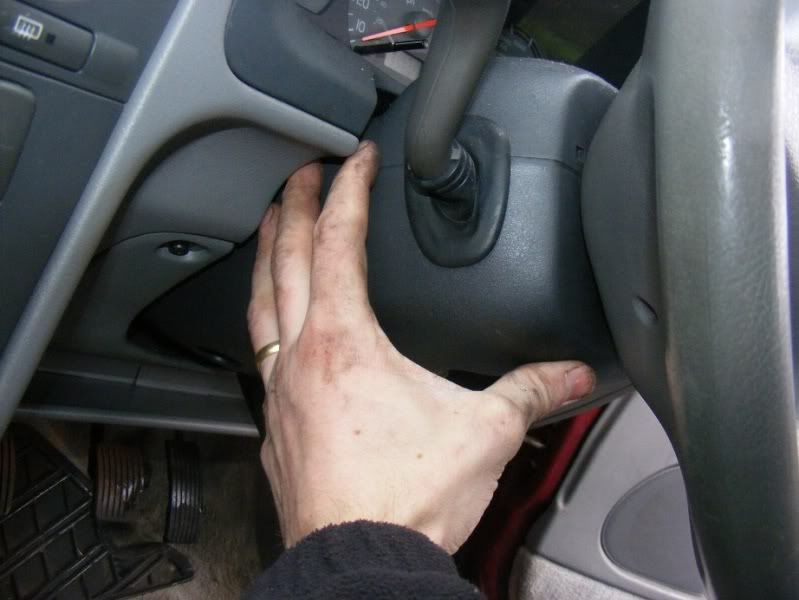
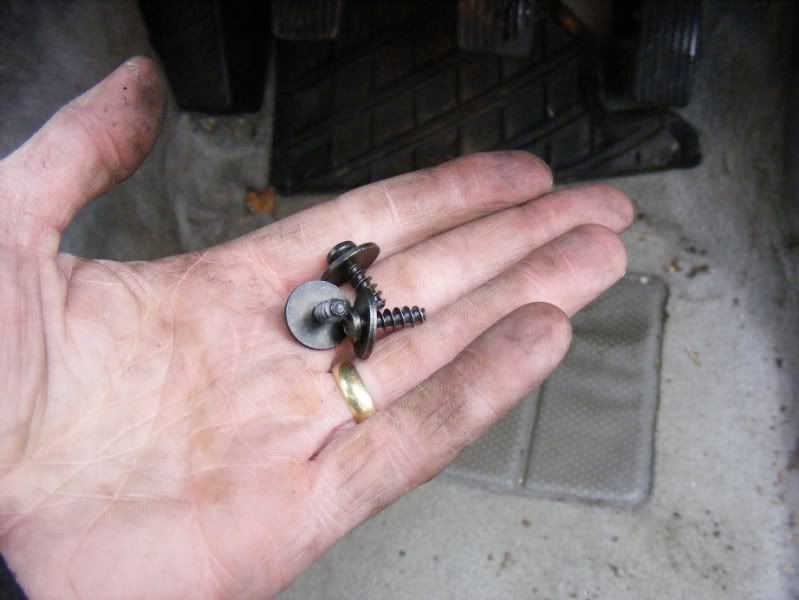
You will notice one problem which is that when you have your lights on normally (switch at 1 o clock position), you can put full beam on but you lose your dipped headlights. A mod is required! Head into the cabin and underneath the steering column there is a piece of trim to remove, take out the 3 screws
Step 36
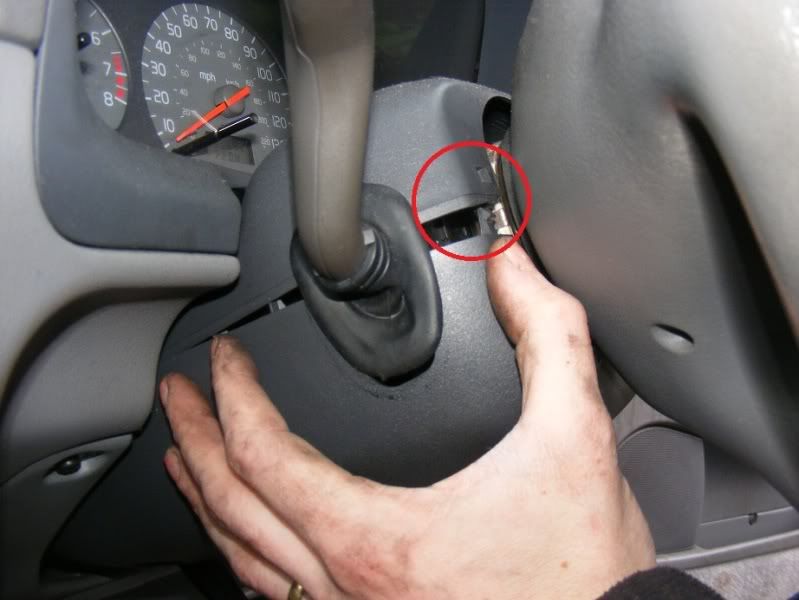
Undo the 2 plastic clips either side of the wheel by squeezing the plastic and then pull the trim down, unhook it over the ignition barrel (picture 2) then you will have access to the light connector we need
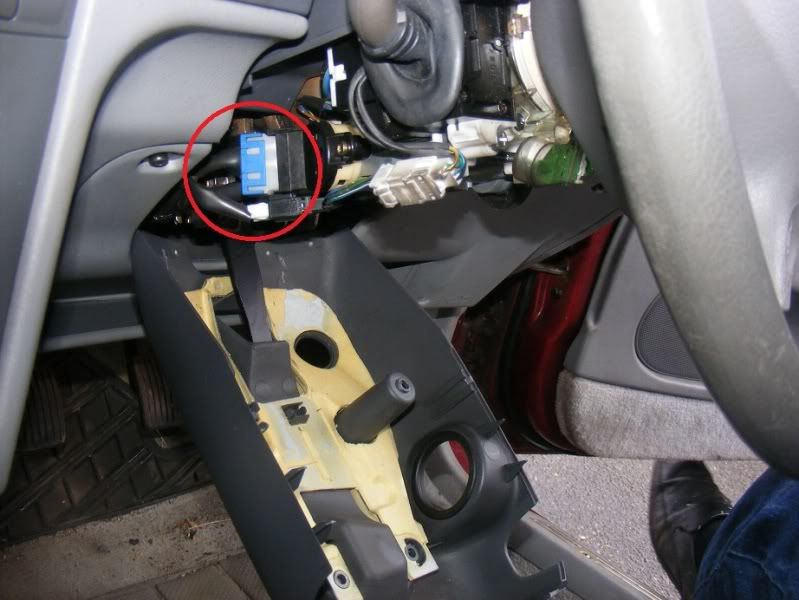
Step 37
Push the tab and slide the connector out
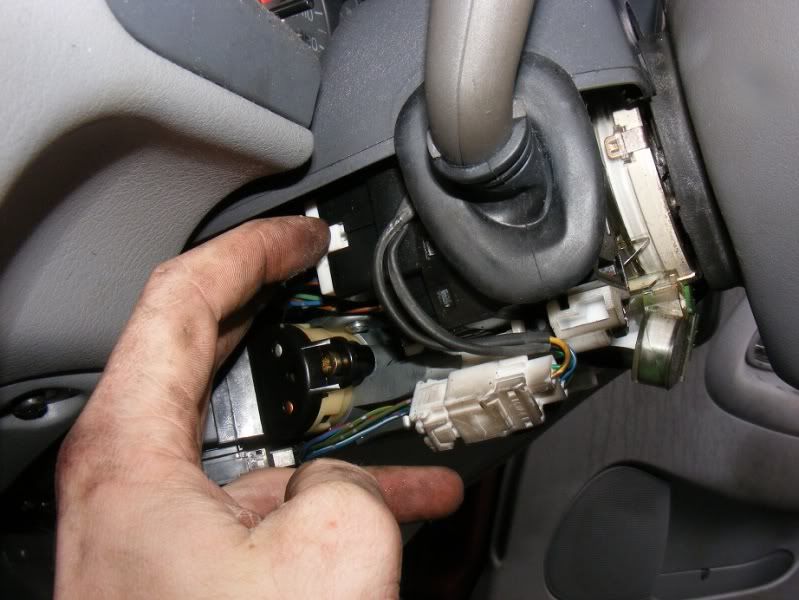
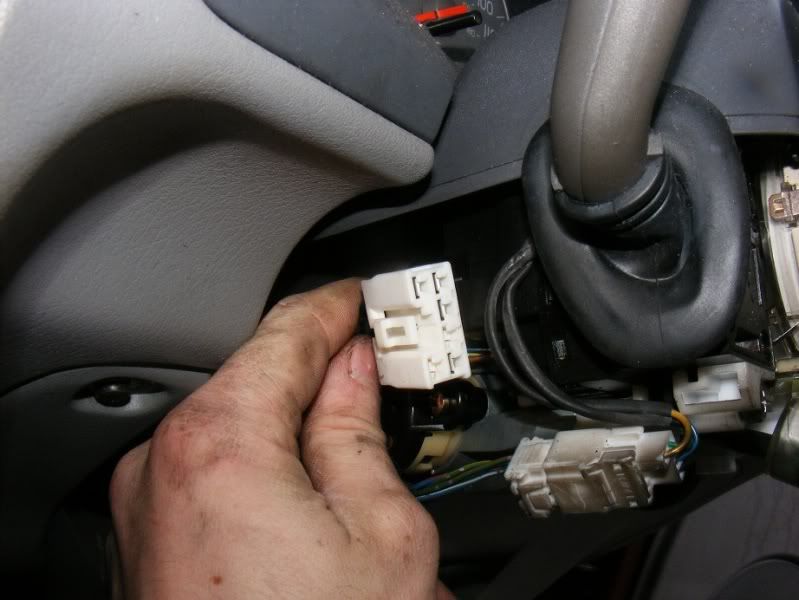
Step 38
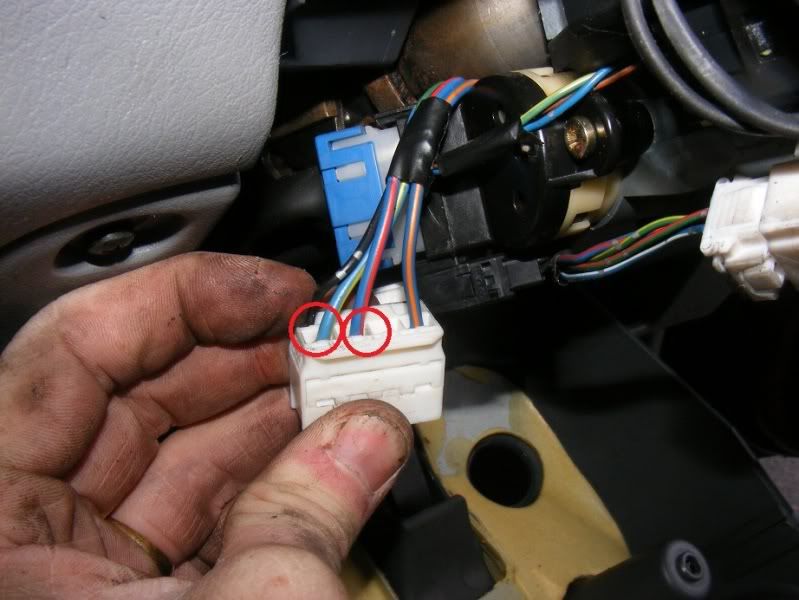
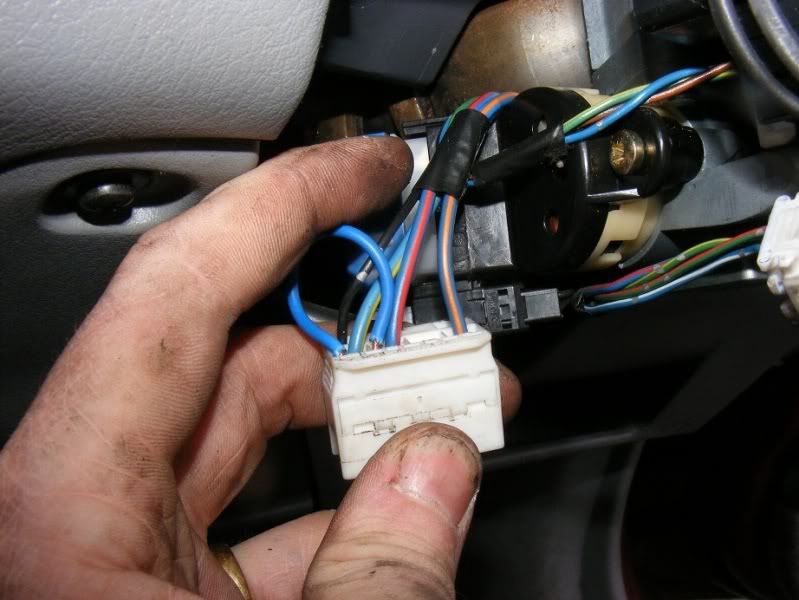
You need to short pins 5 and 6 which are the blue and red & blue and yelow wires. You can do this with a link as shown, soldering the joing, a sotch block, whatever you have around
Step 39
Now refit the trim and screws and run a full test of the lights
Original posted in Volvo Owners Club Forum
The instructions in this tutorial will work in the following models / years:
– 1995, 1996, 1997, 1998, 1999 and 2000 Volvo S40
– 1995, 1996, 1997, 1998, 1999 and 2000 Volvo v40

English Jim says:
Thank you very much I now know it can be done.. how long did it take you and what else can you swap over ..?
What a great read,,thanks again
Bart V says:
Thank you what a great tutorial!! Learned a lot from this
Thomas Twyford says:
Does the center console armrest from second gen fit onto first gen?
Alexandra M. says:
It doesn’t fit without some adaptation! There is an armrest for the first gen that is fixed to the driver’s seat.