
This article is designed to explain how to tackle replacing the rear shock absorber and/or spring. This is a fairly easy job to do.
The first thing is making sure you have the tools for the job. You need to be able to raise and support the rear of the car one side at a time and at the same time you will need to be able to raise and lower the rear axle.
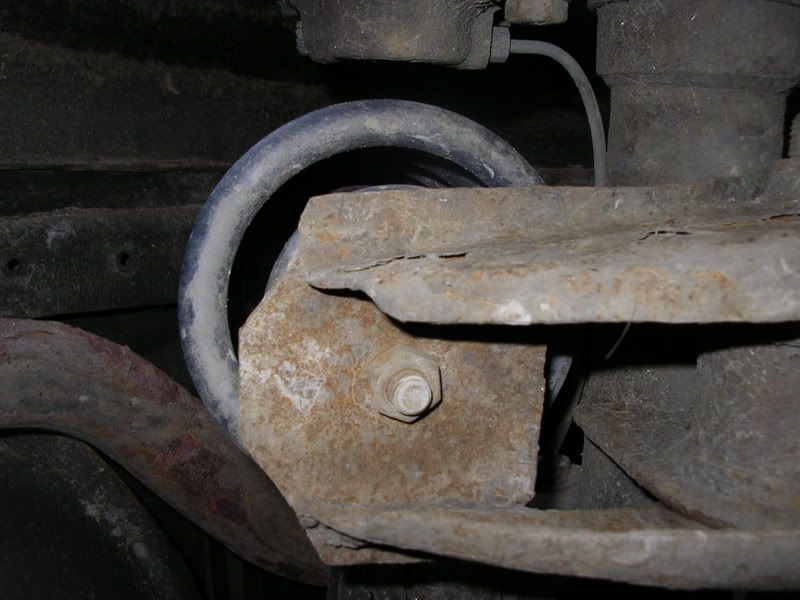
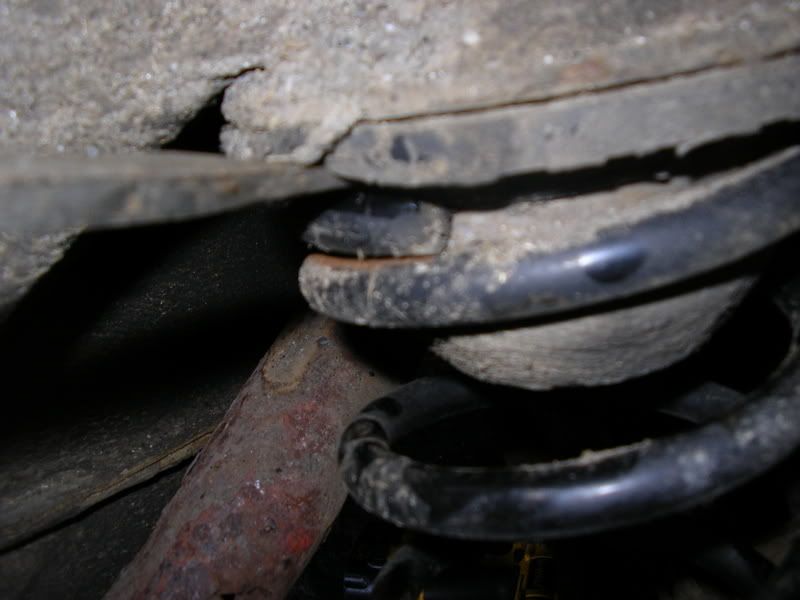
Also you will need some good hefty sockets and spanners. On earlier cars you will need 17 and 19mm sockets and spanners – a good long breaker bar is also useful. Some later cars may need an 18mm as well. You will also need the parts you are replacing i.e. springs and/or shocks. You will also need to inspect the piece that locates the spring at the top – I have seen some corroded badly enough to need replacing. Also there are often issues with the plate locating the bottom of the spring:
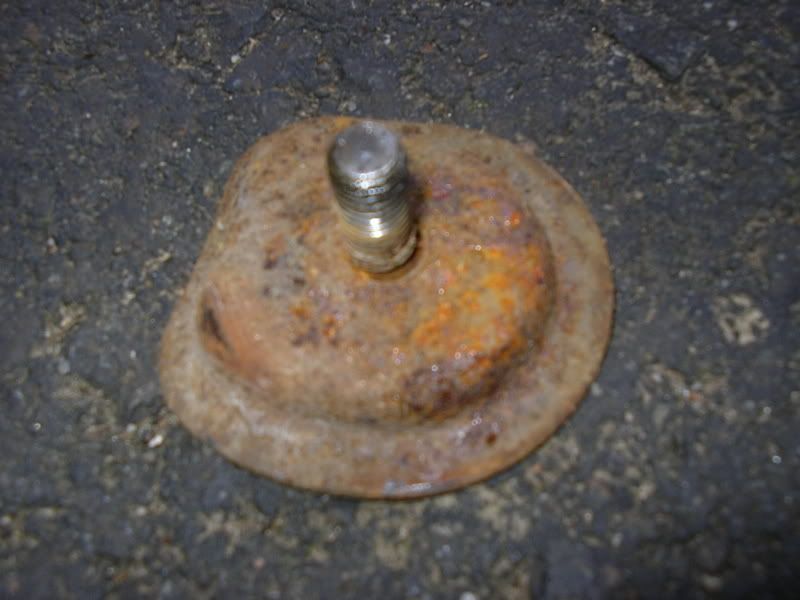
The stud that the nut fits onto is onto splines into the plate and this can come loose making removal difficult and will need repairing or replacing before refitting.
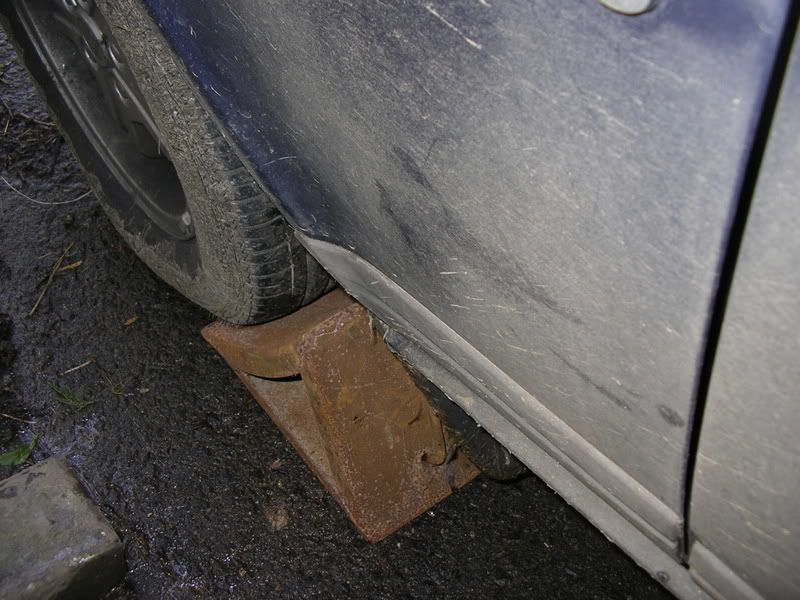
Park the car on firm level ground with the handbrake on. First chock the front wheel on the opposite side to the one being raised:
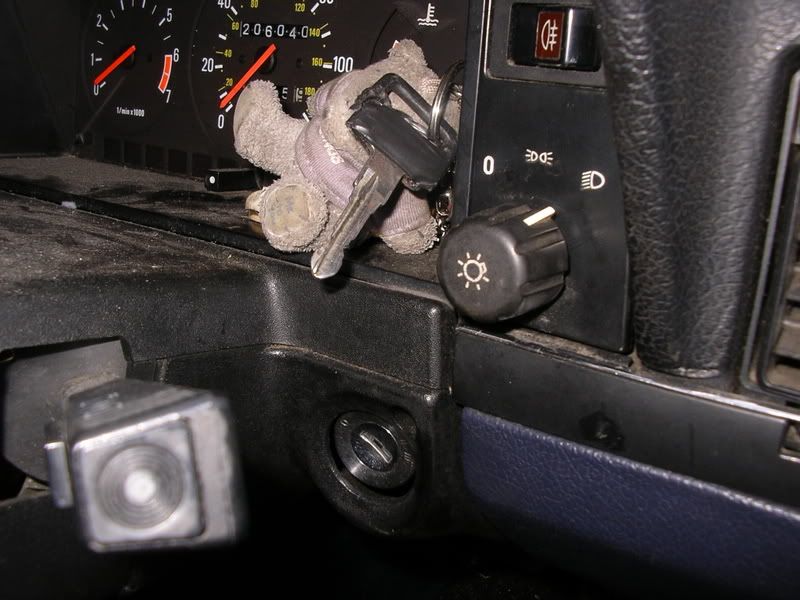
Make sure the keys are removed so the steering is locked STRAIGHT:
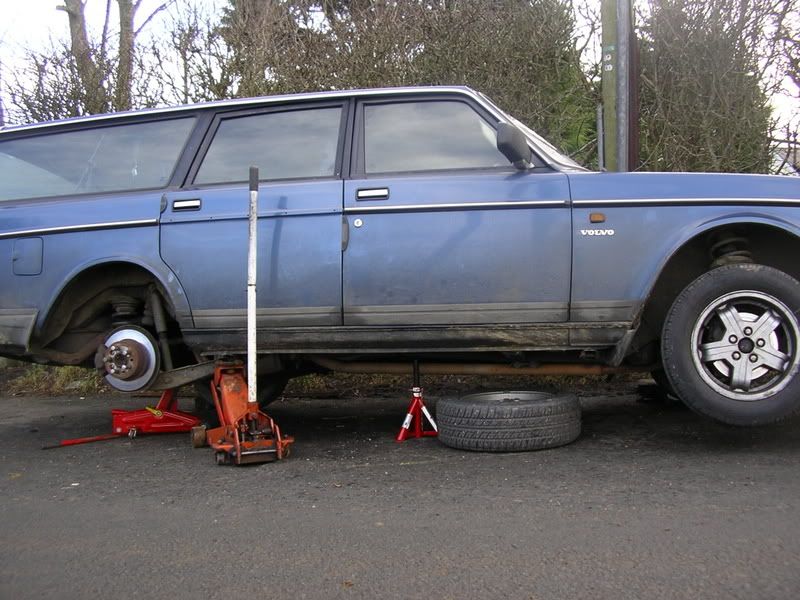
Now you need to raise and support the car so that it is held up and the axle can be raised or lowered. How we did this is shown in the first picture. On the assumption you only have one jack the approach would need to be to get the car on an axle stand on the jacking point (with wheel underneath) as described in my article on raising your car to work on it. The jack can then be freed to raise and lower the rear axle.
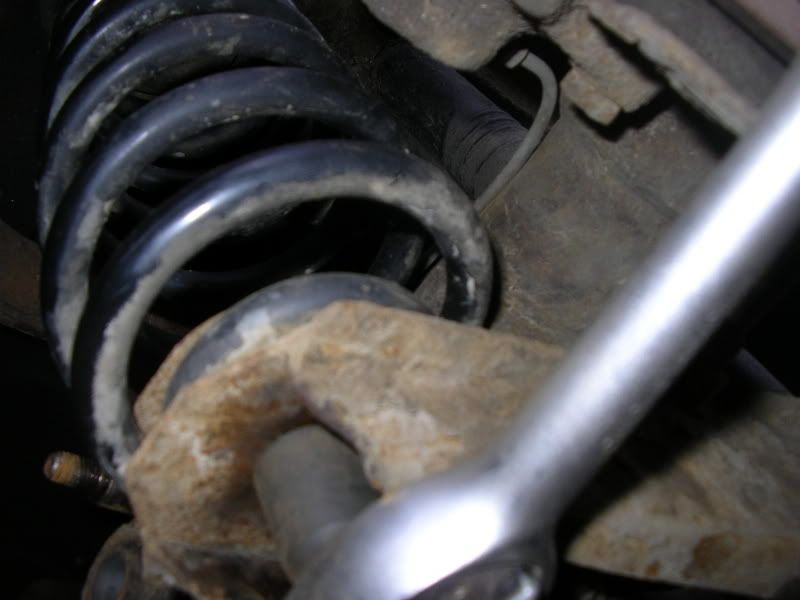
There are three points to unbolt being base of the spring:
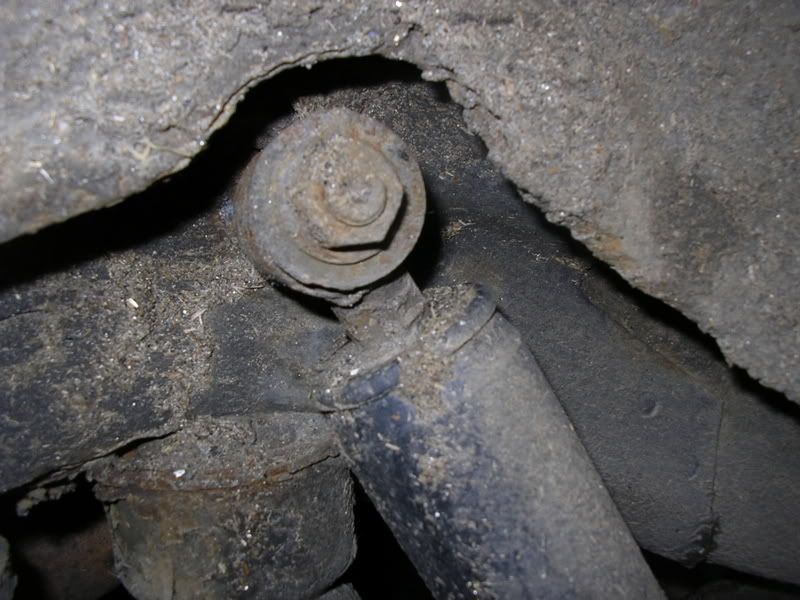
and top and bottom of the shock absorber:
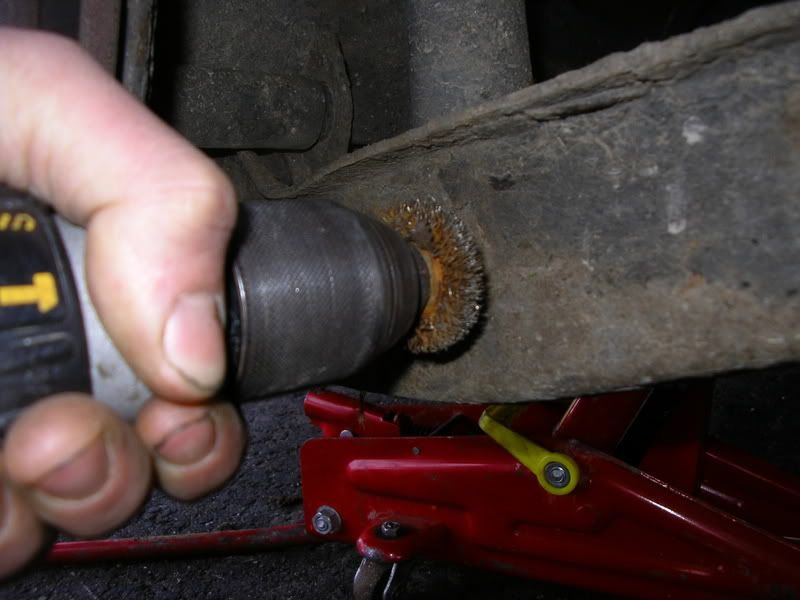
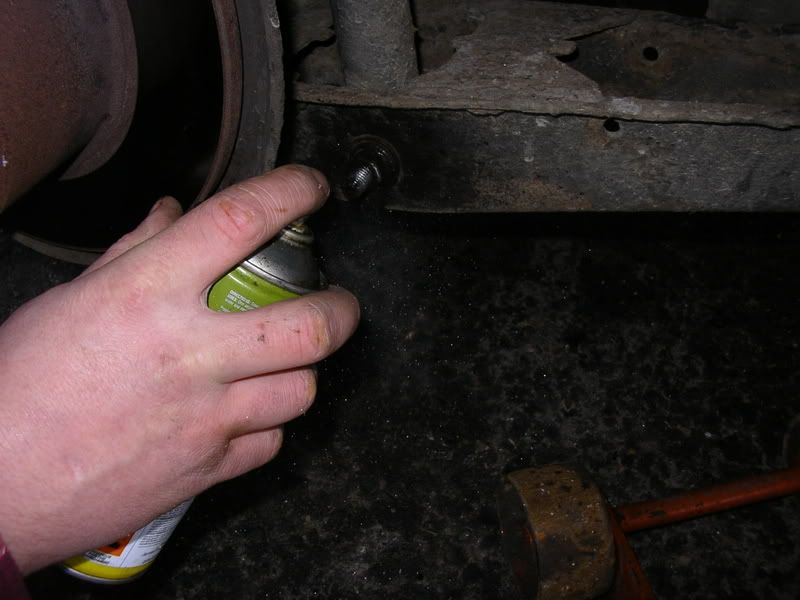
Firstly each will need cleaning thoroughly – a wire brush is used. It is quicker and easier with rotary one on an electric drill (cordless is safer as no risk of damaged cables making the car body live)
Then a good soaking with penetrating oil:
Do this for all three nuts. It is now time to start undoing them – the order is not very important. Start with the bottom of the shock with a good spanner either side
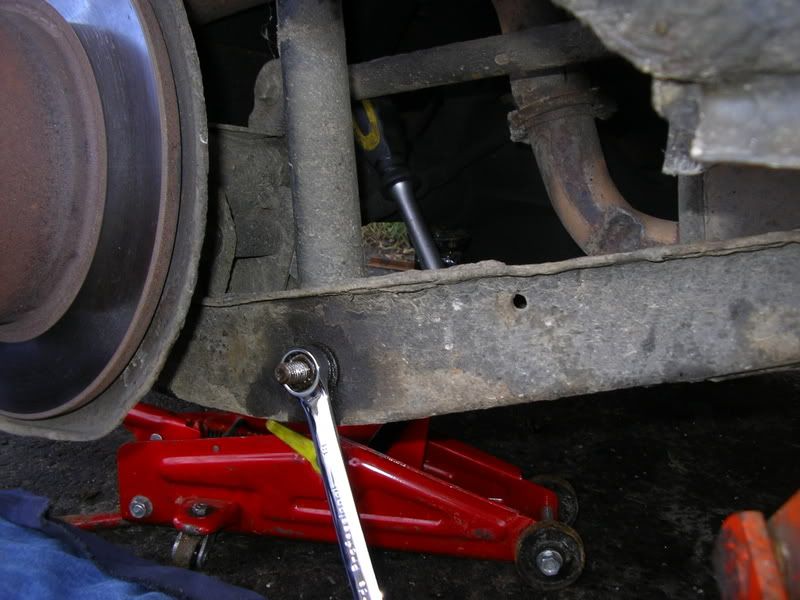
– these can be very tight and an assistant can be useful to ensure the spanners stay on square pushing the one on the nut with your foot if necessary. Undo it until the nut is absolutely flush with the end of the bolt.
A hammer can be used to gently tap the bolt loose:
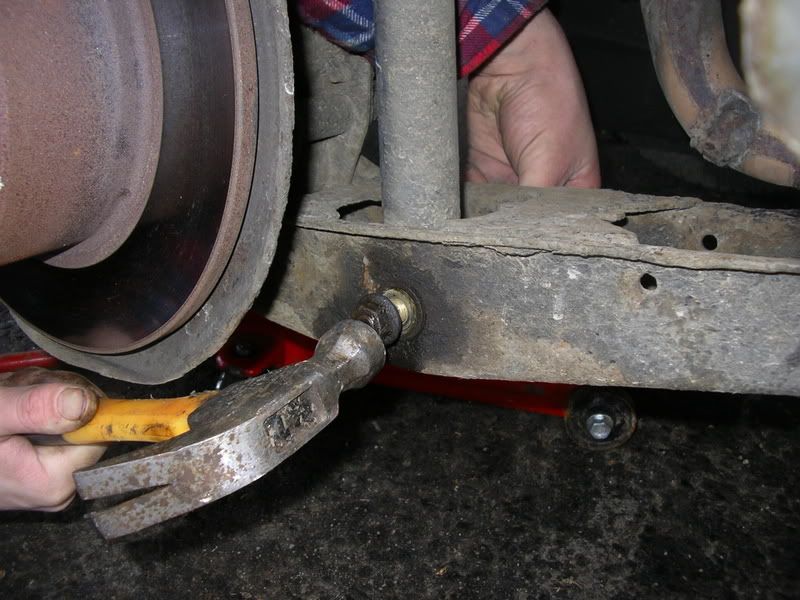
The nut can then be removed and the bolt pulled out – make sure you don’t loose the sleeve and note it’s position:
The top nut holding the shock can then be taken off enabling the shock to be pulled off the top and removed.
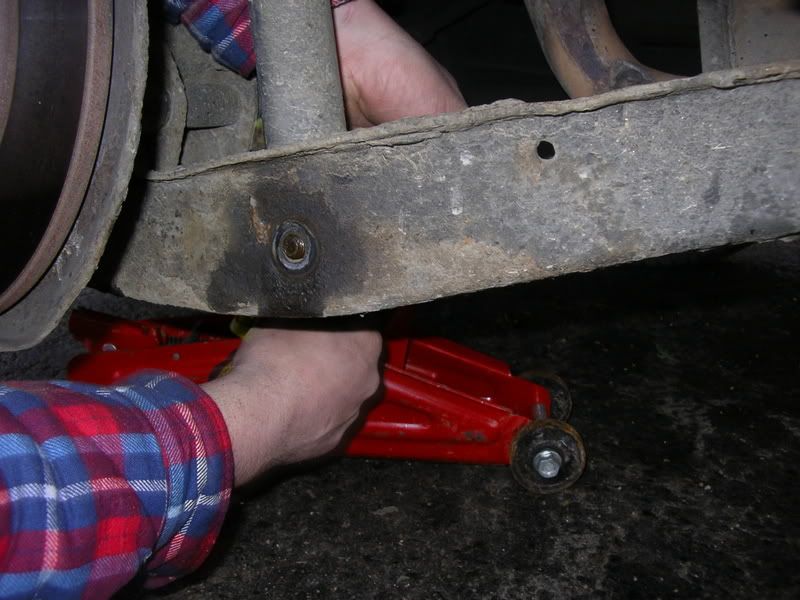
If you are just replacing the spring it is not necessary to undo the top nut and remove the shock. If only replacing the shock it is only a case of fitting the new shock on at the top and then fitting the bottom making sure the sleeve is in the right place. The shock can be pulled out to help alignment and the axle raised or lowered as needed. Note the bolt comes out towards the wheel with the nut facing you. I f the spring is to be removed the next job is to remove the nut holding the plate down.
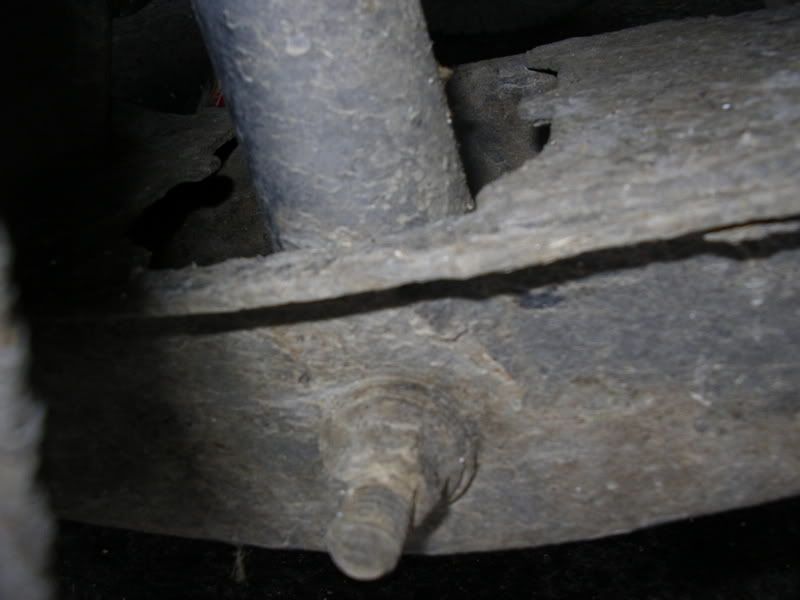
As it is undone it is liable to spin – a lever can be used to maintain the pressure so the nut will undo.
If the stud starts to turn in the plate (this is why cleaning and lubricating the thread is important) it is either a case of a spot of weld to re-secure it assuming a welder is available. It can also be retained by using a pair of mole grips to secure it (some ingenuity may be required here).
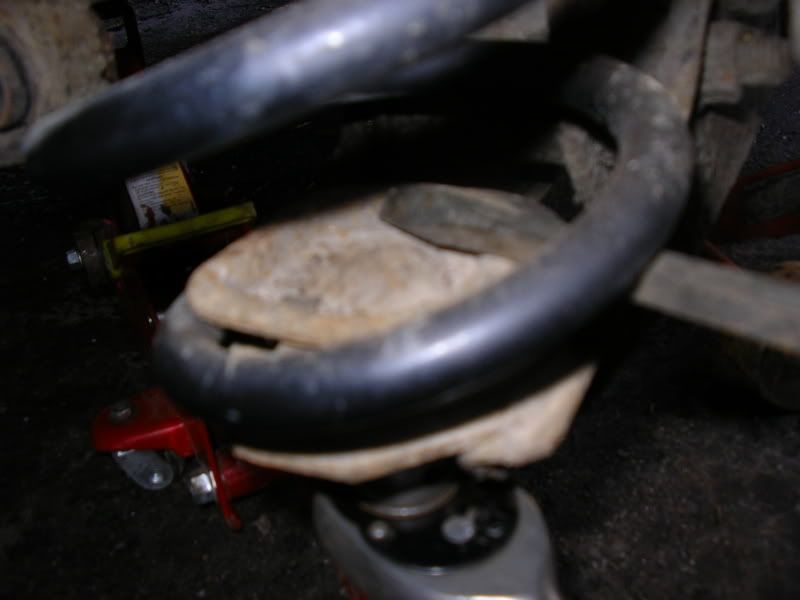
The spring is then freed by lowering the axle – it may need levering off the top mount:
The plate will need removing from the old spring and dropping into the new one. The new spring can then be fitted to the arm (make sure the plate fits into the spring correctly – it’s shaped) and jacked up into position and the shock refitted as previously described. Do not reuse damaged nuts – if they are the washer head ones they can be replaced by a standard M12 nut and washer. Make sure all bolts are up very tight. Replace wheel and lower the car.
Repeat for the other side.
The instructions in this tutorial will work in the following models / years:
-1974, 1975, 1976, 1977, 1978, 1979, 1980, 1981, 1982, 1983, 1984, 1985, 1986, 1987, 1988, 1989, 1990, 1991, 1992 and 1993 Volvo 240, 242, 244 and 245
-1974, 1975, 1976, 1977, 1978, 1979, 1980, 1981, 1982, 1983, 1984 and 1985 Volvo 260, 262, 264 and 265
kim grondin says:
the top plate on the spring, can that be purchased…mine is cracked…so i am having shock rattle…had just changed the shocks…