
It seems there are a number of bizarre electrical faults that can be attributed to the loom underneath the radiator failing, a lot of headlight issues are referenced and other bizarre oddities. If you find yourself in need of a repair this will hopefully help you do it
Step 1
Jack the car up nice and high so you have plenty of room to work, ideally get it on hydraulic lifts or over a pit
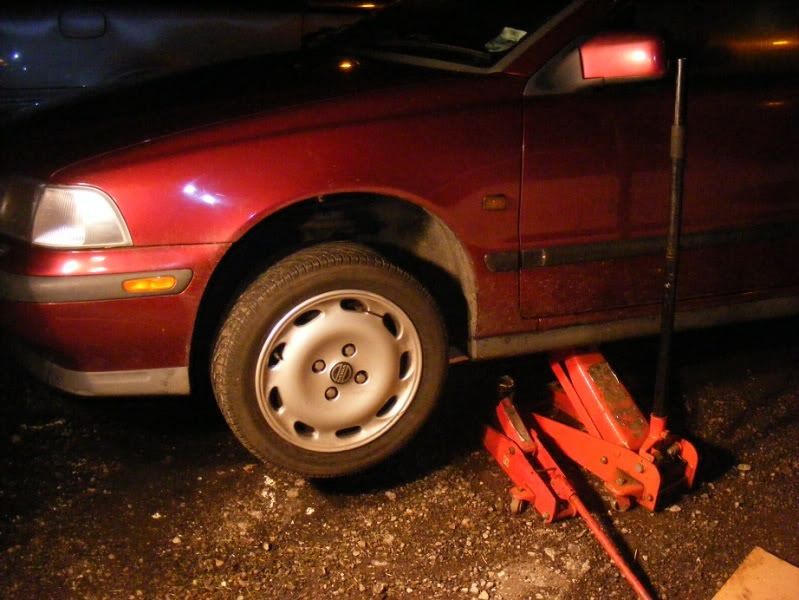
Step 2
As you will be spending a lot of time under the car please make doubly sure it is safe, use axle stands and maybe even a second jack just in case, a car only falls on your head once
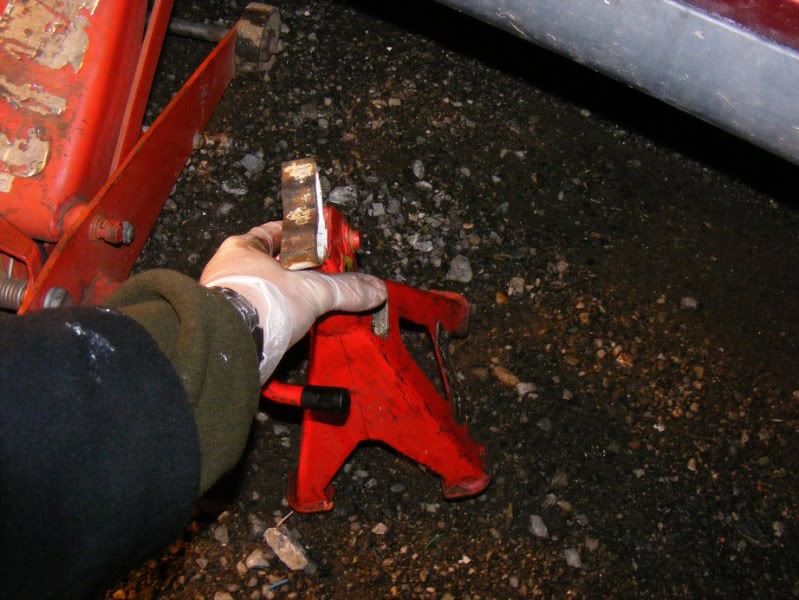
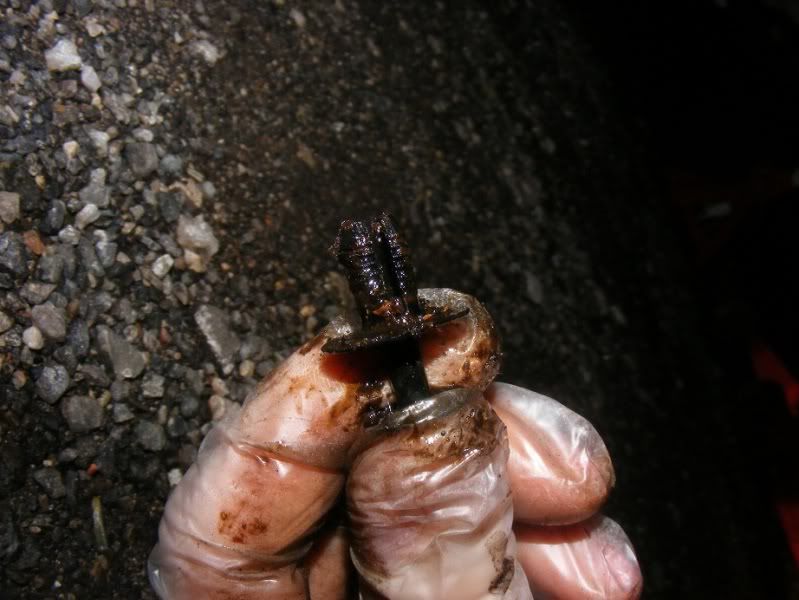
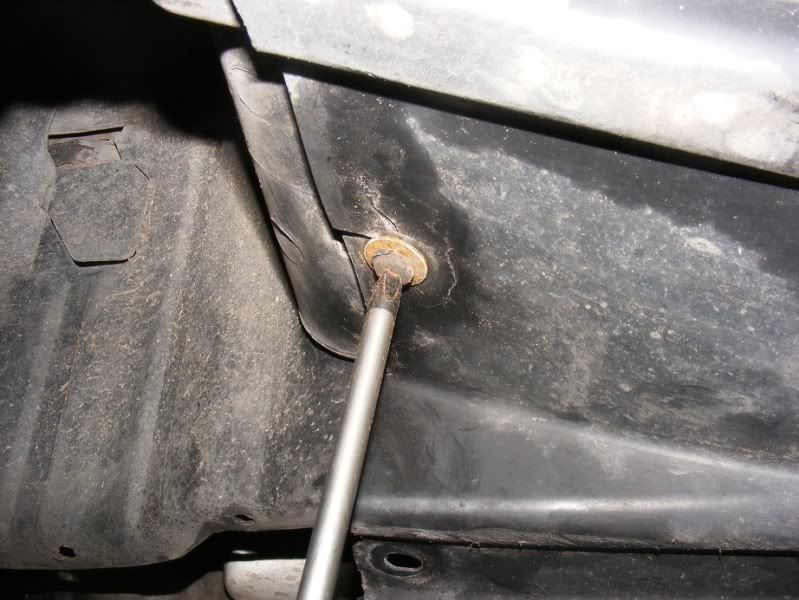
Step 3
Look under the front of the car and you will see a plastic undertray (picture 1), there are a number of plastic circles which you need to pop out with a flatblade screwdriver (picture 2). Once the centre pin is release you can pull the clip out (or just the pin) to release the plastic (pin shown in picture 3)
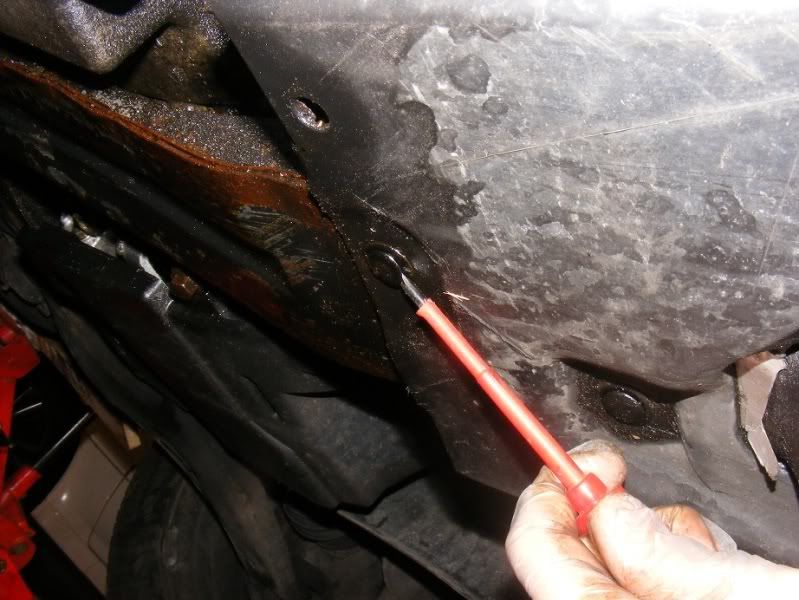
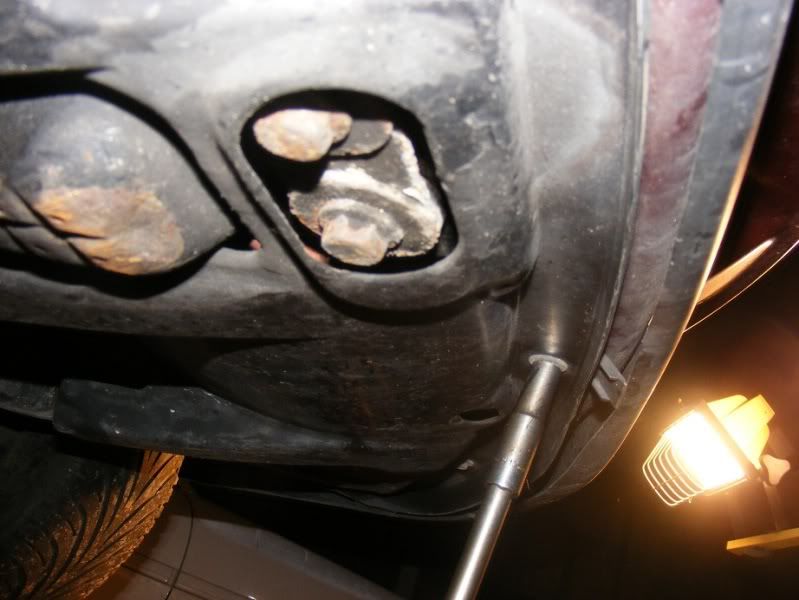
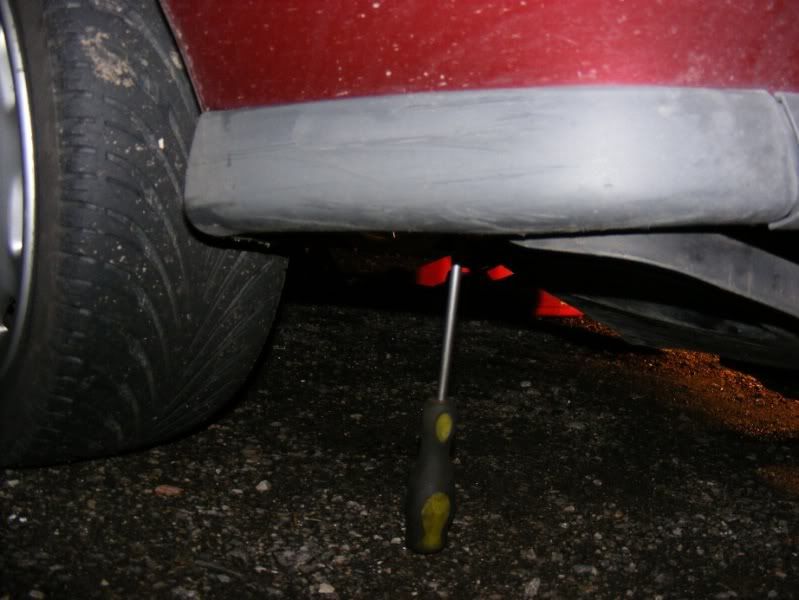
Step 4
Work your way around the front of the undertray removing the 10mm bolts and also the 2 on either side as shown in picture 3
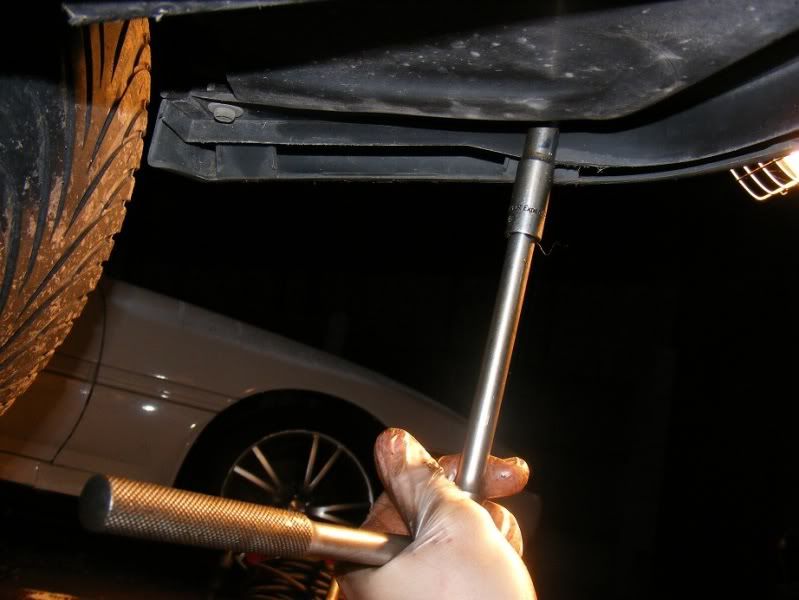
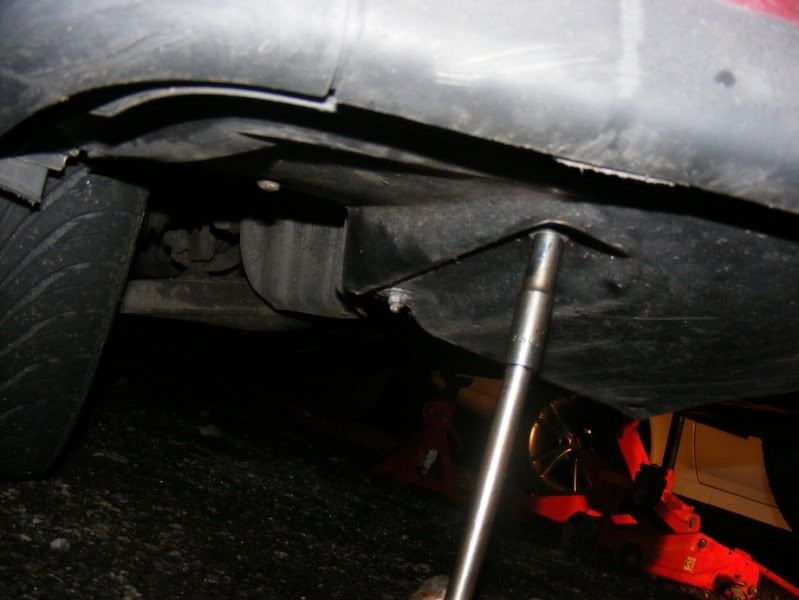
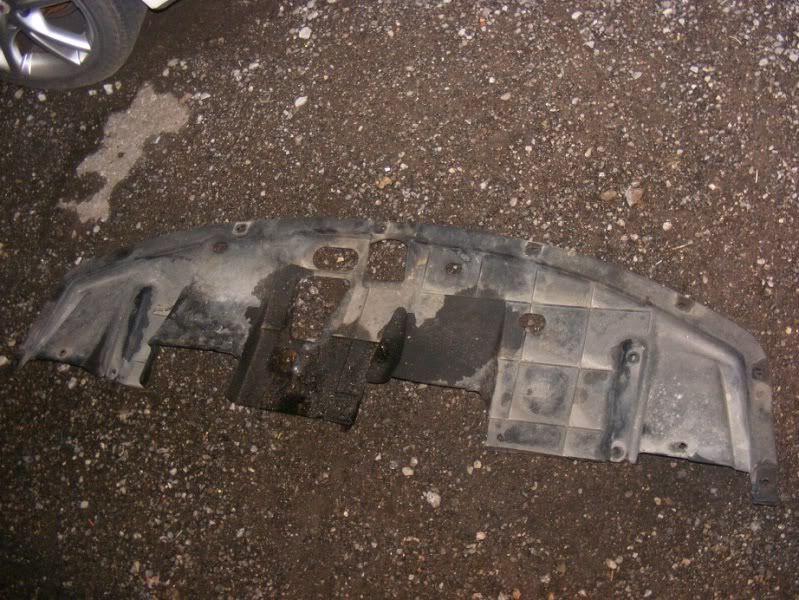
Step 5
Finish by removing the posidrive screw on either side of the undertray then remove it from the car
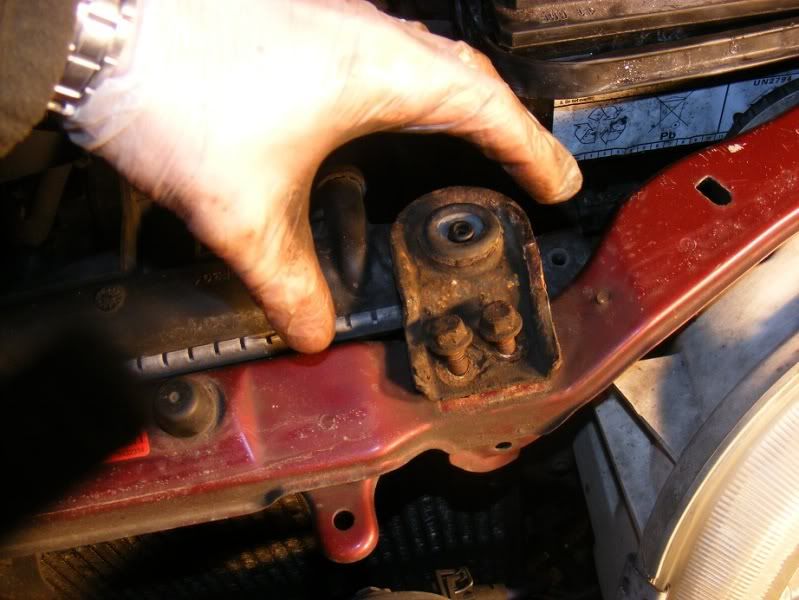
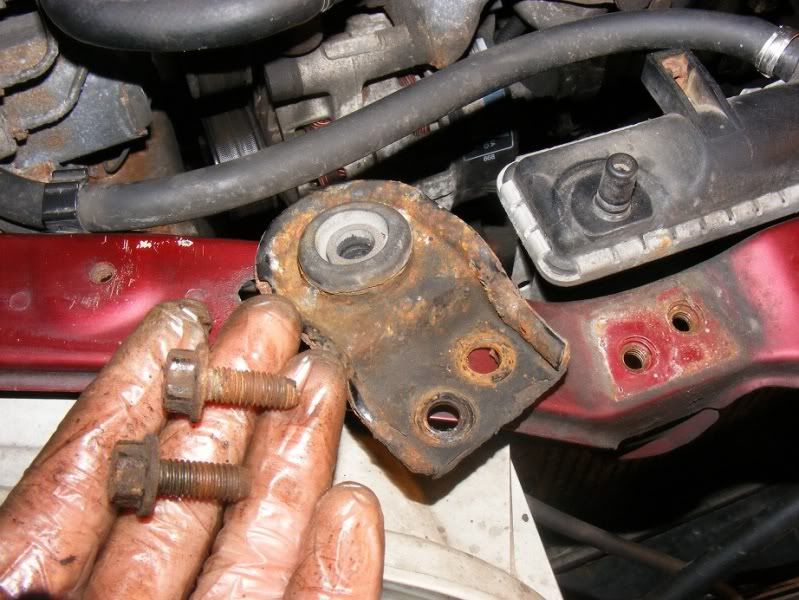
Step 6
On either side of the radiator there are 2 12mm bolts holding clamps down, remove these then slide the clamps up off the lugs on the rad

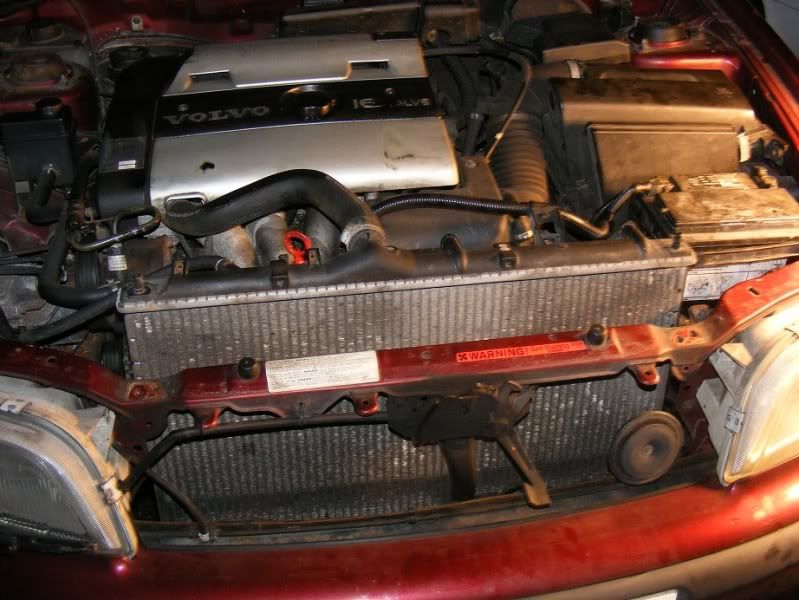
Step 7
You don’t need to disconnect any hoses, simply lift the rad up a few inches and there is a handy little shelf you can ledge it on near the bottom so it sits as shown in the picture
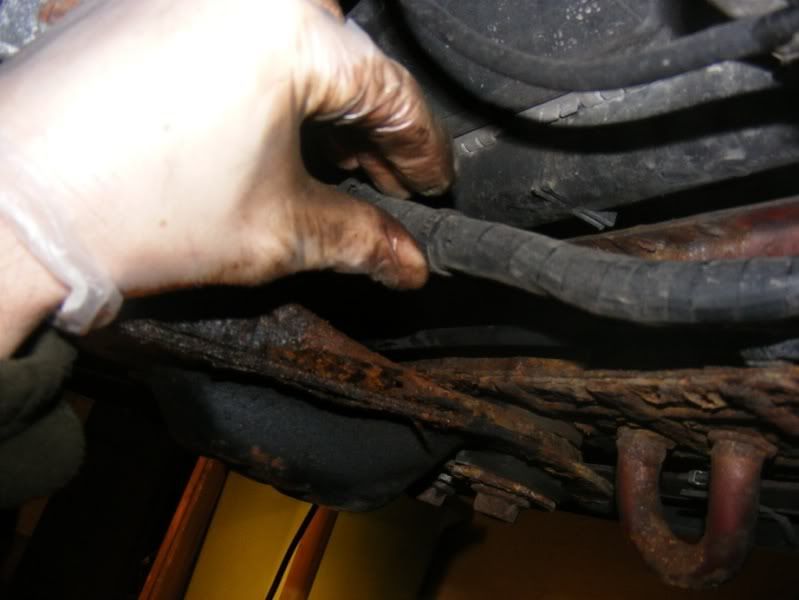
Step 8
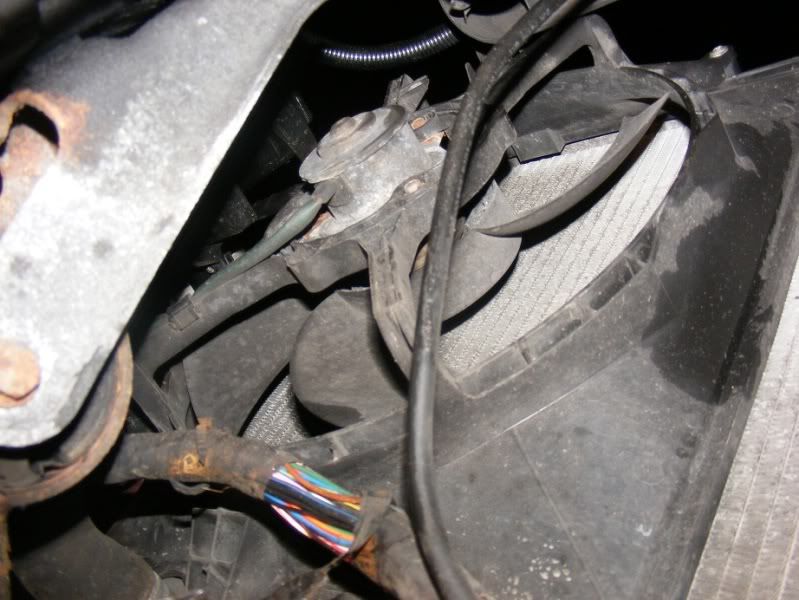
Crawl under the car and you will see the loom which is a bunch of ~20 wires wrapped in insulation tape. Inspect this carefully for signs of damage which could range from swelling to bare wires showing.
Step 9
If you find any problem areas, remove the insulation tape as far back as you need to remove the bad wires and simply cut them out. If there are multiple wires I suggest you do them one at a time to save any chance of mistakes!
Step 10
Splicing in new wires is simply a case of cutting out the bad wire, stripping the ends then apply solder to the exposed bare wire. Then make up a new piece of wire in the same way and solder the tips together. Unfortunately my loom was OK so I didn’t get to take pictures of this but it is a simple process
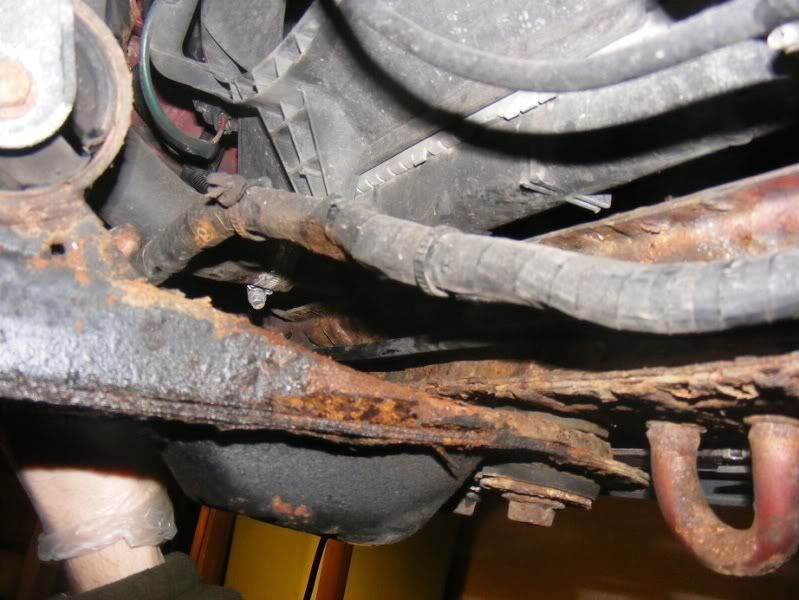
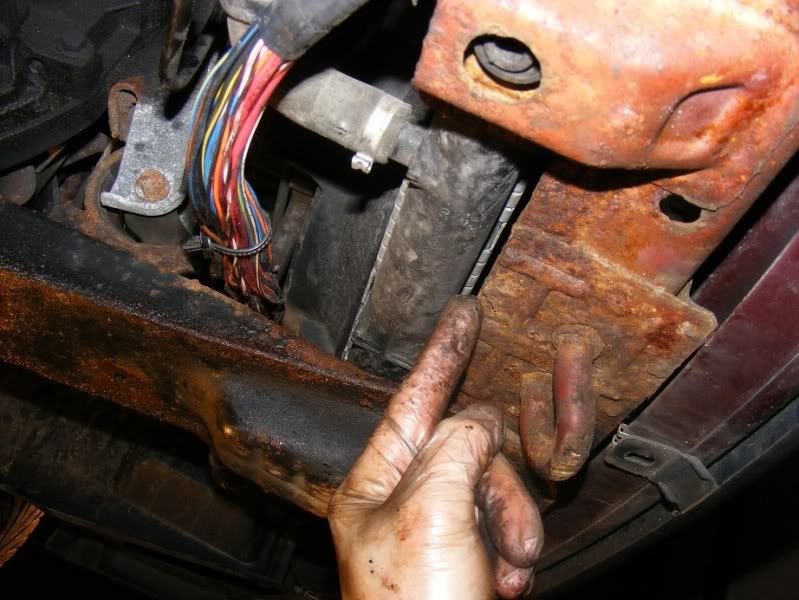
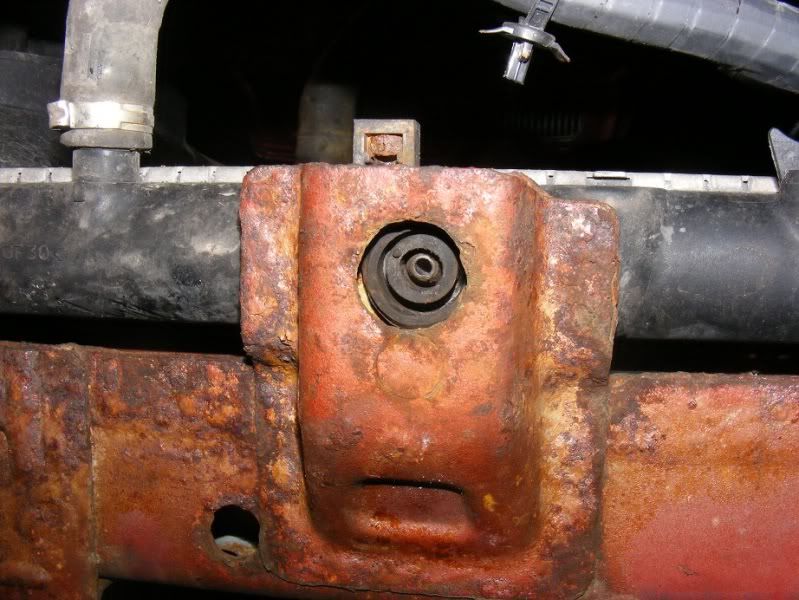
Step 11
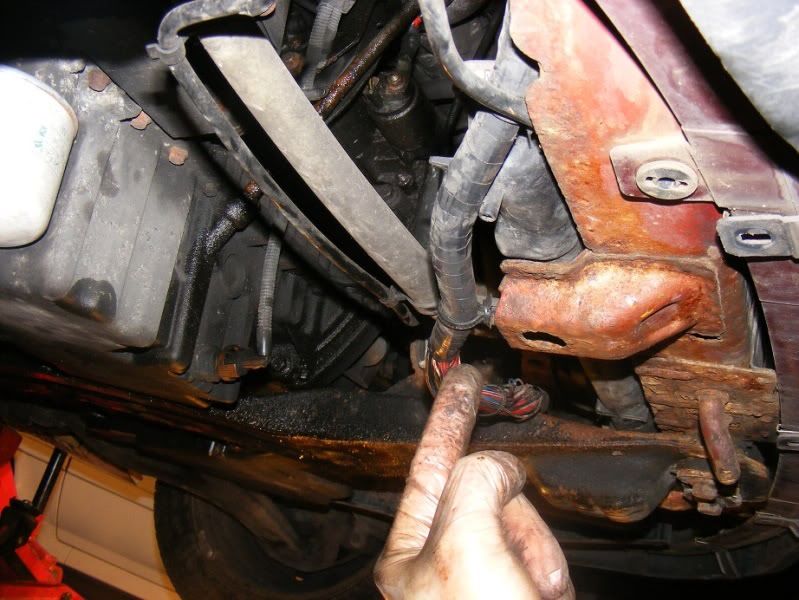
Once you have reworked all the wires re-wrap the loom in insulation tape and I suggest you don’t follow the absurd routing against the rad and metal (I’m pointing to this old route in the first picture) but simply run the loom along he underside of the rad as shown in the second picture.
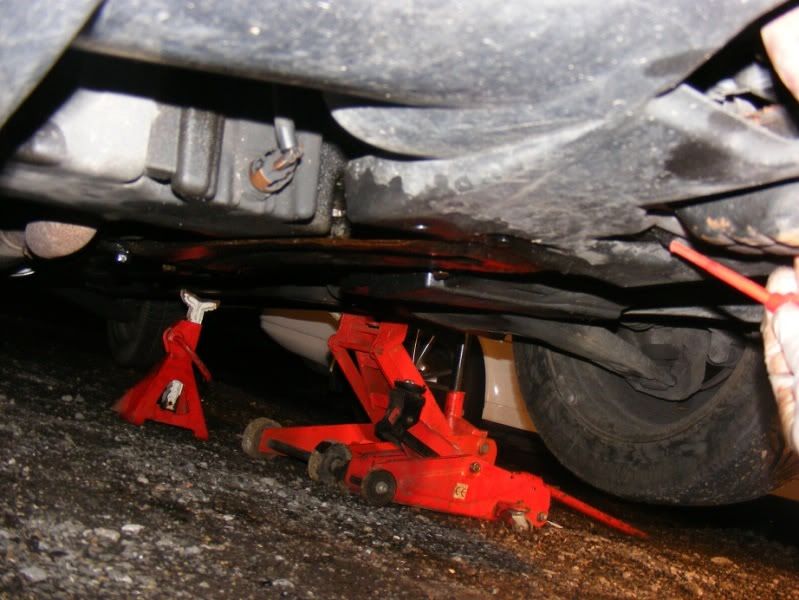
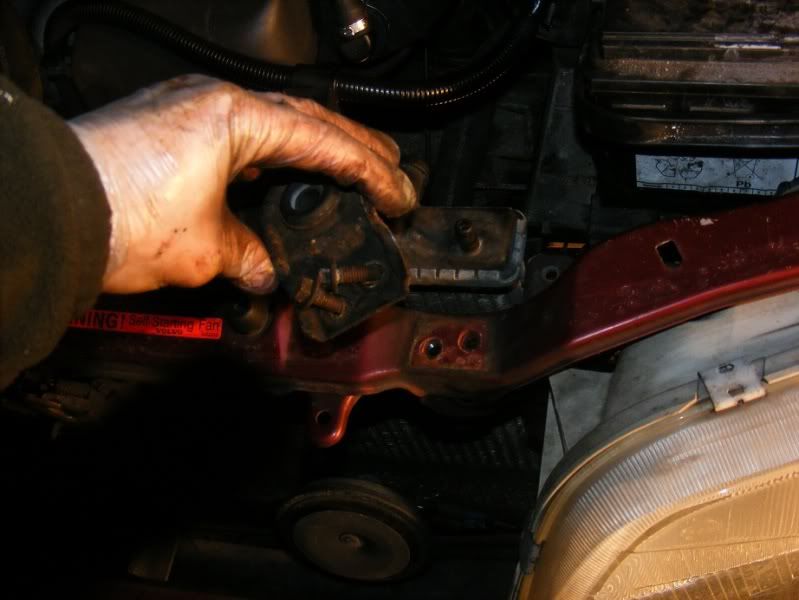
Step 12
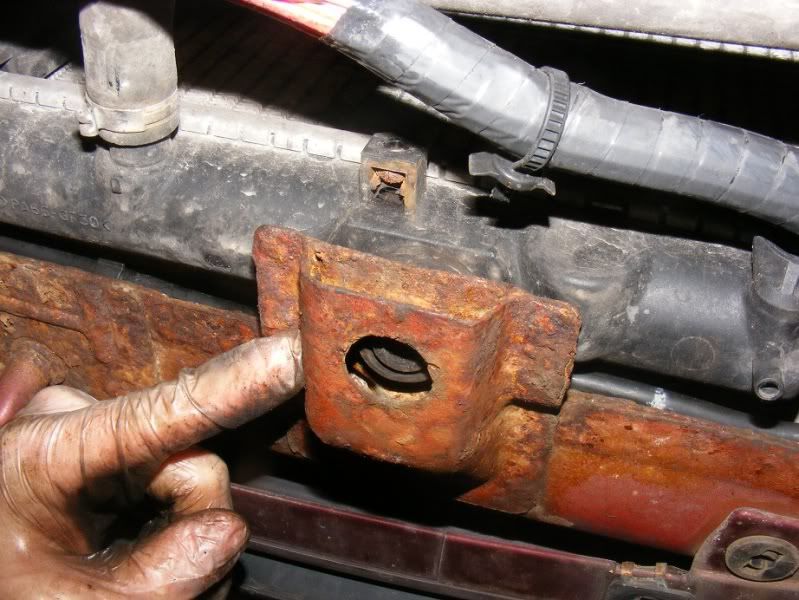
Drop the radiator back down into the mounts as shown (from underneath)
Step 13
Refit the top clamps and you should be good to go. Pop out for a test drive, check all switches work and then, once you’re happy, refit the undertray
Original posted in Volvo Owners Club Forum
The instructions in this tutorial will work in the following models / years:
– 1995, 1996, 1997, 1998, 1999, 2000, 2001, 2002, 2003 and 2004 Volvo S40
– 1995, 1996, 1997, 1998, 1999, 2000, 2001, 2002, 2003 and 2004 Volvo V40
Ed says:
Fascinating to understand the anatomy of the S40. Thanks for the time patience and effort!